
Mondrian inspired paper collage
Here’s another great art project that involves exploring lines, geometry and using primary colors. This art project is inspired by Dutch abstract artist Piet Mondrian. There is plenty of information on the web plus if you go to google images you’ll find many wonderful examples of his work. Before starting this project I made a slide show of many of Piet Mondrian’s art examples (from google images of course) as well as Mondrian inspired art work from other artists.
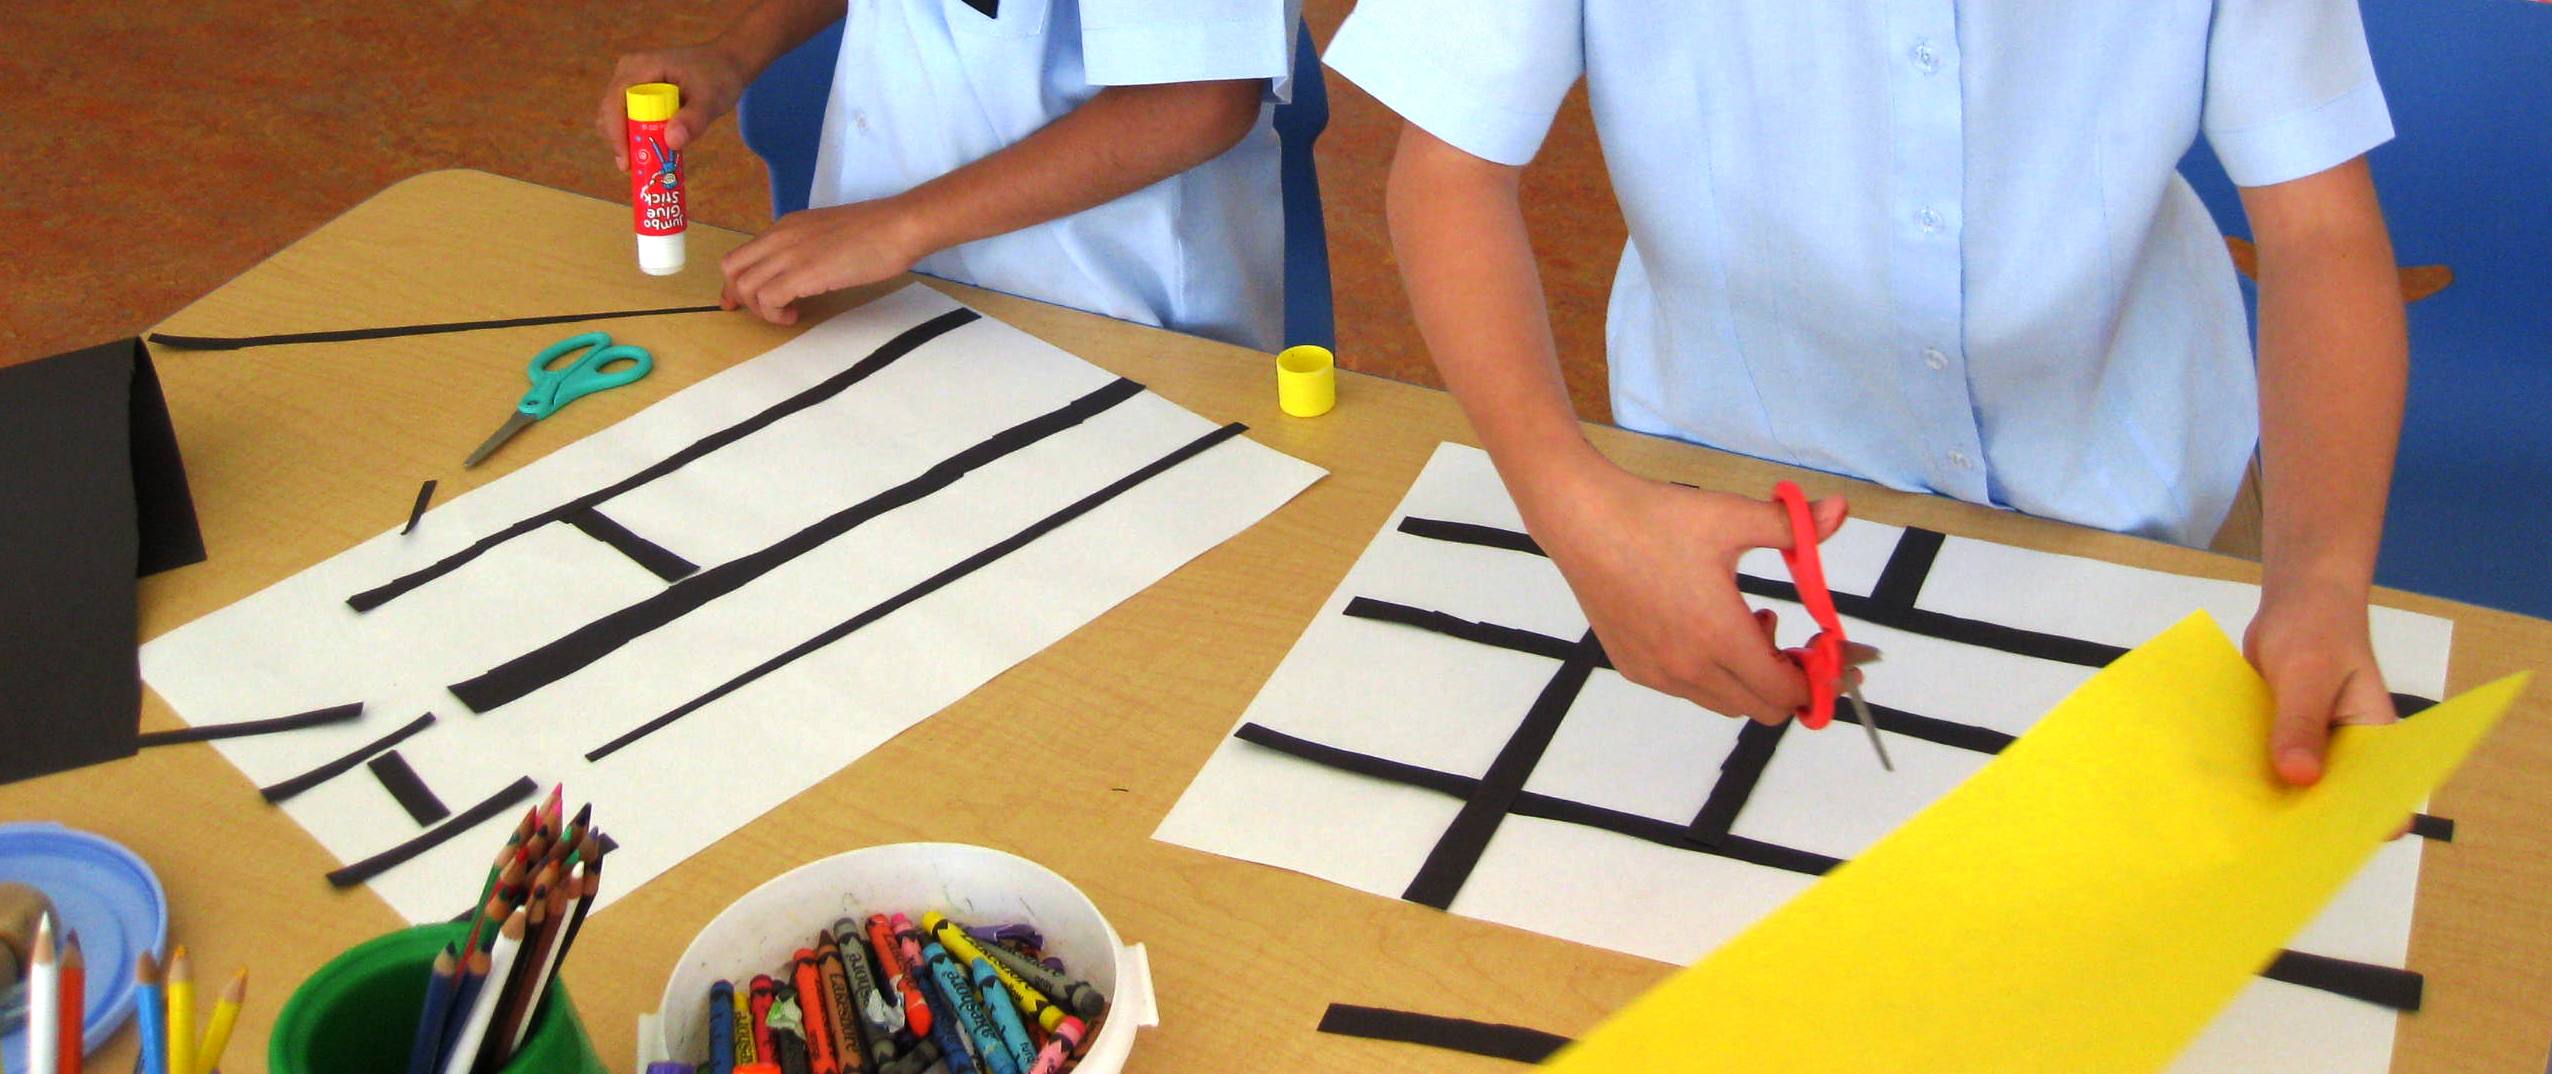
Explain to the students that they will make an abstract collage using black, red, yellow and blue paper. Give out a large 18 x 12 white piece of paper, (I love to give kids plenty of space and 9 x 12 paper is not good enough!) . Hand out red, yellow and blue paper (primary colors) plus scissors, a ruler and a glue stick. Tell them to put these materials aside for a bit as they will start with black paper. Give out black paper the same size as your white paper and tell your student to cut it into thin strips cutting horizontally. Ten thin strips is plenty. Tip: to save paper two students can share one piece of black paper.
Next, have the kids play around a bit with their ‘lines’ and to place some strips horizontally and the rest vertically and 1 or 2 strips diagnally. The vertical one will need to be trimmed. Encourage them to place shorter lines within a square or rectangle section. See the sample below.
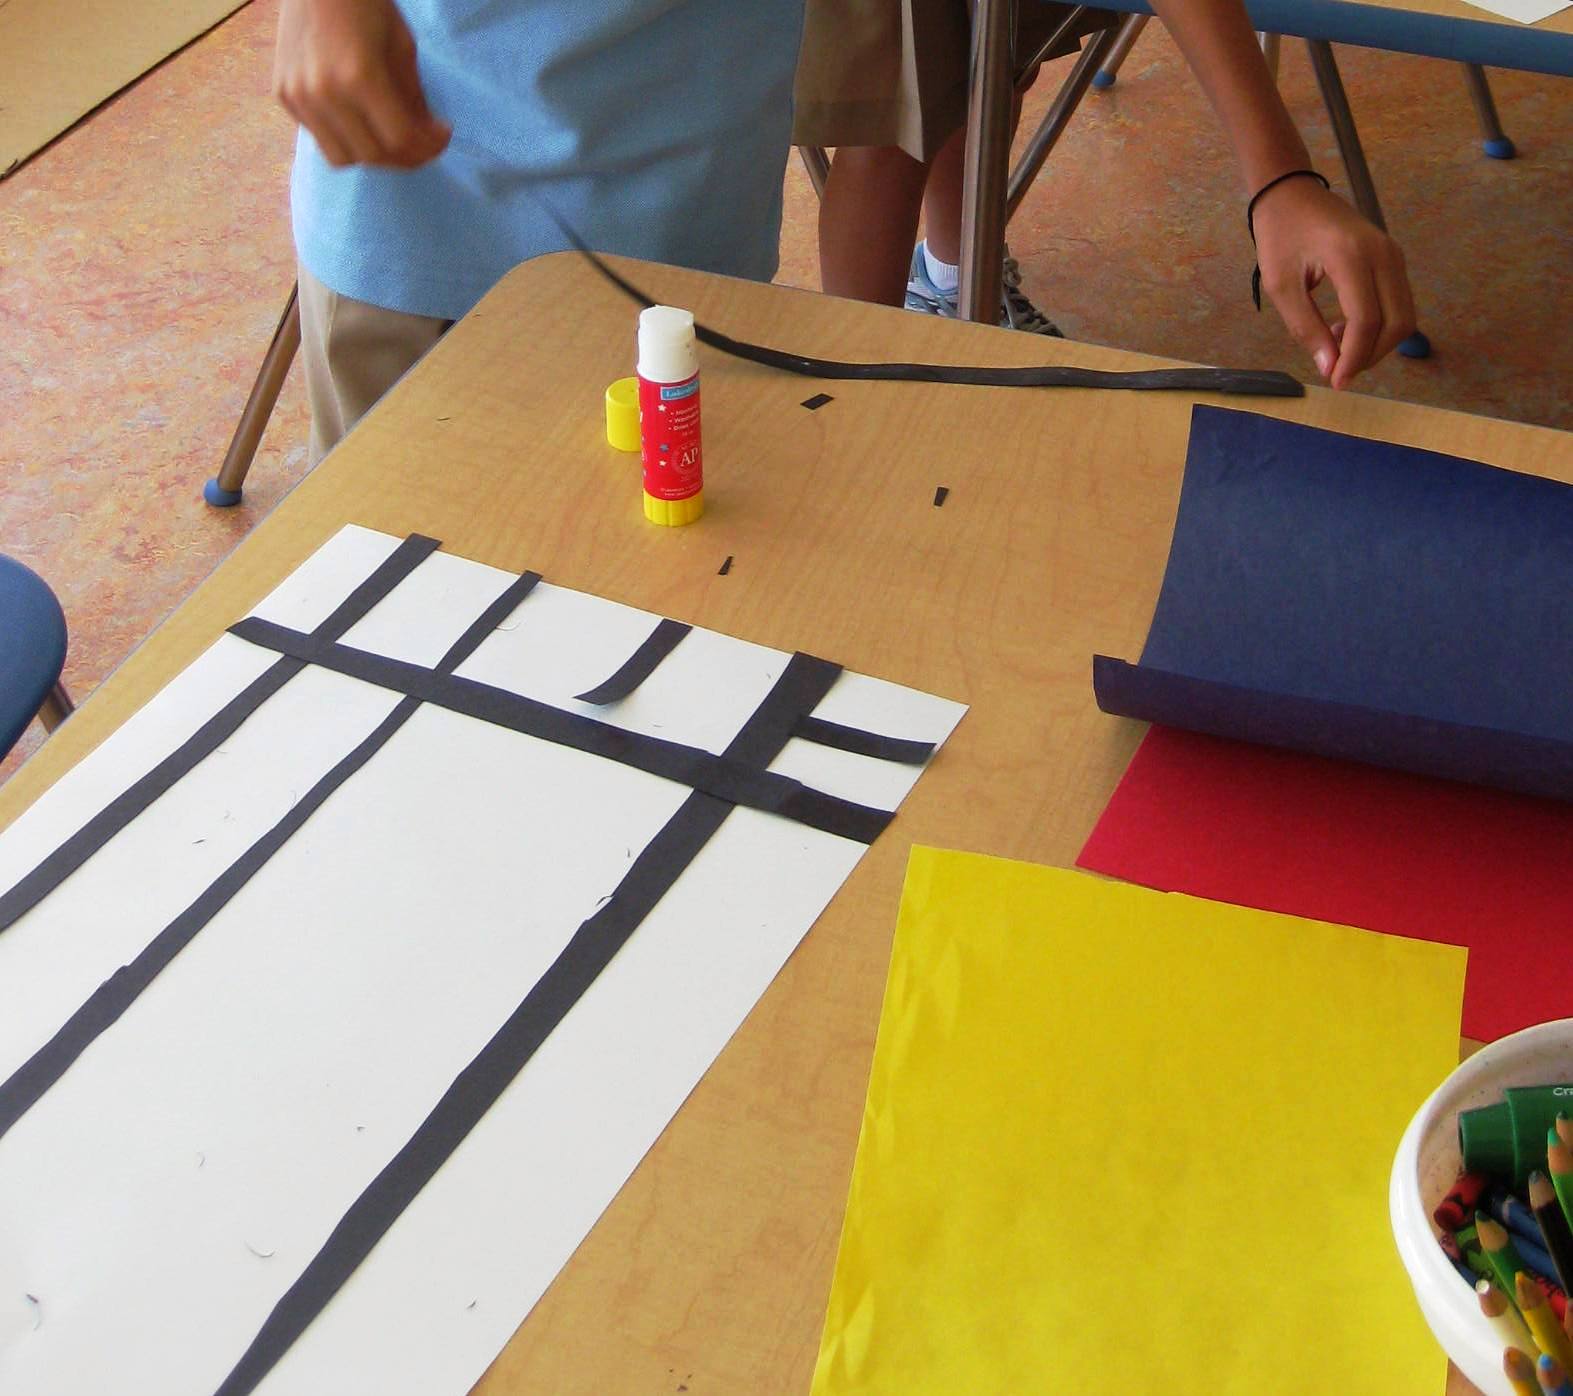
Thinking about line placement
Once they are happy with their design, they can glue their lines one by one carefully so they don’t lose their original design. They should have a white piece of paper with different rectangles, squares and even triangles. The next part of the project involves filling in most of the areas with either red, blue or yellow paper. This involves them measuring the section with a ruler. Some kids like to place the colored paper over the section and figure out the size. This is ok too because it’s showing creative thinking skills!
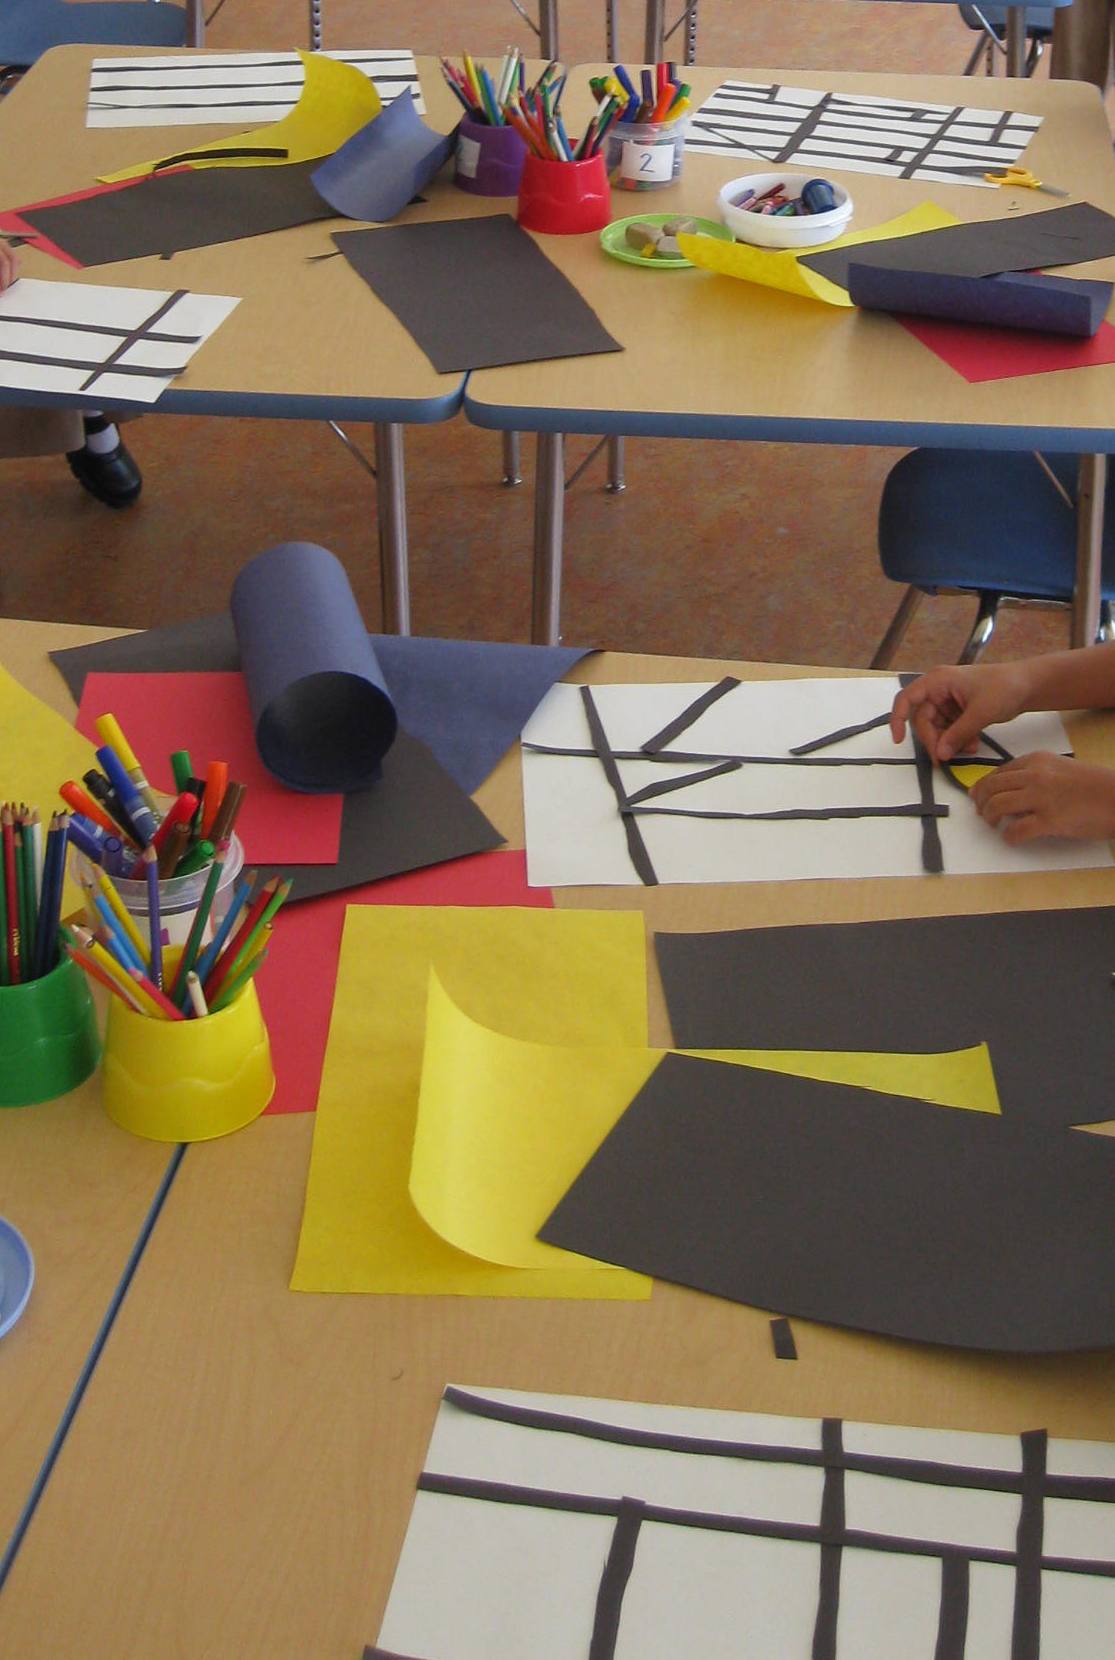
It’s important to stress that one or two sections should remain white. They can also place smaller shapes of a different color within shape that already has color. Let them explore and experiment. The results are amazing!
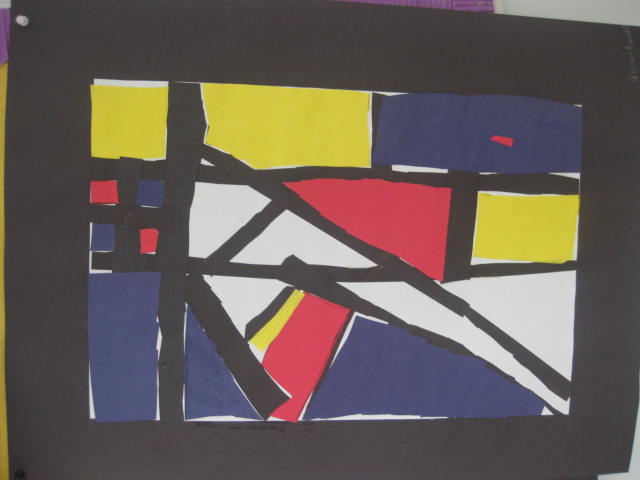
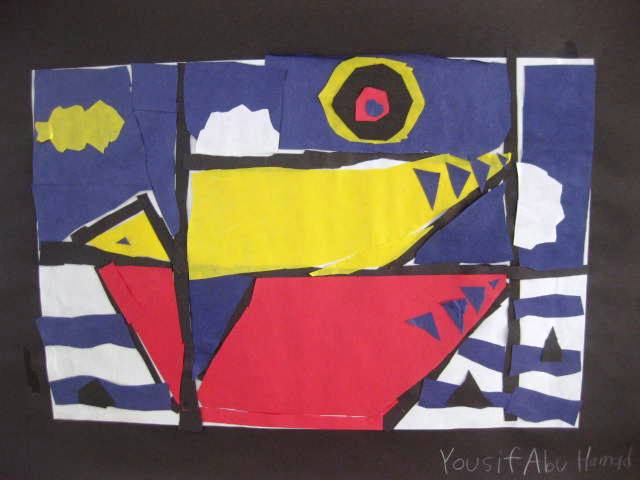
I like the bird!
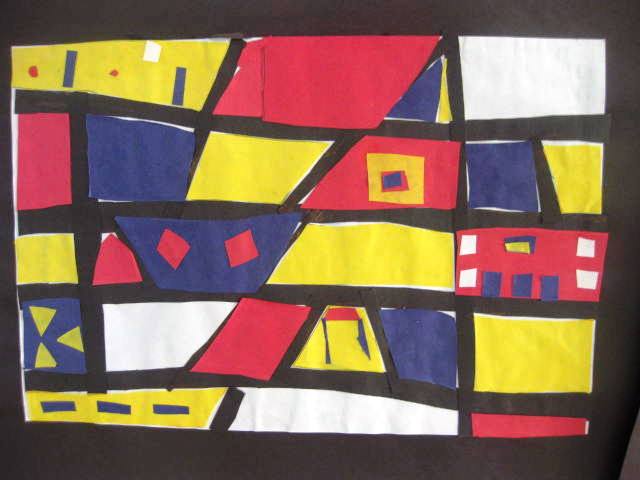
I like the shapes within the shapes
Once your students are happy with their design, show the slideshow of Piet Mondrian’s artwork and have the kids compare, contrast and discuss the artist’s work with their own final piece.
Note: For this project, I preferred to show samples of Piet Mondrian’s art at the end of the project because I wanted my student to explore the lines, shapes and color placement without a sample to ‘copy’ from. Most of them were so surprised to see that they were able to make artwork like someone famous too!
Sign up today for The Happy Whole Teacher messages and get some lovin’ pep talks to keep you happy, balanced, energised and inspired. Click on the image below to join for FREE. I would love to have you in my tribe.

Become whole again and change your life. Let me show you how.


