Cardboard Collages in Kinder

014

End of year means you have a lot of excess cardboard lying around  so what better way to use it then by doing a lesson on collage!

I cut up a bunch of cardboard into different sizes and put them in trays for kids to choose freely. Each child was given a larger cardboard where their creations would be glued.

They ‘planned’ their ideas and placed pieces all around and ‘layered’ other pieces. They don’t need to make a picture but to just to have fun arranging the cardboard pieces to make an ‘abstract’ work of art. Of course some ended up making a picture which was Ok too.

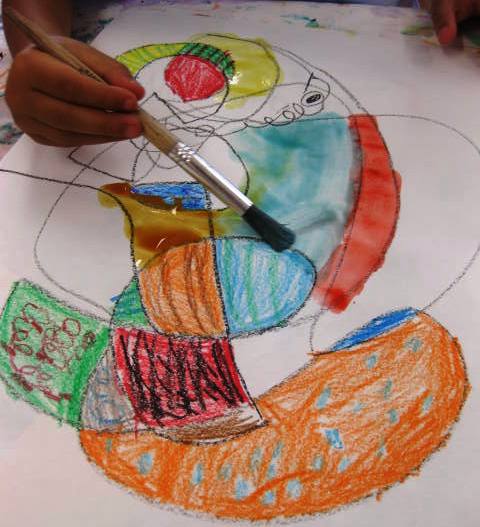
The kids really enjoyed this and were ready to glue each piece. This was tricky because they had to move the pieces around , glue and remember where everything went. This was a great opportunity for them to be patient, and to really think about what they were doing.

Finally when everything was glued and dry they painted they work. Make sure the students paint two layers and are careful to paint around the pieces. Some experimented with splattering paint and the effect was great.

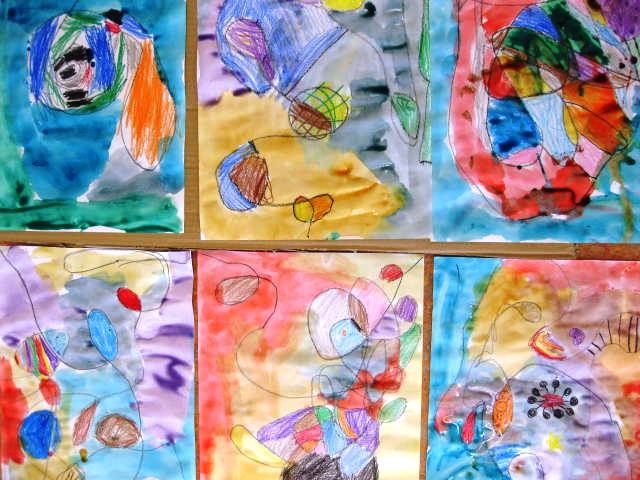
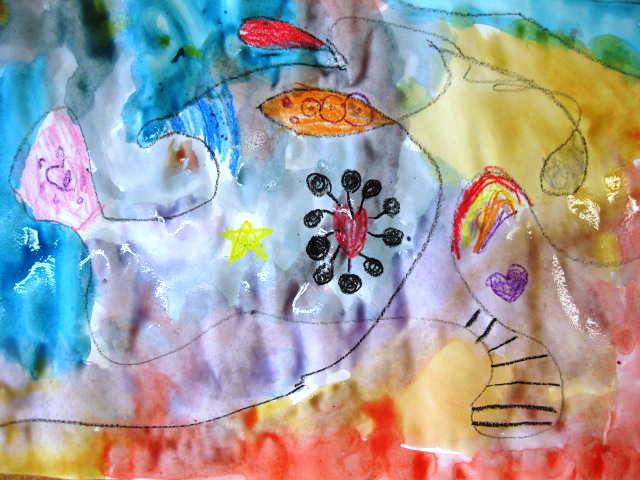
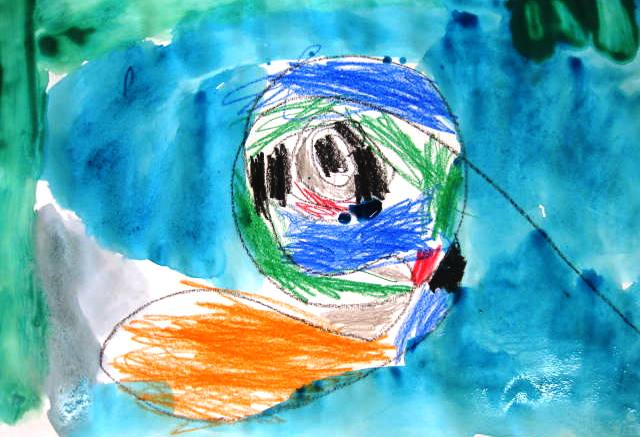
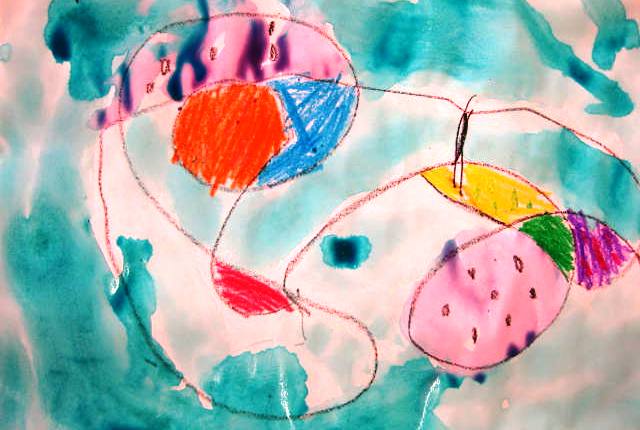
Didn’t these come out beautiful?


Sign up today for The Happy Whole Teacher messages and get some lovin’ pep talks to keep you happy, balanced, energised and inspired. Click on the image below to join for FREE. I would love to have you in my tribe.

Become whole again and change your life.  Let me show you how.

Become whole again and change your life. Let me show you how.

Lines Go Walking In Kindergarten!

I couldn’t resist not doing my previous lesson “Taking Lines for a Walk’ with my eager Kinder kids. We talked about lines and we looked for them in the classroom. We drew imaginary lines in the air and then they were ready for their art project.

Every child got a 18 x 12 piece of white paper and a black crayon. I explained to them that they would take their crayon on a wonderful adventure all over the paper. They can start on any edge of the paper and curl, twirl, curve, zig-zag all around the paper till you say “stop!” They nned to end their line and go off any edge of the paper. Here you need to watch what everyone is doing and make sure the lines don’t get crowded and messy on the paper. In other words, don’t drag this part of the lesson too long!

Taking a line for a walk

Taking a line for a walk


Next, tell your kids to color in some spaces with crayons and to fill in the areas with different lines they can think of such as dots, crosses, hatched lines, etc.

Coloring in some of the spaces

Coloring in some of the spaces

Next and final part of the lesson is to paint the paper with watered down tempera paints (stick to three colors max) or water colors. The result is fantastic and the kids will know everything about lines!

Painting in the rest of the spaces

Painting in the rest of the spaces


Psst…

Art Lessons for Kids is on Facebook  and we are GROWING. Hit the  “Like” button and join the conversation. We are ALL waiting for you!! You can also follow my adventures on Twitter (@Ms_Alejandra).

Sign up today for The Happy Whole Teacher messages and get some lovin’ pep talks to keep you happy, balanced, energised and inspired. Click on the image below to join for FREE. I would love to have you in my tribe.

Become whole again and change your life.  Let me show you how.

Become whole again and change your life. Let me show you how.

Amazing Color Blots

Making new colors

Making new colors

Making color blots are fun and the kids get a real sense of how colors mix to make new colors. Give each child a white piece of paper and have them fold the paper in half. Meanwhile you have already set up a painting station with the primary colors in tubs and with a plastic spoon in each tub.

I really like this blot!

I really like this blot!

Discuss the primary colors (red, yellow and blue). Explain that you cannot mix other colors to make blue, yellow or red. The primary colors are special colors because if you mix two of them together you make a new color called the secondary colors.

Allow them to discover the new colors they make by letting them choose their combinations. They should spoon a dollop of two primary colors into the middle of the crease on their paper. Tell them to close their paper, rub the paint around, open the paper and what do you see? Their amazement at discovering a new color is wonderful and they’ll want to make more colors! Let them do this with other primary color combinations till they have made green, orange and purple (the secondary colors).

Fill the white space with primary colors

Fill the white space with primary colors

With the Grade Ones and Two’s I encourage them put paint on their paper and fill the entire white space with two primary colors. Then they close it, rub it a little and their final product looks pretty awesome!

Great result!

Great result!


Blots