Matisse Inspired Collages in Grade Three

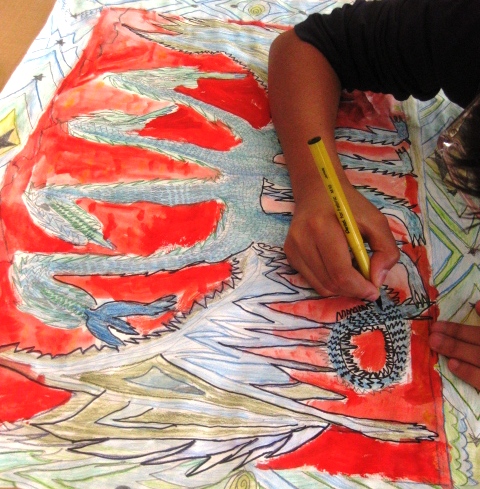
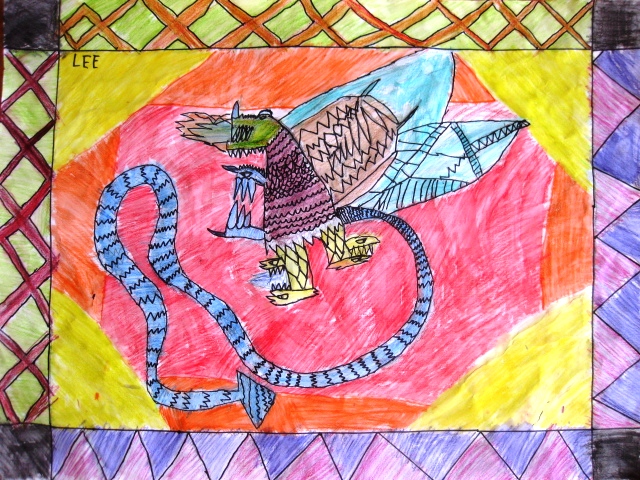
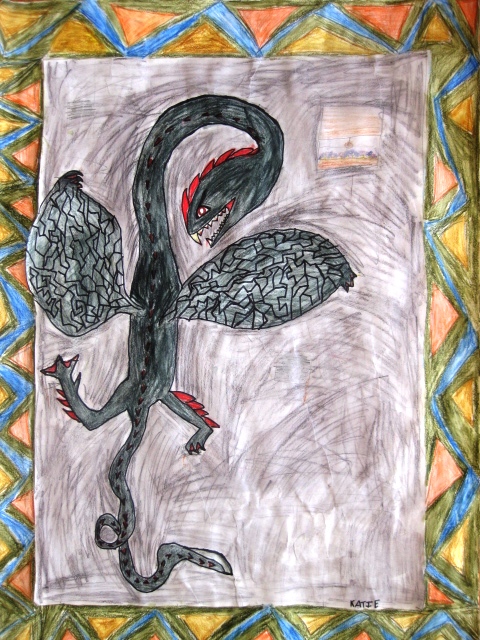
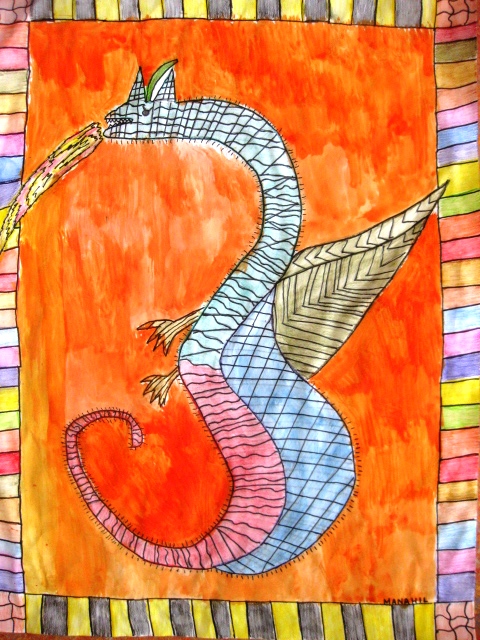
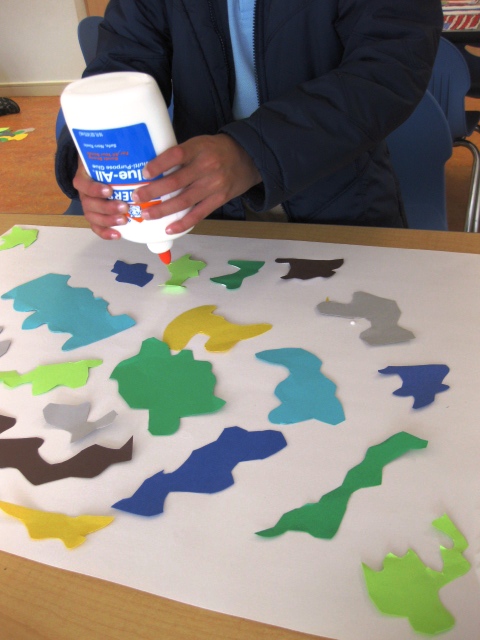
Matisse is one of my favorite artists because I love the simplicity of his collages and kids can relate so much to his art in any grade level. We went online to find information about Henri Matisse and his artwork. The kids immediately fell in love with the vibrant colors in his collages and wanted to get to a pair of scisssors as fast as they could.

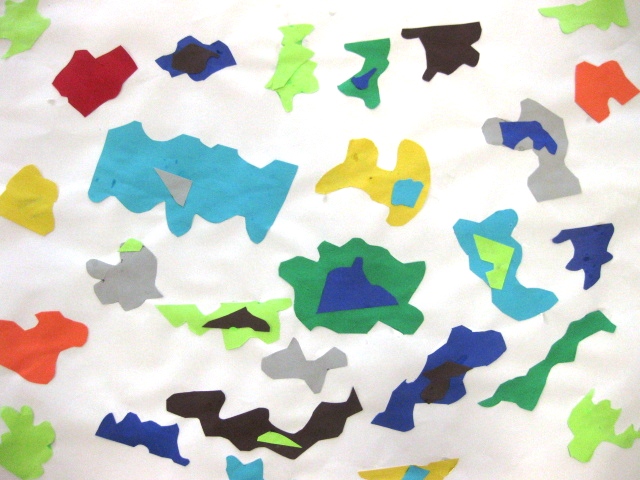
I set out colored paper around the classroom, glue bottles and scissors and let the kids go for it. I reminded them for this project they could either create panels for their backgrounds and fill them with organic shapes or simply do a collage filled with organic shapes. No pencils were allowed and they had to freely cut away. They also needed to plan their shapes and arrange them before glueing anything down.

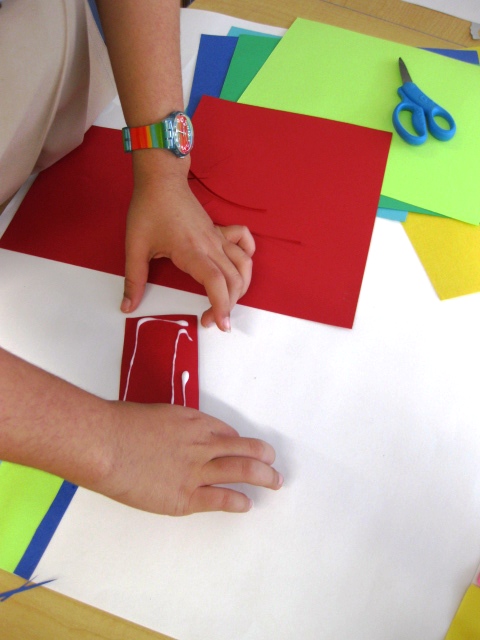
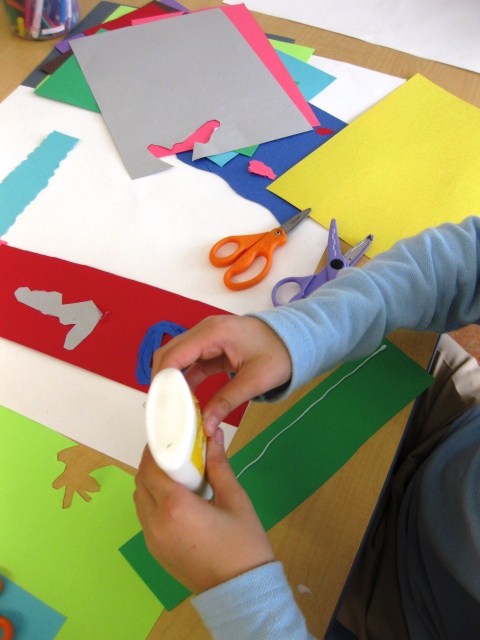
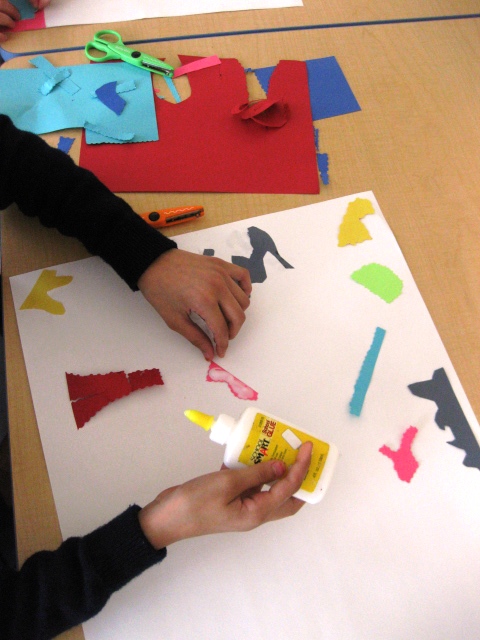
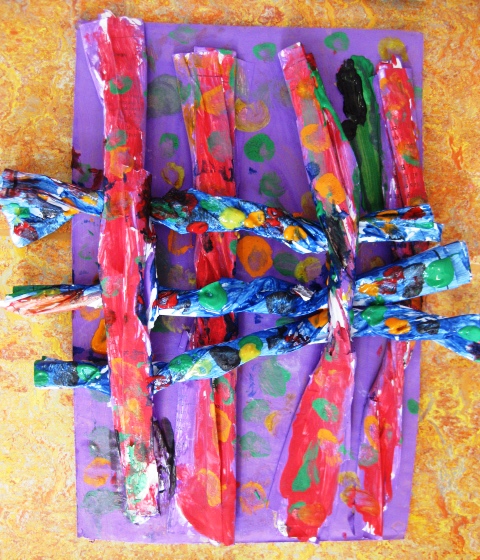
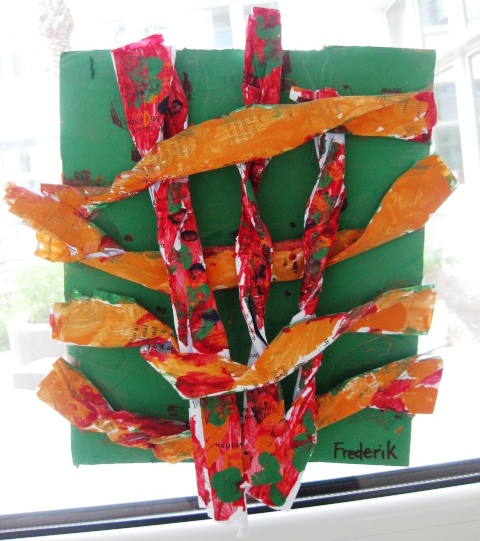
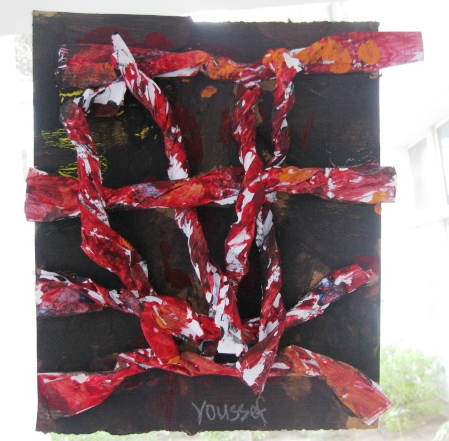
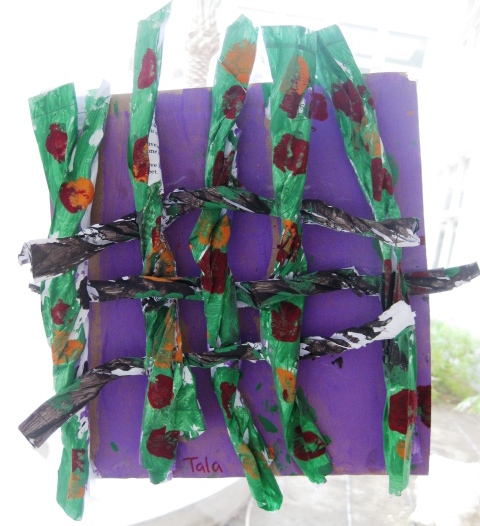
They had such a great time and the result was colorful and beautiful. What do you think?

Psst…

See what I am pinning over at Pinterest.

Visit Art Lessons for Kids on Facebook and join the community. Lots of exciting things happening and plenty of inspiration. Why not join the Inspired Teacher Monthly membership program? If you love my lesson ideas, imagine receiving curated lesson plans from around the web that I use, inspiration and motivation to stay on top of your teaching game, monthly talks around our theme, coaching and more! Click here for more information or click on the image below.

talk-3

Watercolor Dragons in Grade Four

Our school celebrated Chinese New Year recently so it was perfect timing to explore dragons! I had recently seen a dragon project in an old Arts and Activities magazine that would fit nicely with this art lesson.

We talked extensively about dragons and looked online for many examples. The students were more than eager  to create their own unique dragon and wanted to get started. I gave out recycled paper so the kids could practice and draw 2-3 dragons from which they would have to choose one for their final piece.

I gave out 18 x 24  white contruction paper. Each student made a 2 inch border and them proceeded to draw their dragon at a much bigger scale.  Wings and tails were allowed to come off the border  so the dragons would look more dynamic and not closed in.

Next, the dragons was divided into sections and filled with different kinds of lines to create texture. The borders had to also have an interesting pattern.

I gave out watercolor pencils and the borders and dragon were colored in.

When the students added water to their sections colored in with watercolor pencils they thought it was neat that it turned into waterpaint. The main background behind the dragon was painted with regular watercolors.

Once everything was dry, the students outlined all the lines with black sharpies. This is a great lesson you can do with older kids too.

I loved how these turned out, what do you think?

Psst…

Art Lessons for Kids is on Facebook  and we are GROWING. Hit the  ”Like” button to show your LOVE  and join the conversation. You can also follow my adventures on Twitter (@Ms_Alejandra) or see what I am pinning over at Pinterest.

 Need art supplies for this lesson? Click on the link below to visit check out my new Shoppe!
ASFK banner Two 2014

Recycled Paper Weaving in Grade Two

What happens when the copy lady in your school accidently makes too many copies?  You  recycle the paper  into wonderful paper weaving creations of course! I saw this idea in an Arts and Activities magazine many years ago and thought it would be a perfect lesson to try with my second graders.  As I have mentioned before, I pretty much save EVERYTHING! You never know what wonderful art project could be in store with your recycled items.

1. Find some old cardboard and cut them up into 9×12 pieces for each student. Get all your recycled paper (it could be colored paper too!)  and give  8-10 pieces to each student.

2. Have each student  twist each piece of paper until they have 8-10  ‘logs‘. Make sure they start twisting  from the longer side of the paper so the logs will be long.

3. Have the students  glue down the ends of their twisted paper onto the cardboard. These should be glued in a VERTICAL manner as they will be the warp. Use white glue and have the students count to 20 on each end to make sure it sticks down.

4. Put your kiddos into small groups and give each group a  different color as you will be rotating the paint throughout the lesson. They should begin by painting the cardboard base and under the paper logs. Switch the colors around between groups and let the kids paint each log with lines, stripes, dots, etc. They will come up with creative ways to paint. Just make sure they don’t paint the bottom of the logs as these will STICK to the cardboard and you don’t want this to happen.


Next lesson, give out the rest of the log pieces and explain they need to go under, over and weave their paper. Some logs will come loose and this is ok. Have the kids finish weaving and then glue the end back down. Give out some more paint and let the kids finish their creations. Try this lesson with Grade ones and even grade three. They could even weave in other recycled material such as thick yarn, corrugated pieces of paper, etc.


These look pretty cool huh?


Psst…

Art Lessons for Kids is on Facebook  and we are GROWING. Hit the  ”Like” button to show your LOVE  and join the conversation. You can also follow my adventures on Twitter (@Ms_Alejandra) or see what I am pinning over at Pinterest.

Sign up today for The Happy Whole Teacher messages and get some lovin’ pep talks to keep you happy, balanced, energised and inspired. Click on the image below to join for FREE. I would love to have you in my tribe.

Become whole again and change your life.  Let me show you how.

Become whole again and change your life. Let me show you how.