I couldn’t resist not doing my previous lesson “Taking Lines for a Walk’ with my eager Kinder kids. We talked about lines and we looked for them in the classroom. We drew imaginary lines in the air and then they were ready for their art project.
Every child got a 18 x 12 piece of white paper and a black crayon. I explained to them that they would take their crayon on a wonderful adventure all over the paper. They can start on any edge of the paper and curl, twirl, curve, zig-zag all around the paper till you say “stop!” They nned to end their line and go off any edge of the paper. Here you need to watch what everyone is doing and make sure the lines don’t get crowded and messy on the paper. In other words, don’t drag this part of the lesson too long!

Taking a line for a walk
Next, tell your kids to color in some spaces with crayons and to fill in the areas with different lines they can think of such as dots, crosses, hatched lines, etc.

Coloring in some of the spaces
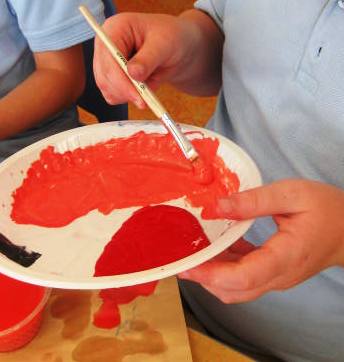
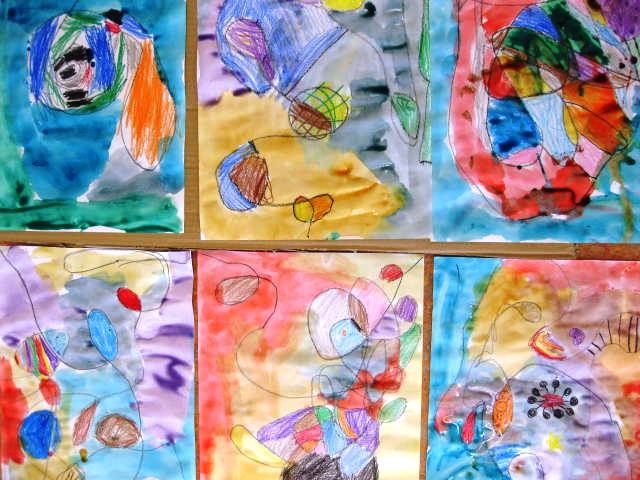
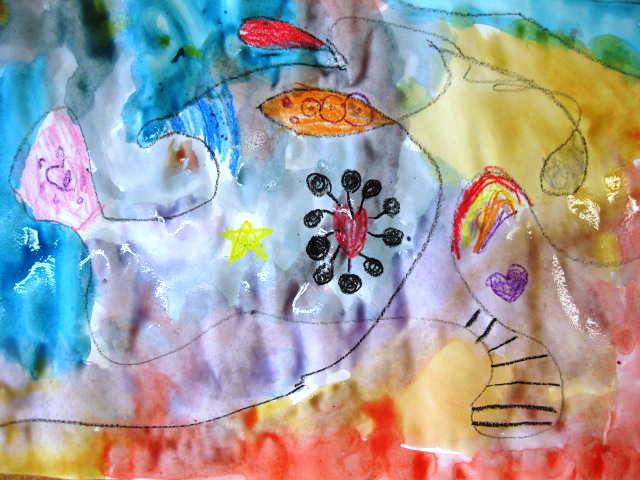
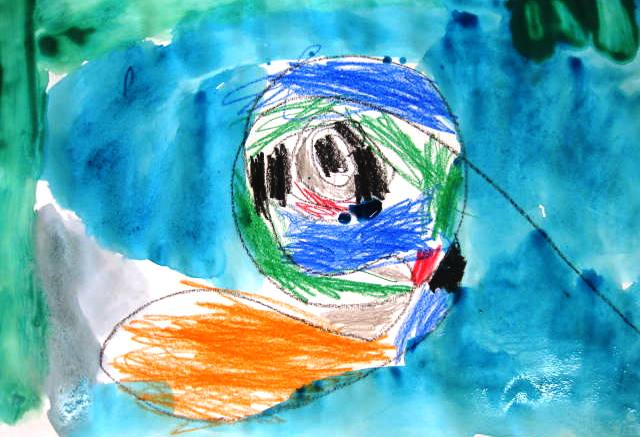
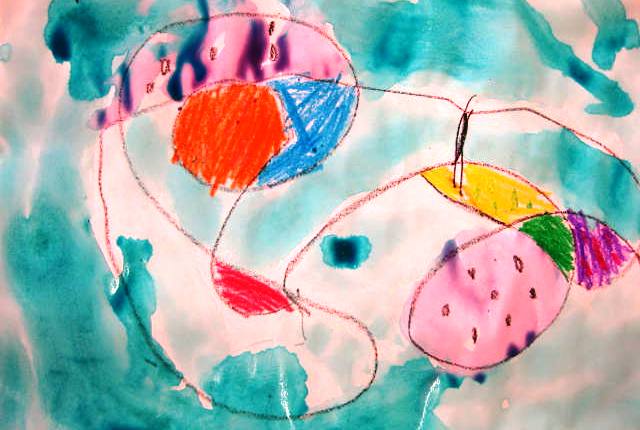
Next and final part of the lesson is to paint the paper with watered down tempera paints (stick to three colors max) or water colors. The result is fantastic and the kids will know everything about lines!
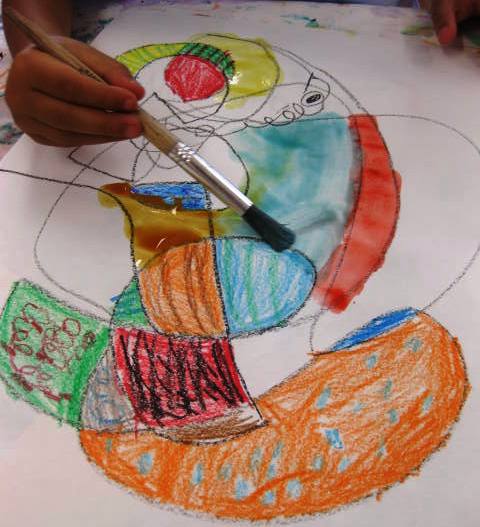
Painting in the rest of the spaces
Psst…
Art Lessons for Kids is on Facebook and we are GROWING. Hit the “Like” button and join the conversation. We are ALL waiting for you!! You can also follow my adventures on Twitter (@Ms_Alejandra).
Sign up today for The Happy Whole Teacher messages and get some lovin’ pep talks to keep you happy, balanced, energised and inspired. Click on the image below to join for FREE. I would love to have you in my tribe.

Become whole again and change your life. Let me show you how.