
What happens when the copy lady in your school accidently makes too many copies? You recycle the paper into wonderful paper weaving creations of course! I saw this idea in an Arts and Activities magazine many years ago and thought it would be a perfect lesson to try with my second graders. As I have mentioned before, I pretty much save EVERYTHING! You never know what wonderful art project could be in store with your recycled items.
1. Find some old cardboard and cut them up into 9×12 pieces for each student. Get all your recycled paper (it could be colored paper too!) and give 8-10 pieces to each student.
2. Have each student twist each piece of paper until they have 8-10 ‘logs‘. Make sure they start twisting from the longer side of the paper so the logs will be long.
3. Have the students glue down the ends of their twisted paper onto the cardboard. These should be glued in a VERTICAL manner as they will be the warp. Use white glue and have the students count to 20 on each end to make sure it sticks down.

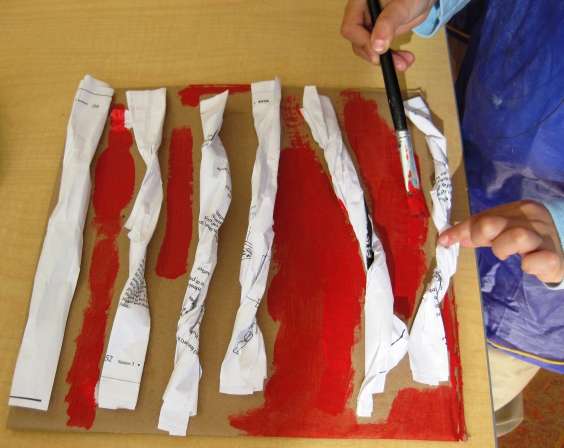
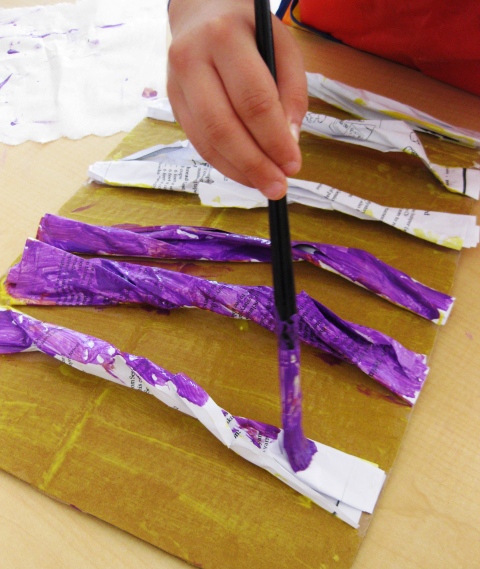
4. Put your kiddos into small groups and give each group a different color as you will be rotating the paint throughout the lesson. They should begin by painting the cardboard base and under the paper logs. Switch the colors around between groups and let the kids paint each log with lines, stripes, dots, etc. They will come up with creative ways to paint. Just make sure they don’t paint the bottom of the logs as these will STICK to the cardboard and you don’t want this to happen.
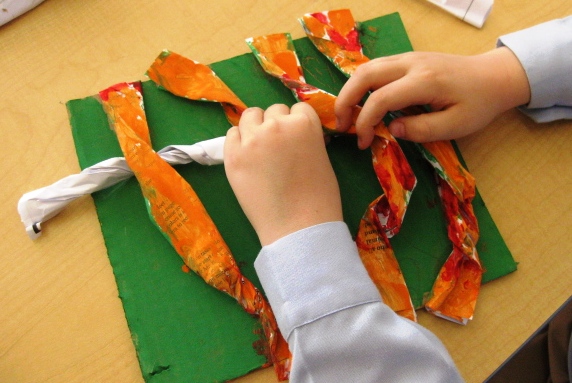
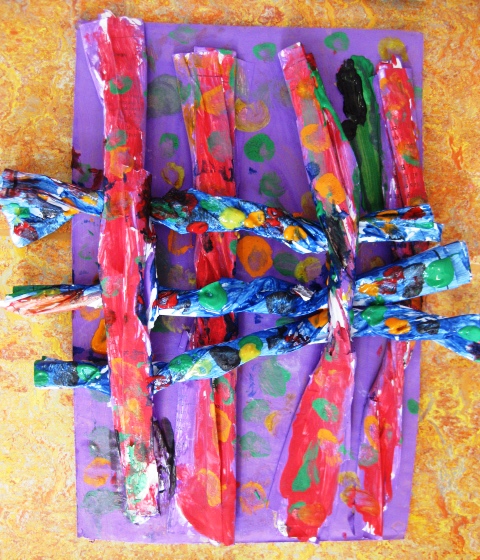
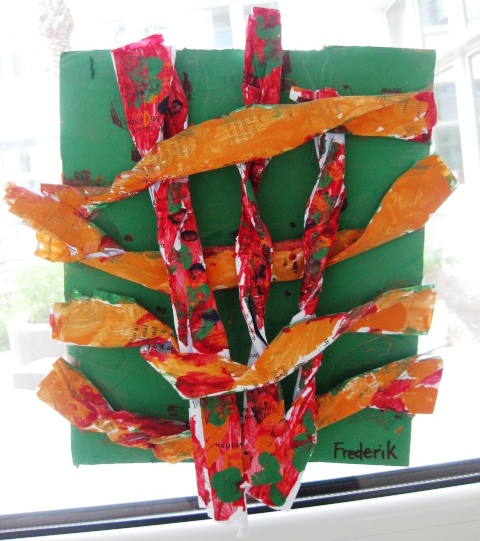
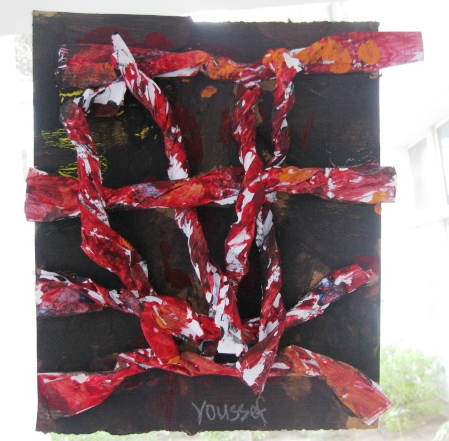
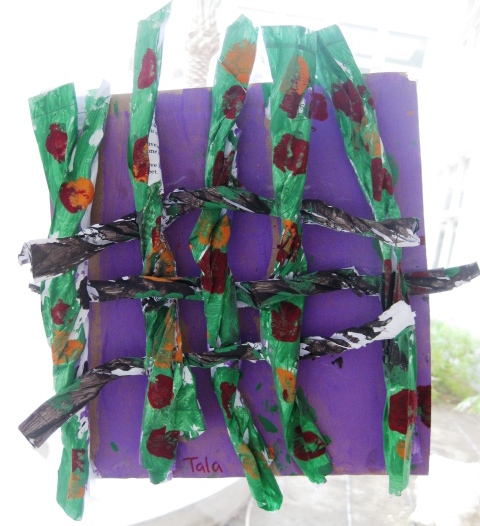
Next lesson, give out the rest of the log pieces and explain they need to go under, over and weave their paper. Some logs will come loose and this is ok. Have the kids finish weaving and then glue the end back down. Give out some more paint and let the kids finish their creations. Try this lesson with Grade ones and even grade three. They could even weave in other recycled material such as thick yarn, corrugated pieces of paper, etc.
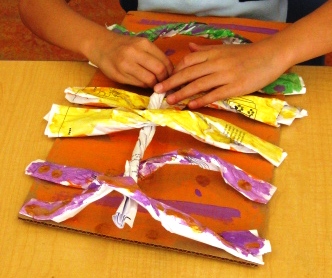
These look pretty cool huh?

Psst…
Art Lessons for Kids is on Facebook and we are GROWING. Hit the ”Like” button to show your LOVE and join the conversation. You can also follow my adventures on Twitter (@Ms_Alejandra) or see what I am pinning over at Pinterest.
Sign up today for The Happy Whole Teacher messages and get some lovin’ pep talks to keep you happy, balanced, energised and inspired. Click on the image below to join for FREE. I would love to have you in my tribe.
Become whole again and change your life. Let me show you how.


