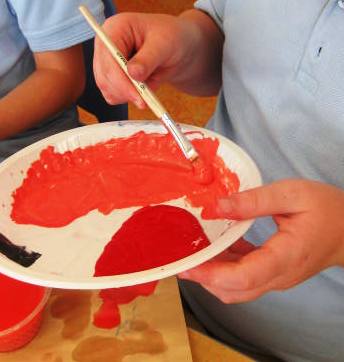
Sample of tints and shades of red
I love teaching my students how to make tints and shades because it gives them the freedom to make their own colors and and they are always amazed how many colors they can make by using black or white and another color.
Since I am laying a foundation for color mixing the rule in my class is they must make a tint and shade of a primary color or if they want a secondary color they must mix it first. This reinforces mixing secondary colors.
Begin by explaining or reviewing what a tint and shade is. You can show a slideshow of art work that show tints or shades to show your kids what they are capable of doing. Introduce the word momochromatic colors to your older students.
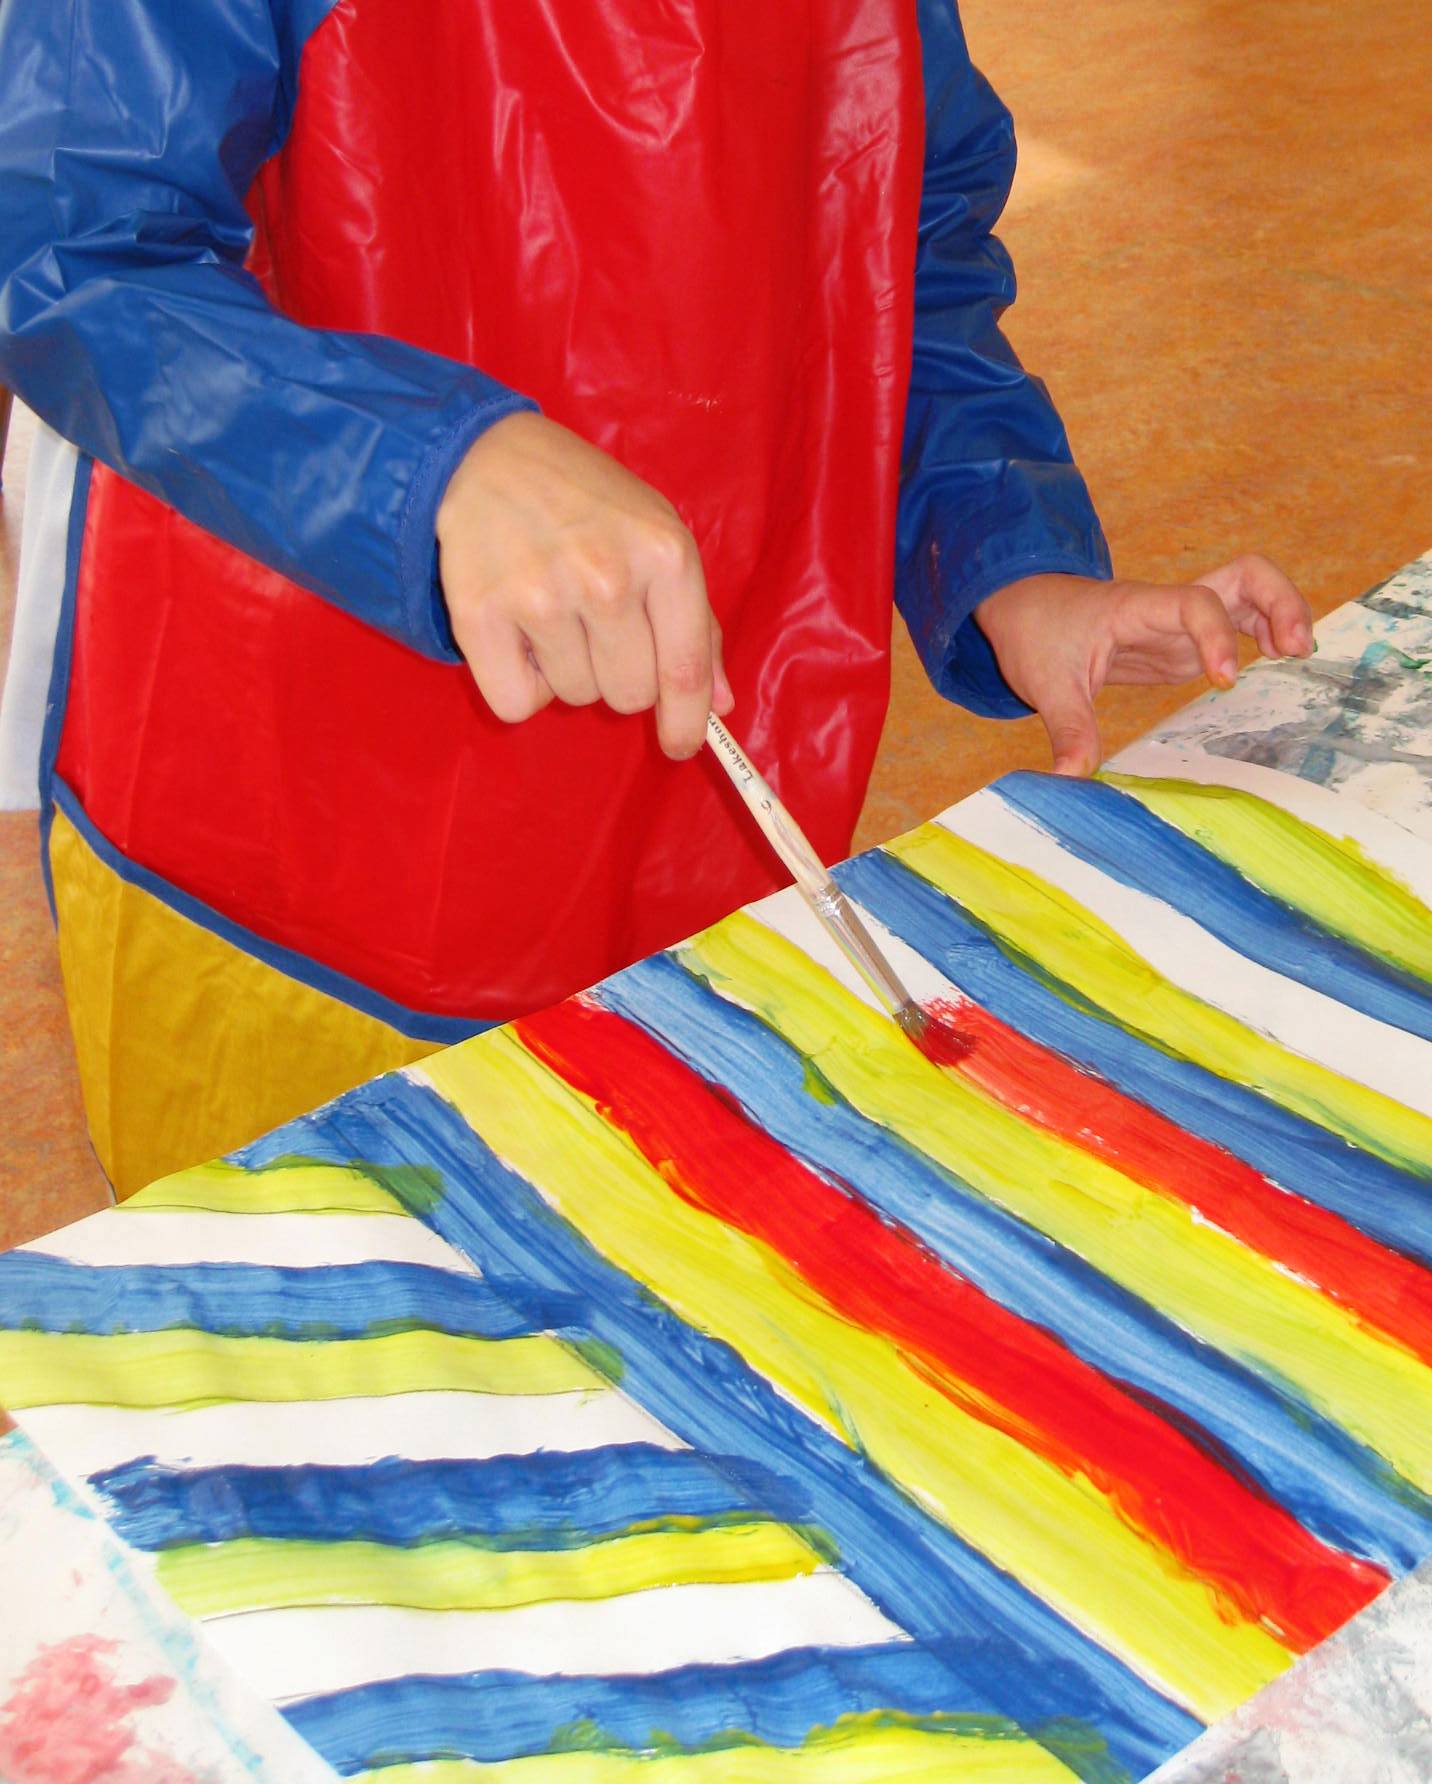
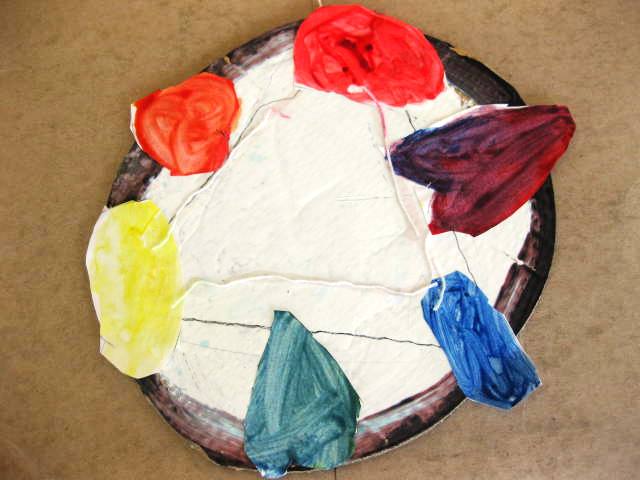
Start by letting your students choose one hue to work with. On their plastic plate they should place a spoonful of white, black and 2 amounts of a the hue of their choice.
Grade three were given a white piece of paper and they cut out two big shapes. They were to show their pure hue gradually get lighter (tint) on one shape and gradullay get darker (shade) on the other shape. They could either start in the middle and work out or start on the outer edge of their shape and work in.

This is an example of a tint

This is an example of a shade
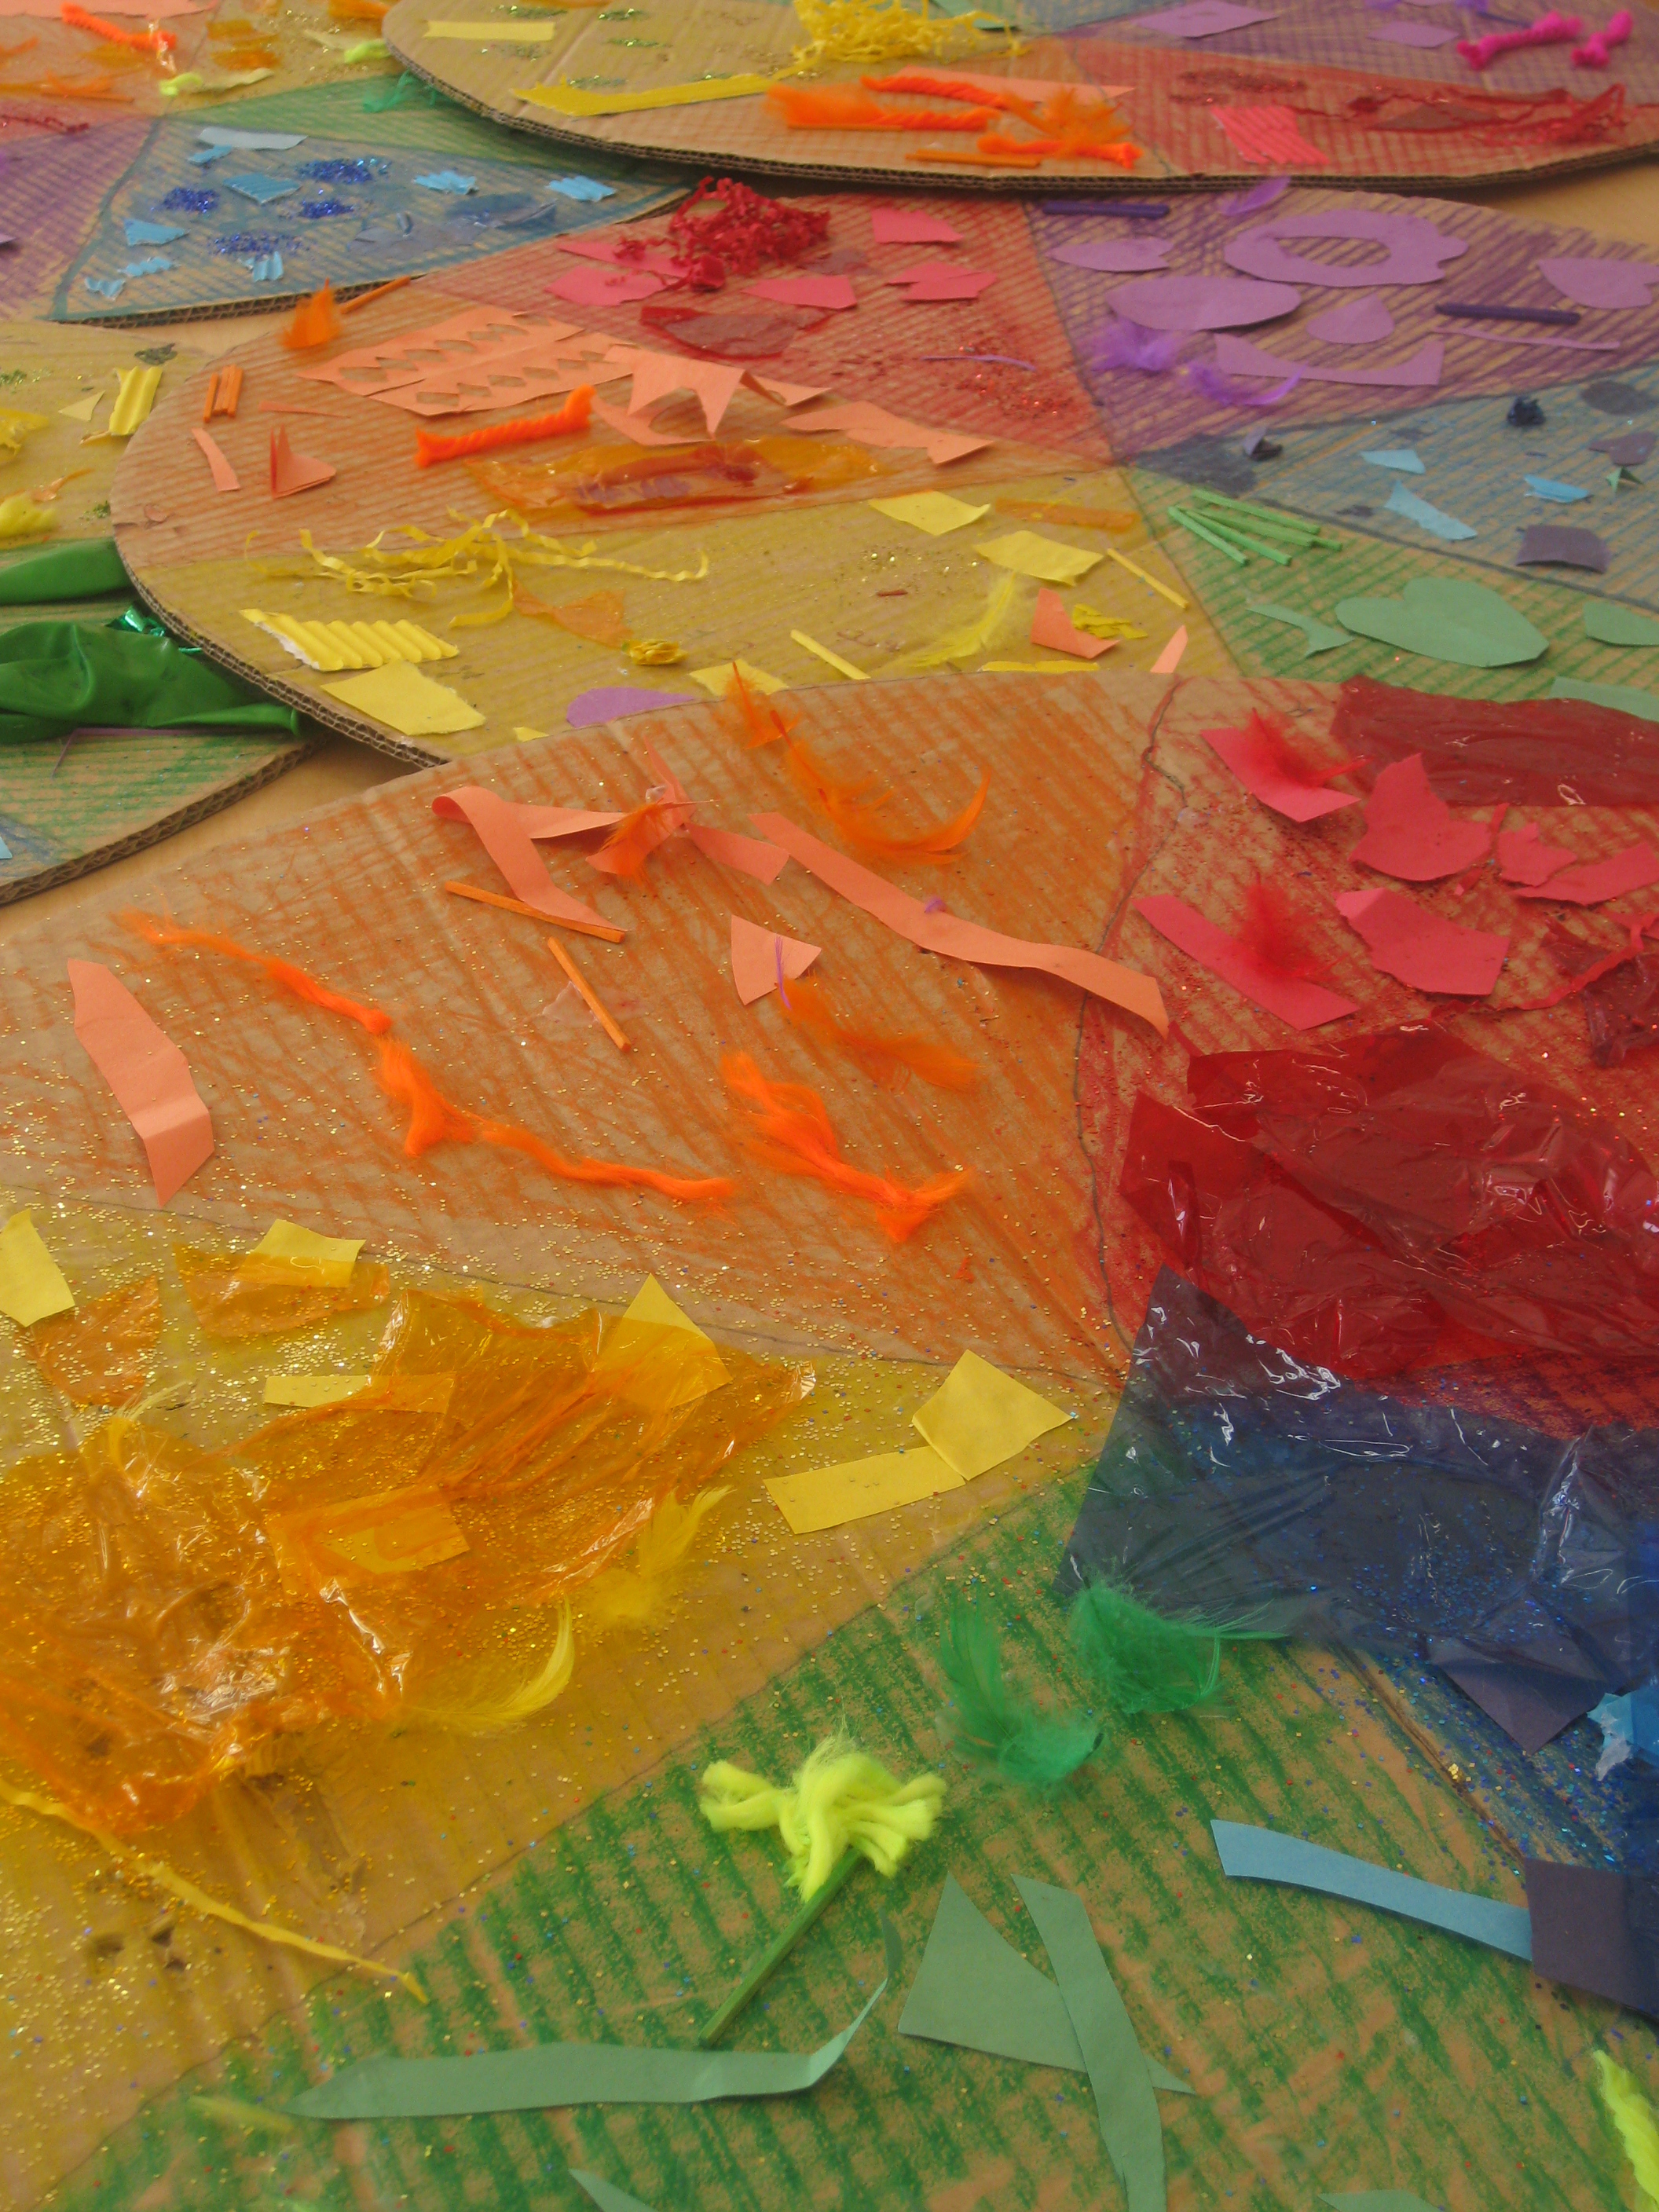
Grade five practised making tints and shades on a piece of paper and then drew a cityscape with curved buildings, to make their art work a little more interesting. Their challenge was to fill in all the white space of their drawing with tints and shades of the color they chose. If they chose a secondary color (orange, green or purple) they had to first mix it with the primary colors. This was a great project for them to because the final result is stunning and they really grasped the idea of tints and shades.

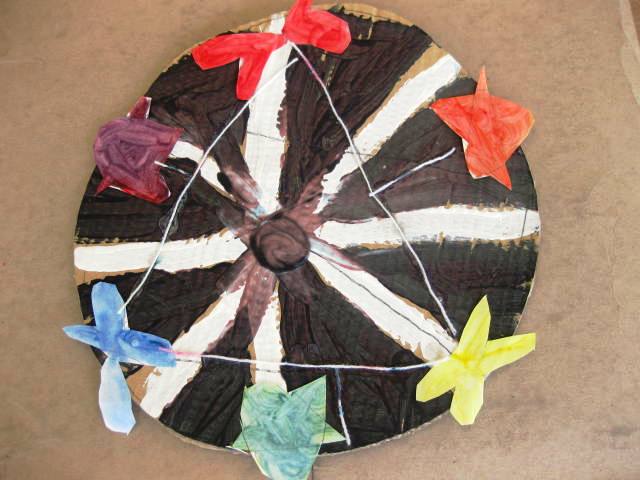
Filling in the design with tints and shades
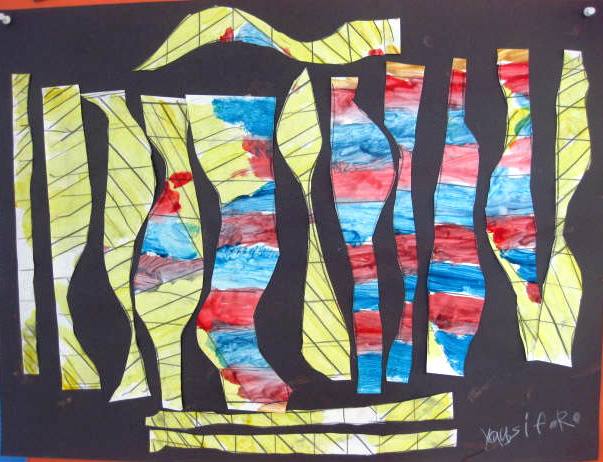
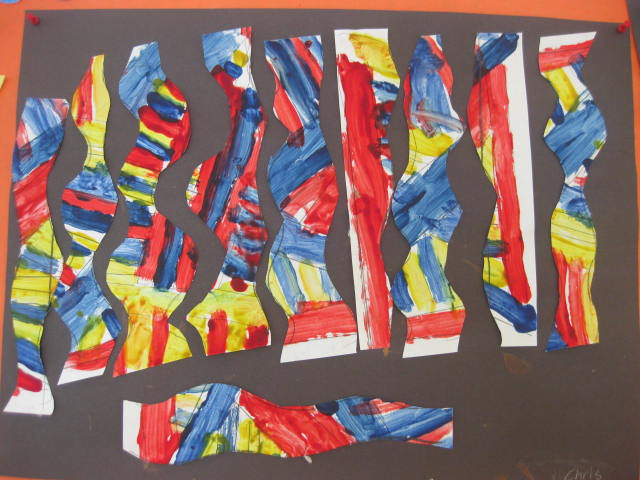
Here are some examples of fabulous artwork done by making a tint or a shade of a color.


If you know anyone that might find this post useful, I’d really love it if you share this with your fans or followers today. All it takes is a simple click on the ‘like’ and share buttons below. Thanks!
PS: Did you know Art Lessons for Kids has a Facebook page and you can follow my adventures on Twitter (@Ms_Alejandra)? Click on over!
Sign up today for The Happy Whole Teacher messages and get some lovin’ pep talks to keep you happy, balanced, energised and inspired. Click on the image below to join for FREE. I would love to have you in my tribe.

Become whole again and change your life. Let me show you how.