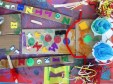
I thought I would share these gorgeous robots my grade twos created using recycled cardboard and junky stuff they collected from home. I saw this idea on one of the many fabulous art blogs I check out but I can’t remember … Continue reading
I thought I would share these gorgeous robots my grade twos created using recycled cardboard and junky stuff they collected from home. I saw this idea on one of the many fabulous art blogs I check out but I can’t remember … Continue reading
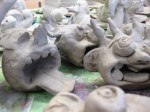
I was finally able to teach some fun clay lessons with all my students. There was a whole lot of pinching, rolling, punching, and coiling as each grade level explored and made gorgeous creations out of clay. I found an … Continue reading

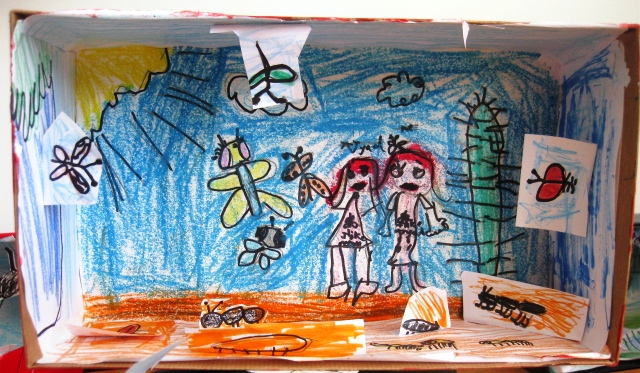
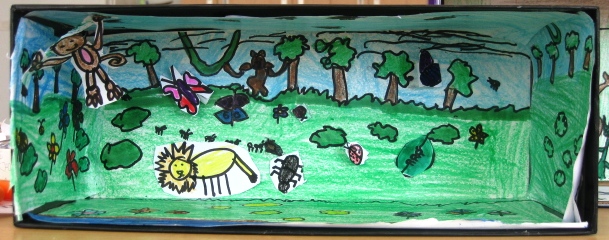
Dioramas are so much fun to make with kids and it’s also a great way to recycle those old shoeboxes too! Grade ones are learning about insects in science so we have been doing many insect related art projects which I will post very soon.
Tell your students to bring an old shoebox from home and if they don’t have one they can easily visit a shoe store and explain to one of the assistants or managers they need an empty shoe box for an art project. They will be more than happy to give some boxes away.
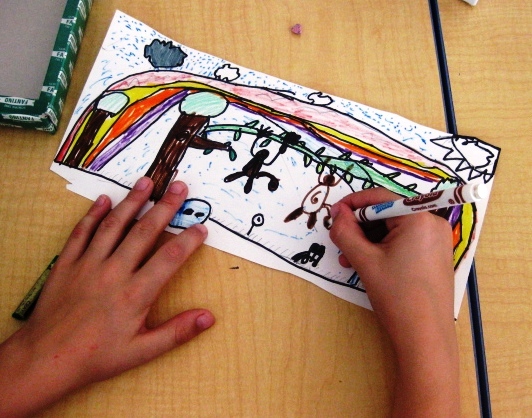
Explain what a diorama is and tell your students thay will create a background for their insect home on each inside side of the box. The background needs to be colorful. The theme here was insects but you can adapt this project to absolutely anything!
Outlining the main background
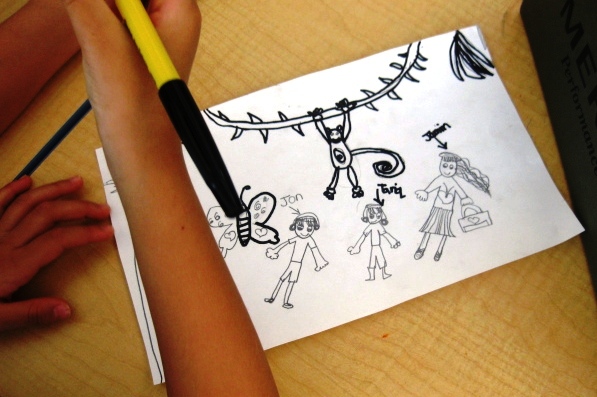
Next step is to make the standing up insects and extras do the diorama comes to life. This is the exciting part that kids love. Remind the students that after they draw their insect and depending where they will glue it in their box, to leave some white space left, right, above or below the picture. When they cut it out this extra part will be bent and glued in the box. The kids will get the hang of this quickly.
These turned out lovely don’t you think? I love all the details. 🙂

Psst…
Art Lessons for Kids is on Facebook and we are GROWING. Hit the ”Like” button to show your LOVE and join the conversation. You can also follow my adventures on Twitter (@Ms_Alejandra) or see what I am pinning over at Pinterest.
Sign up today for The Happy Whole Teacher messages and get some lovin’ pep talks to keep you happy, balanced, energised and inspired. Click on the image below to join for FREE. I would love to have you in my tribe.
Become whole again and change your life. Let me show you how.
