
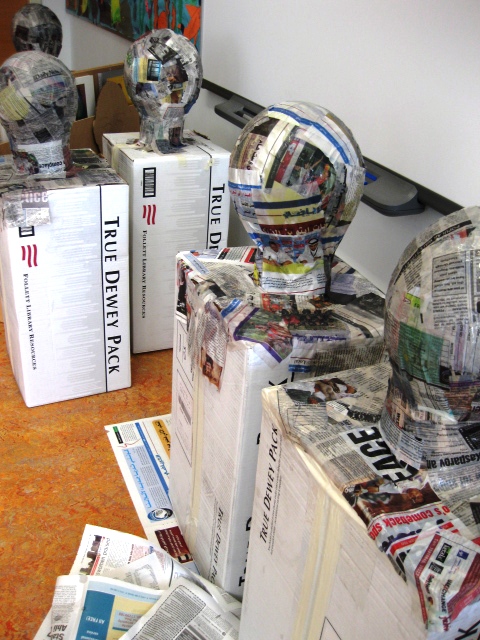
These took quite a while to make and required patience, problem solving and imagination. It’s amazing what you can do with a box, balloon and paper mache! Find more self-portrait lesson ideas here.

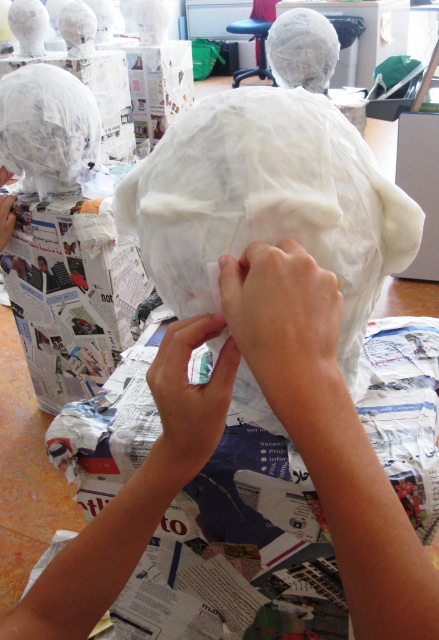
Attaching the ‘head’

paper mache EVERYTHING several layers!


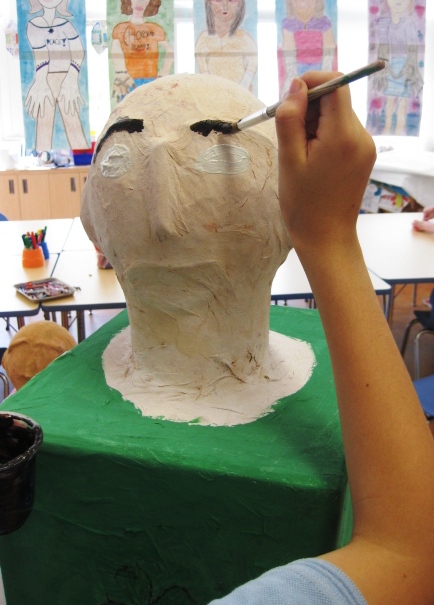
Final paper mache layer should be white paper
Adding facial details
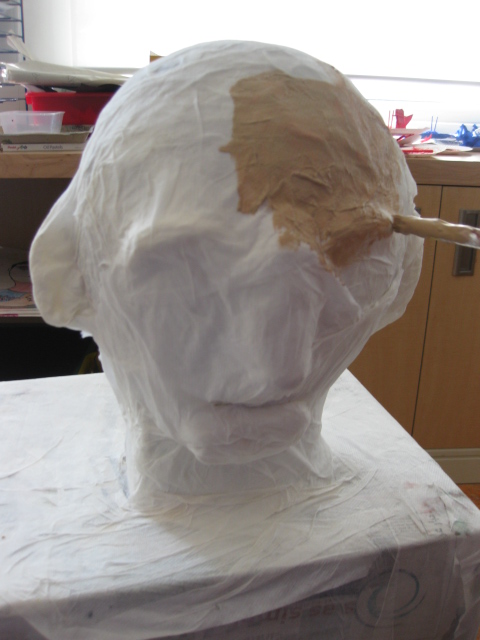
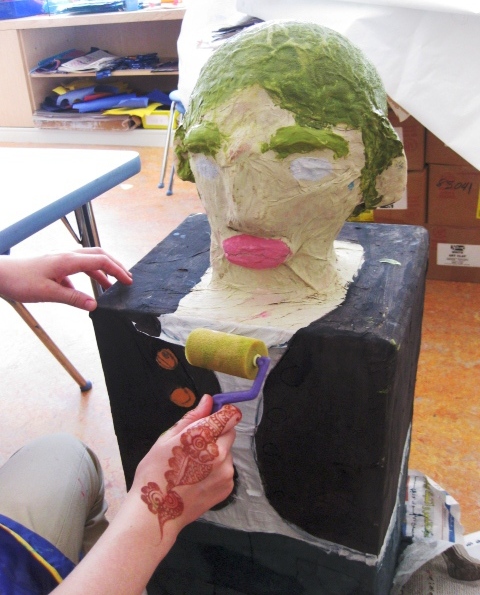
Adding skin color
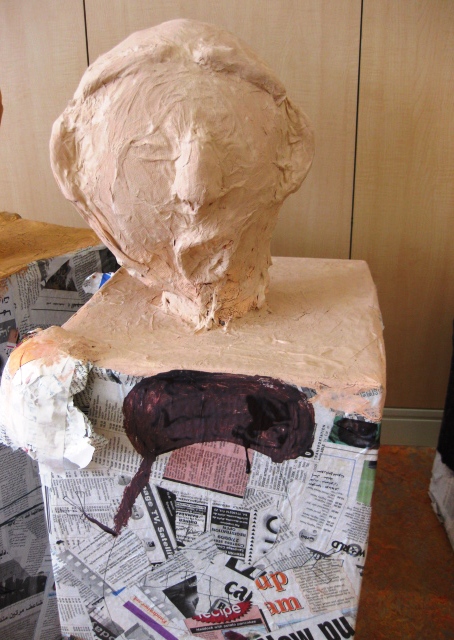
Looking quite realistic now!
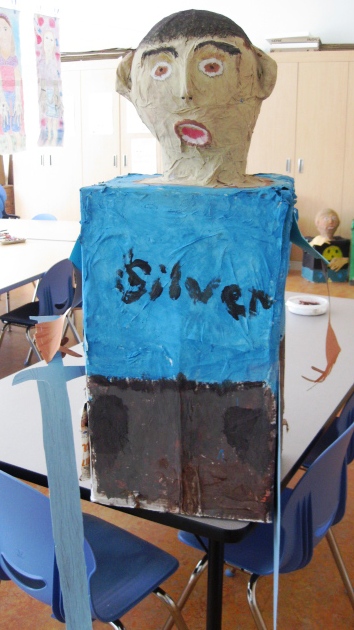
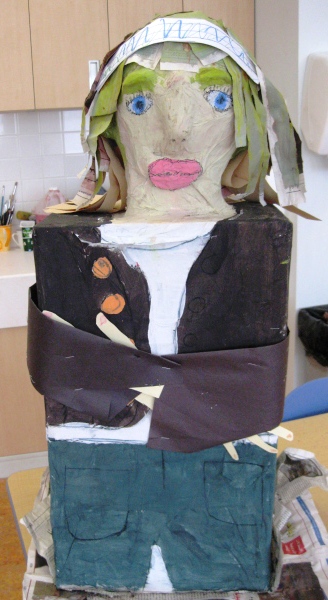
Adding details
I think they turned out lovely don’t you?


Psst…
Art Lessons for Kids is on Facebook and we are GROWING. Hit the ”Like” button to show your LOVE and join the conversation. You can also follow my adventures on Twitter (@Ms_Alejandra) or see what I am pinning over at Pinterest.
Need art supplies for this lesson? Click on the link below to visit check out my new Shoppe!


Those are awesome. Can I ask how often you see your kids and how long it takes to complete this project?
Thanks! Beth
Hi Beth. I see these kids twice a week and for one hour each session. This project took about one month and a half to complete. Well worth it don’t you think?
Definitely worth it! I only see my kids once a week (and not that often if we don’t have school on their day — which happens more than you’d think!). I did a paper mache project with my fifth graders and it took the whole 9 weeks! I would love to try this, or something similar, but worry about time constraints. I’m hoping to eventually get to see them twice a week, but who knows 🙂 Thanks for the inspiration!
If you decide to do it please let me know and i will give you a wonderful paper mache recipe that dries wonderfully and is really good. Go for it! The kids will love it. 🙂
Those are wonderful!
You must have some great storage. jan
I am lucky to have a big classroom which is jam packed with artwork at the moment. Time to have an artshow and de-clutter! Love your site by the way–you are very talented and patient with those scissors!
I appreciate this lesson, as I am constantly trying to make art out of “junk!” My school had little to no money to give to me, and it was challenging at times! This lesson is full of teachable moments without hardly spending a dime.
Could you please provide me with your paper mache recipe as I would love to do this with my year 6 class. Looks terrific. Thanks for the idea.
Beth Hatty
Tocumwal Public School
NSW Australia
Of course you can have my recipe. You combine 1/2 cup all-purpose flour with 2 cups cold water in a bowl. Use a whisker for fast mixing. Add this mixture to a saucepan of 2 cups boiling water and keep whisking while it boils again . Remove from the heat and stir in 3 tablespoons of sugar. Let it cool and you are set to go! Have fun 🙂
Awesome Idea!! Love it, thank you!
Cool, I love this
Love this idea! I’m saving this one for my art class next year. 🙂
Great to hear! Looking forward to hearing how it all goes!