Get ready for an exciting lesson you can try with your students the next time you talk about texture.
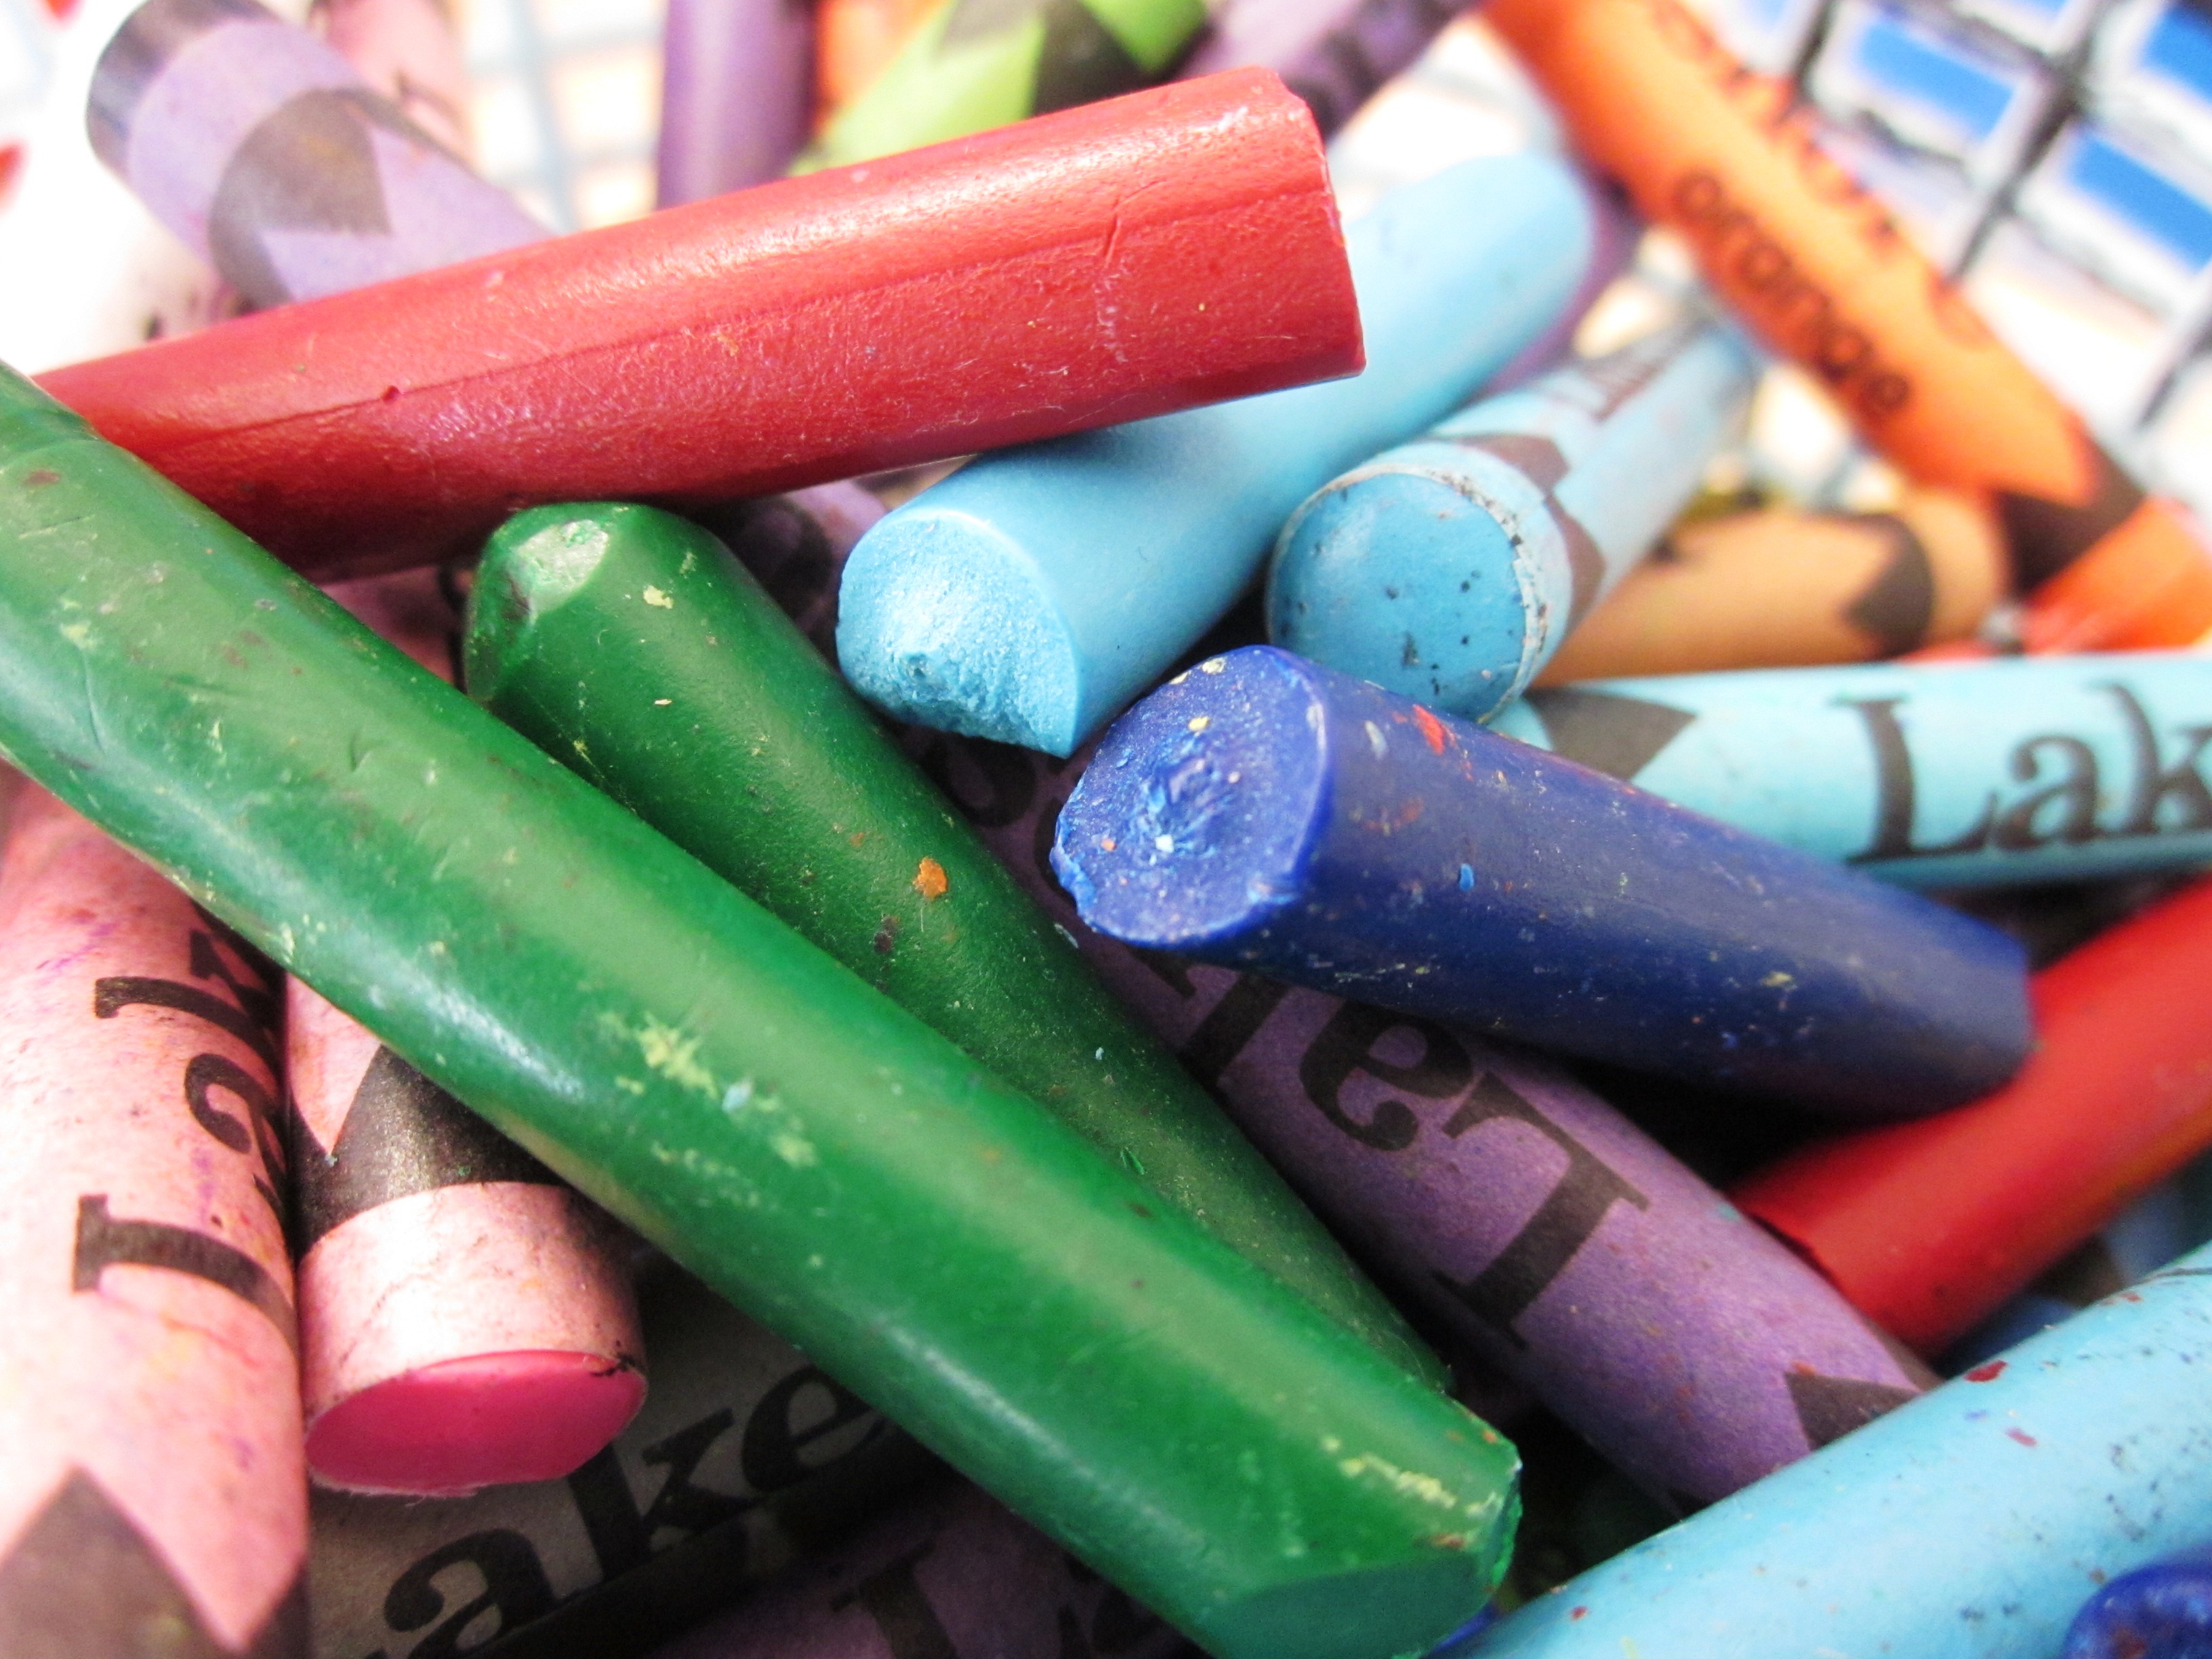
Give your students a piece of paper and tell them to choose two different colored crayons. Use old crayons that have no wrappers on them.
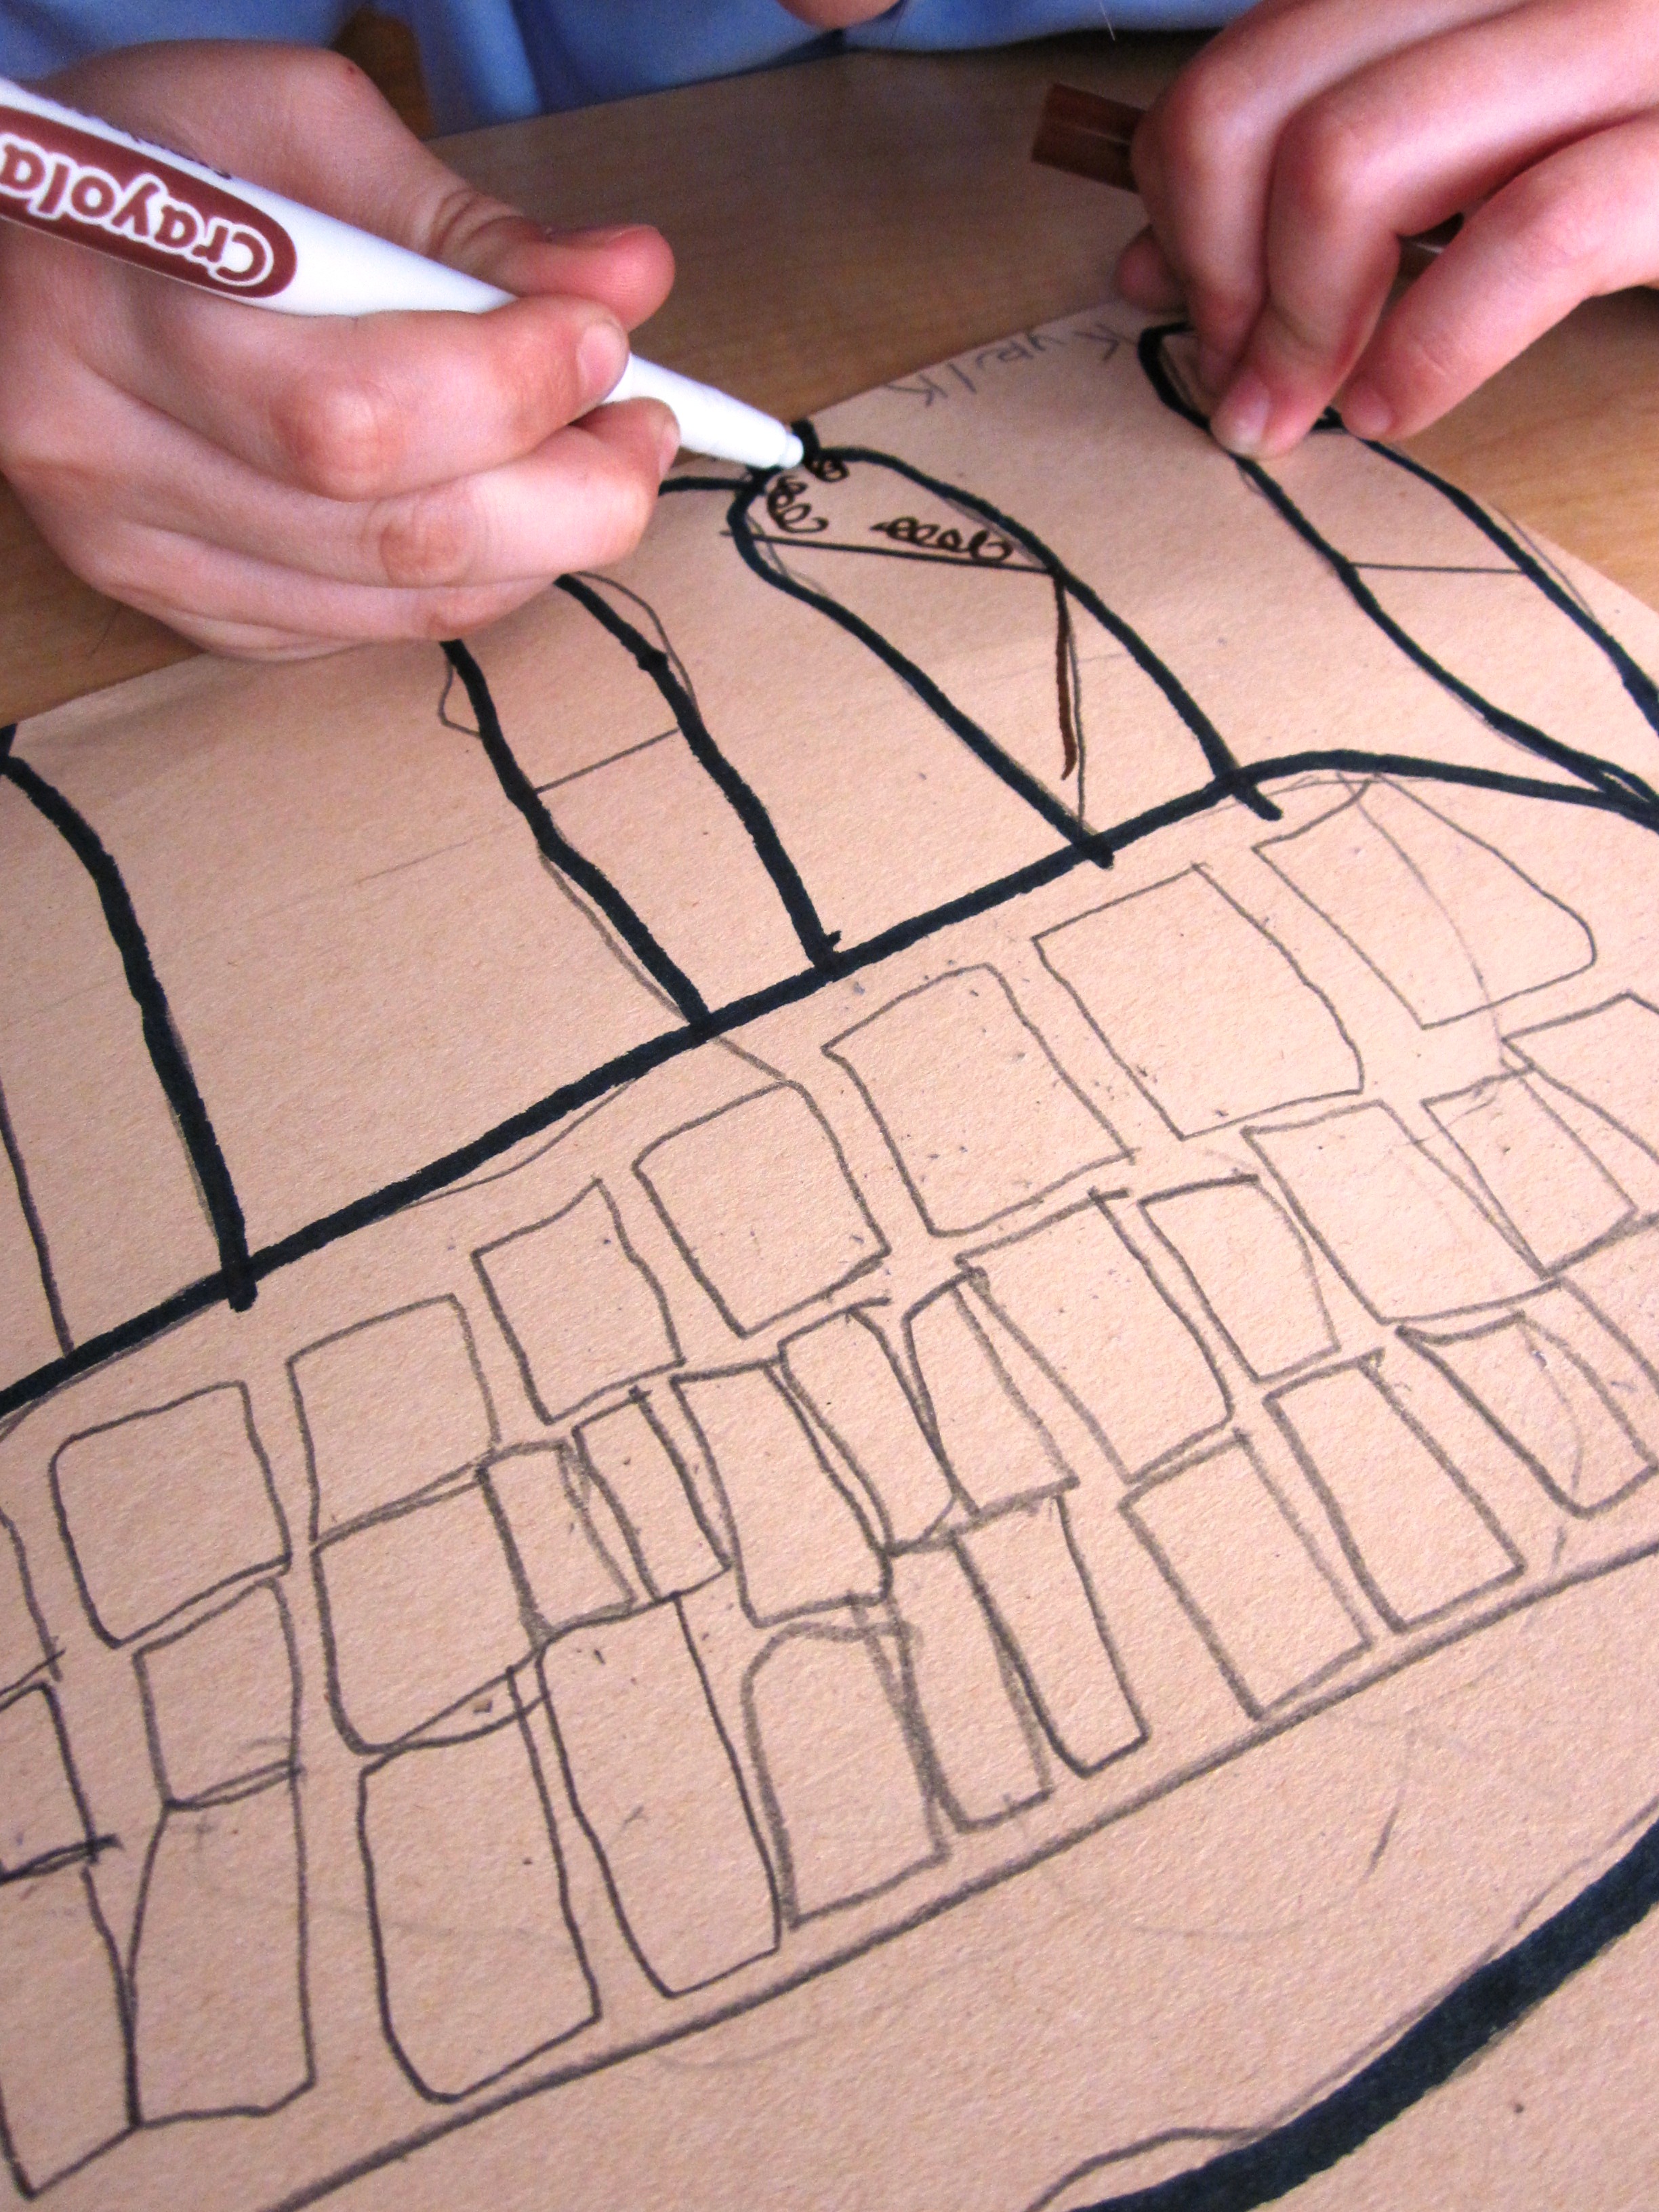
After asking your students what the word ‘texture‘ might mean, ask them how can we ‘see‘ texture. Kids will come up with all sorts of ideas but you basically want them to say that you can see texture by rubbing it onto paper with pencils or crayons.
Go outside for a texture hunt and remind kids to rub their crayons in a ‘sleeping‘ position and encourage them to try two colors.
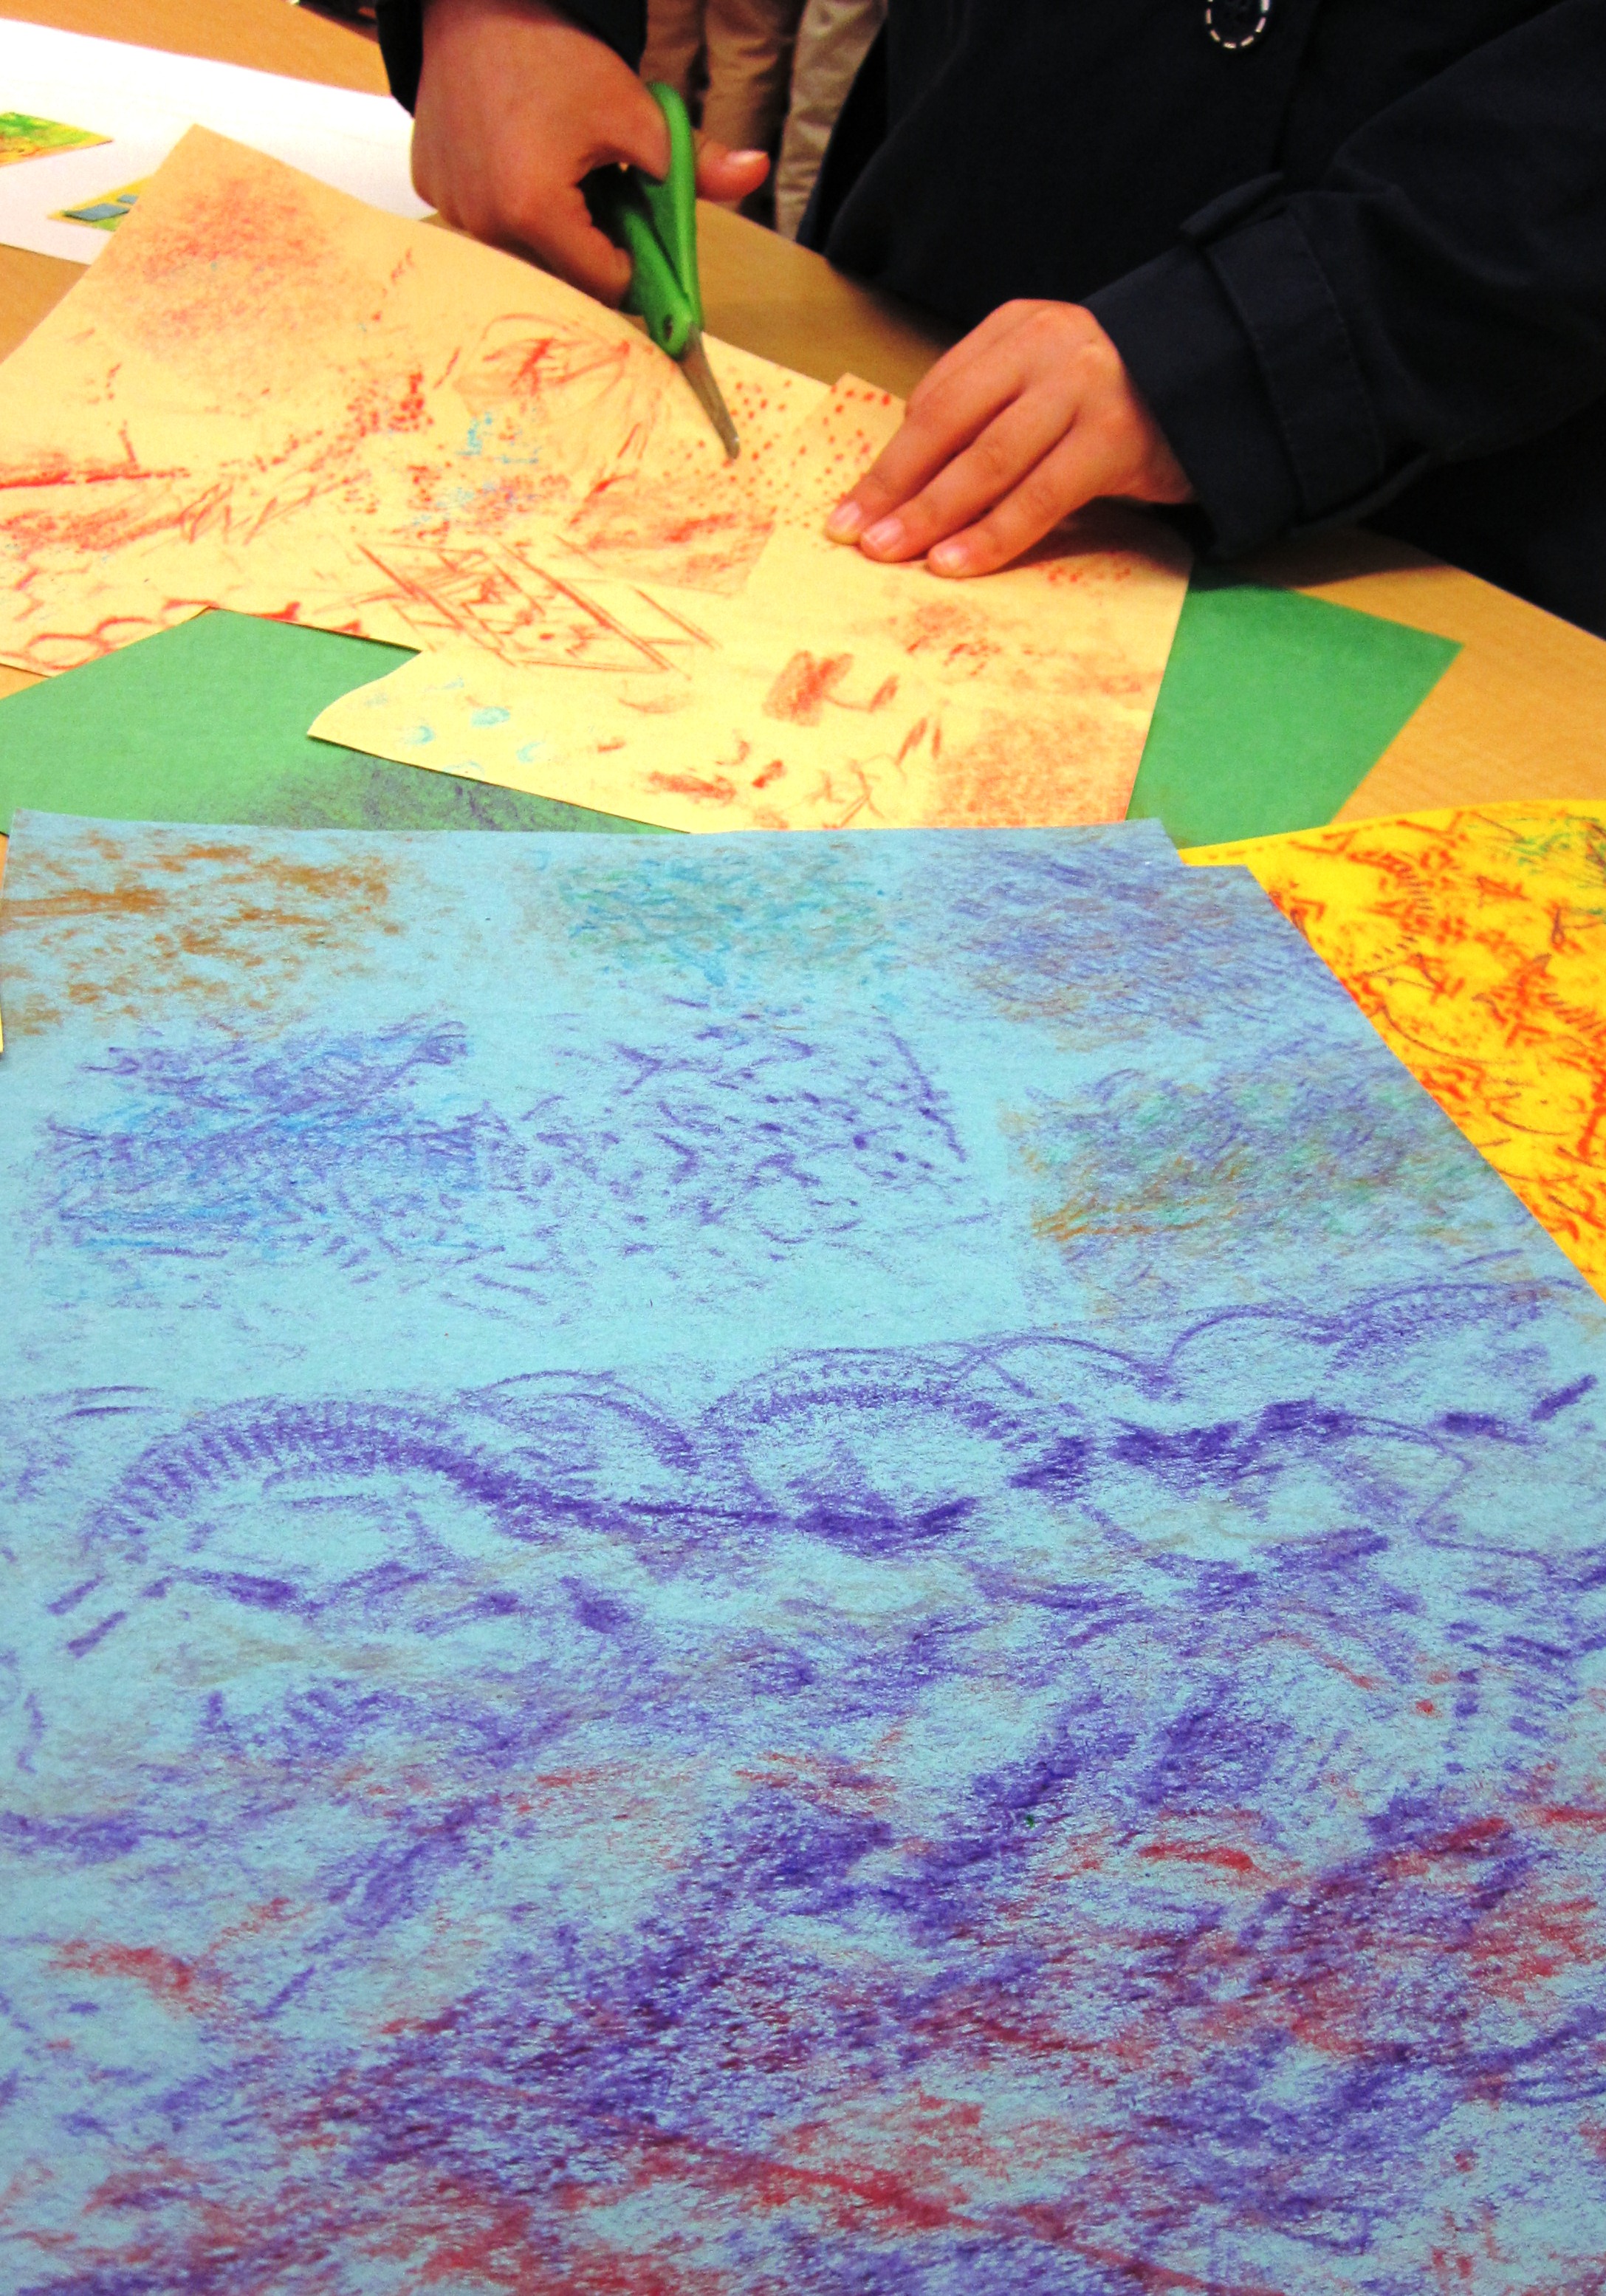
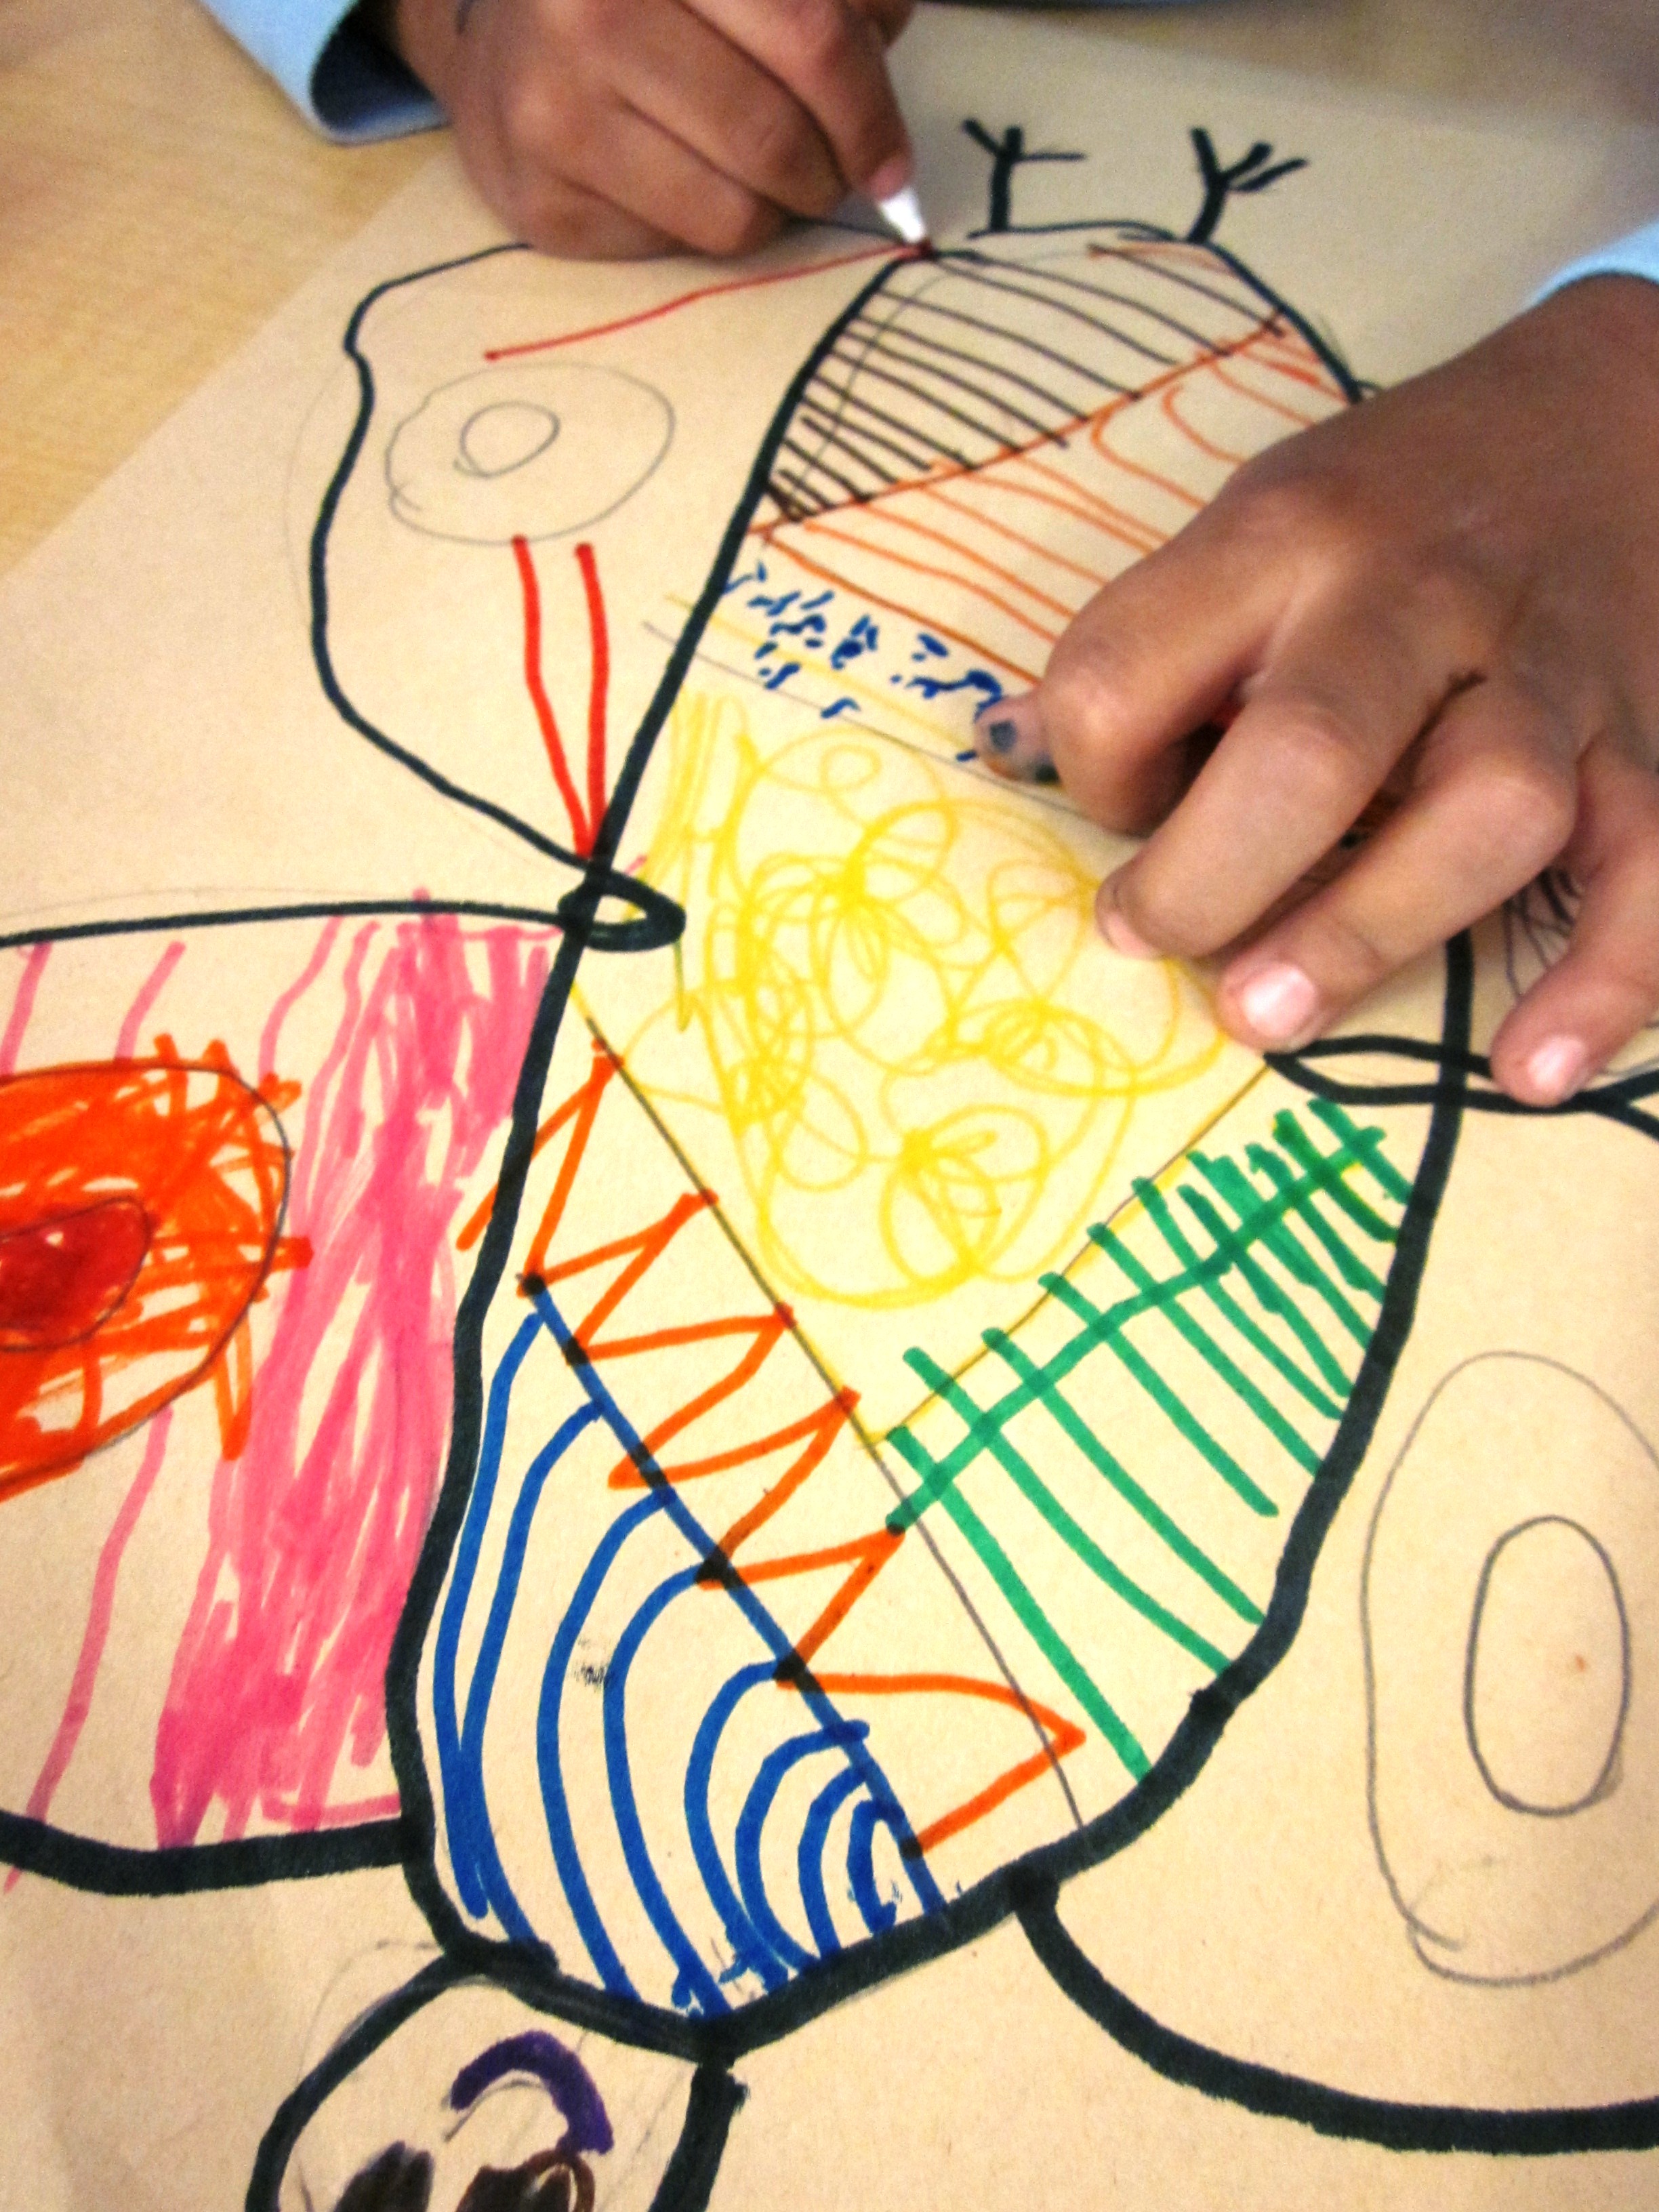
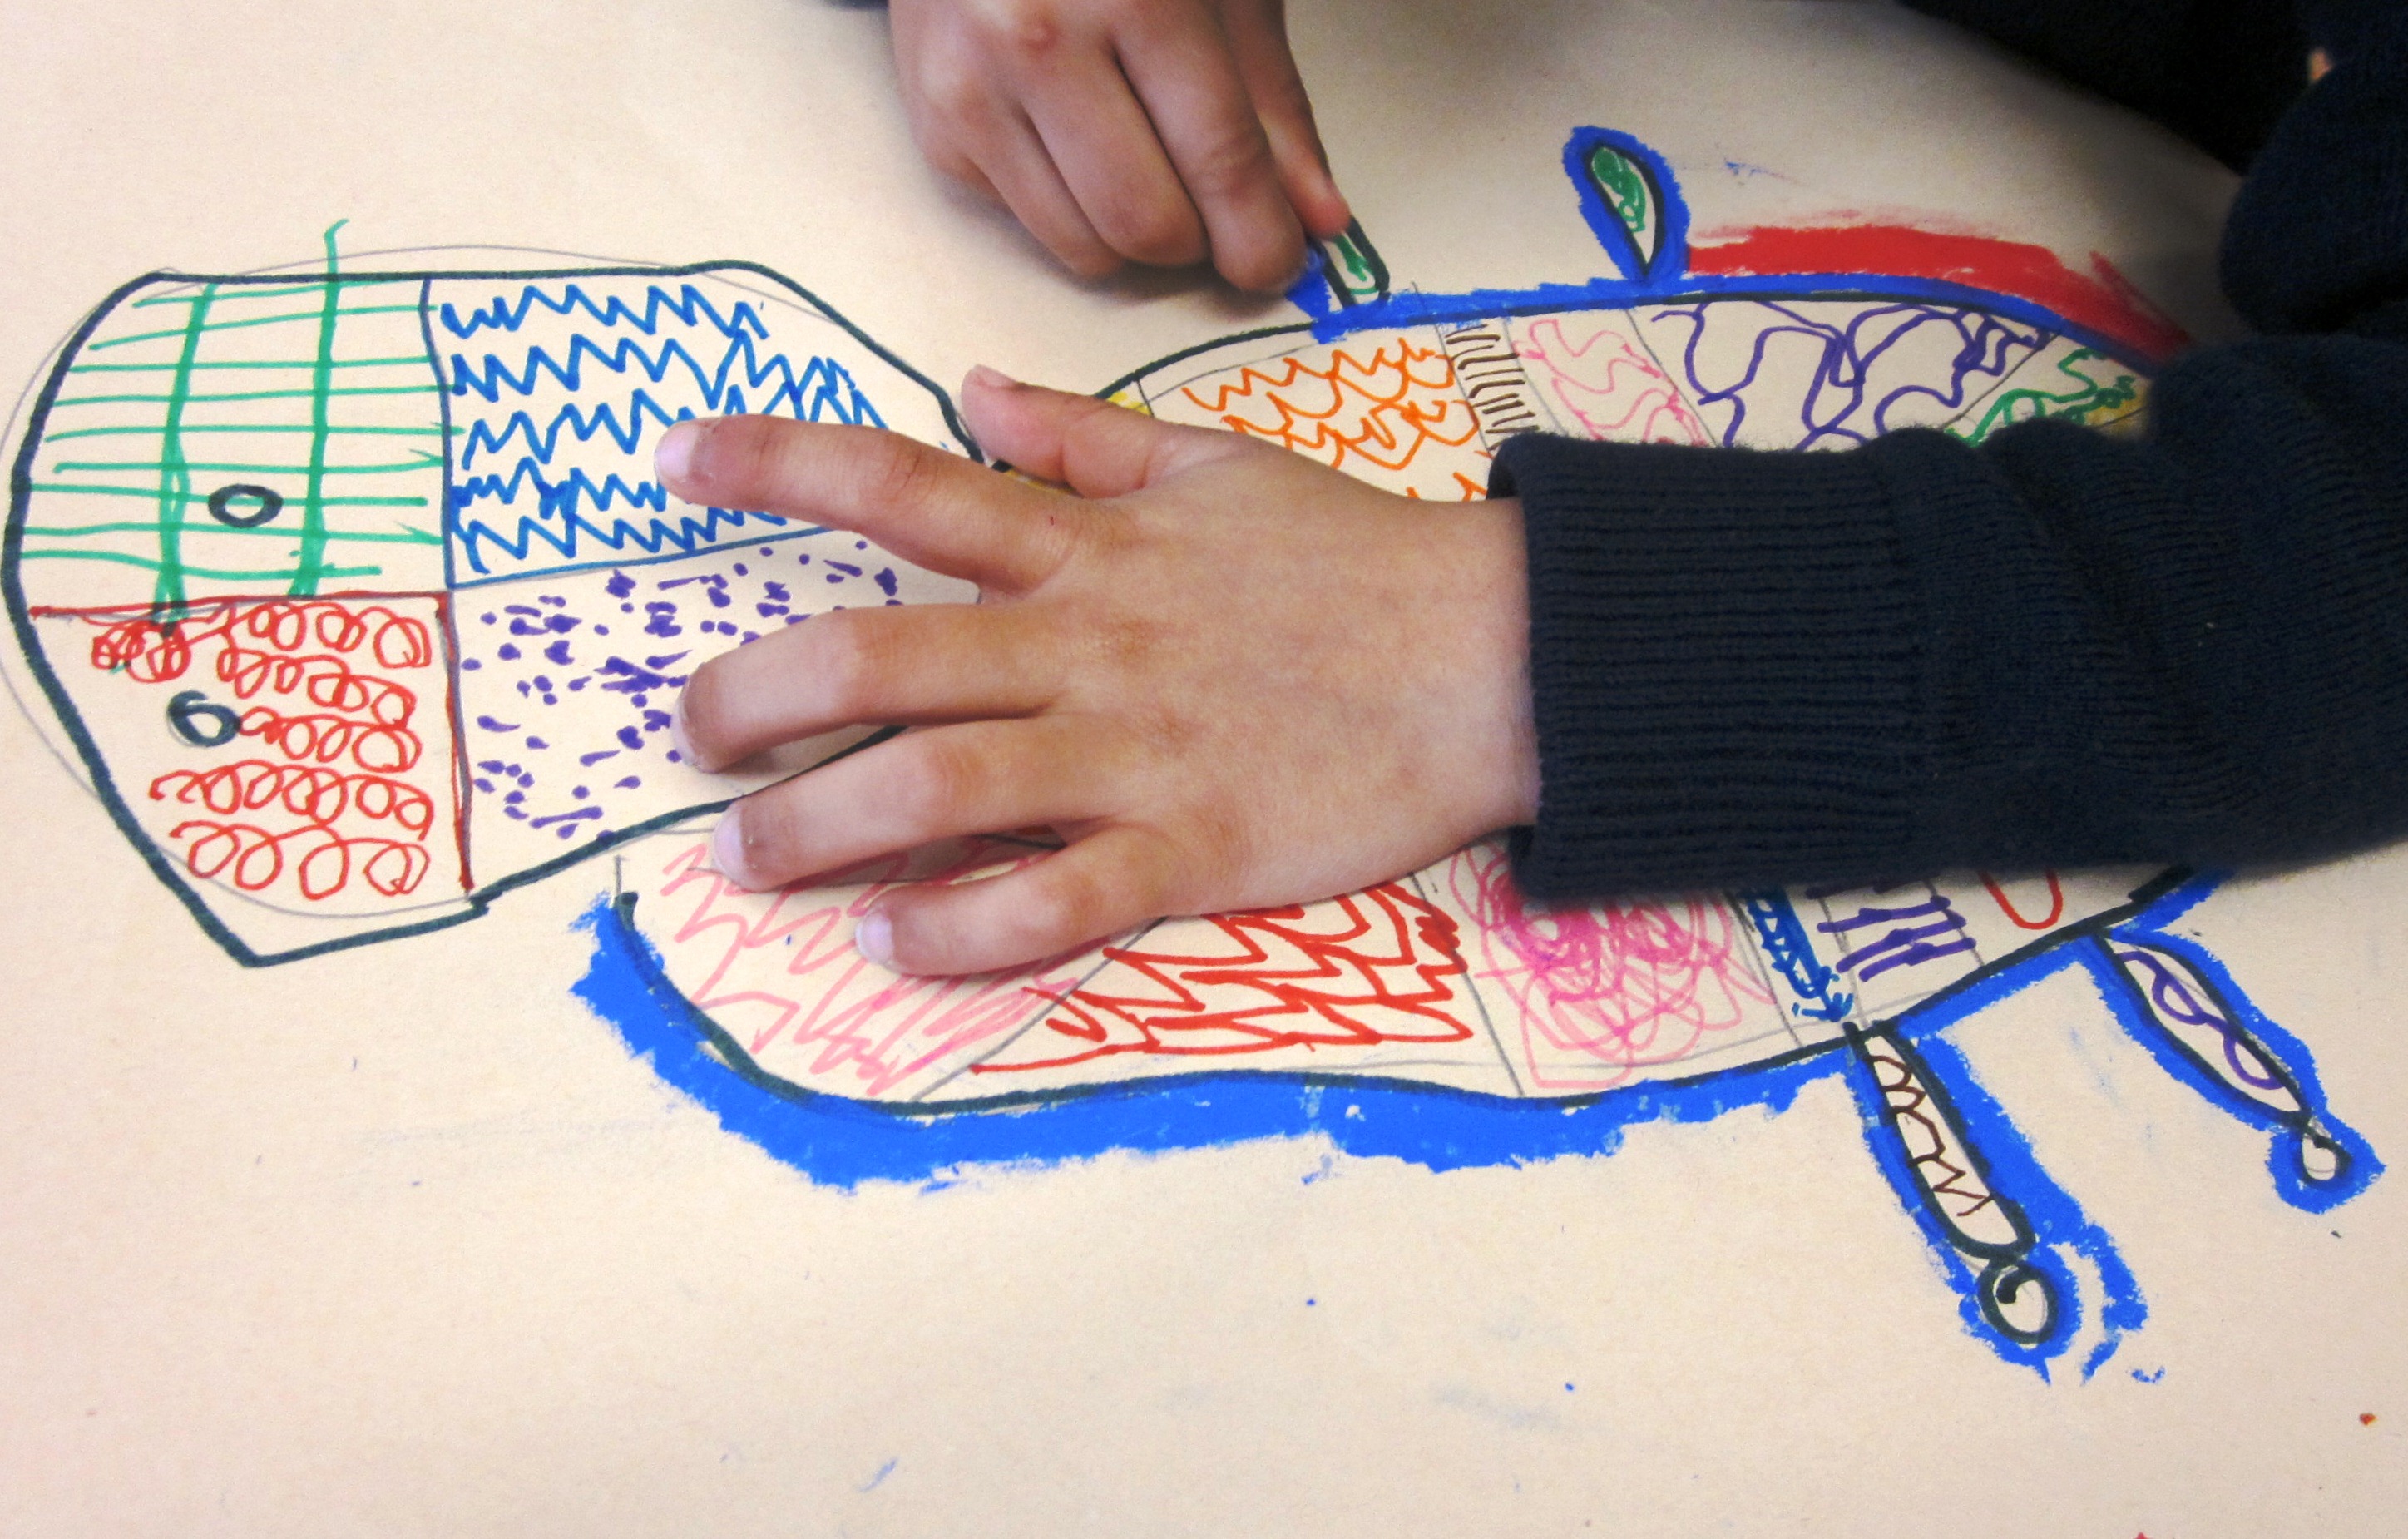
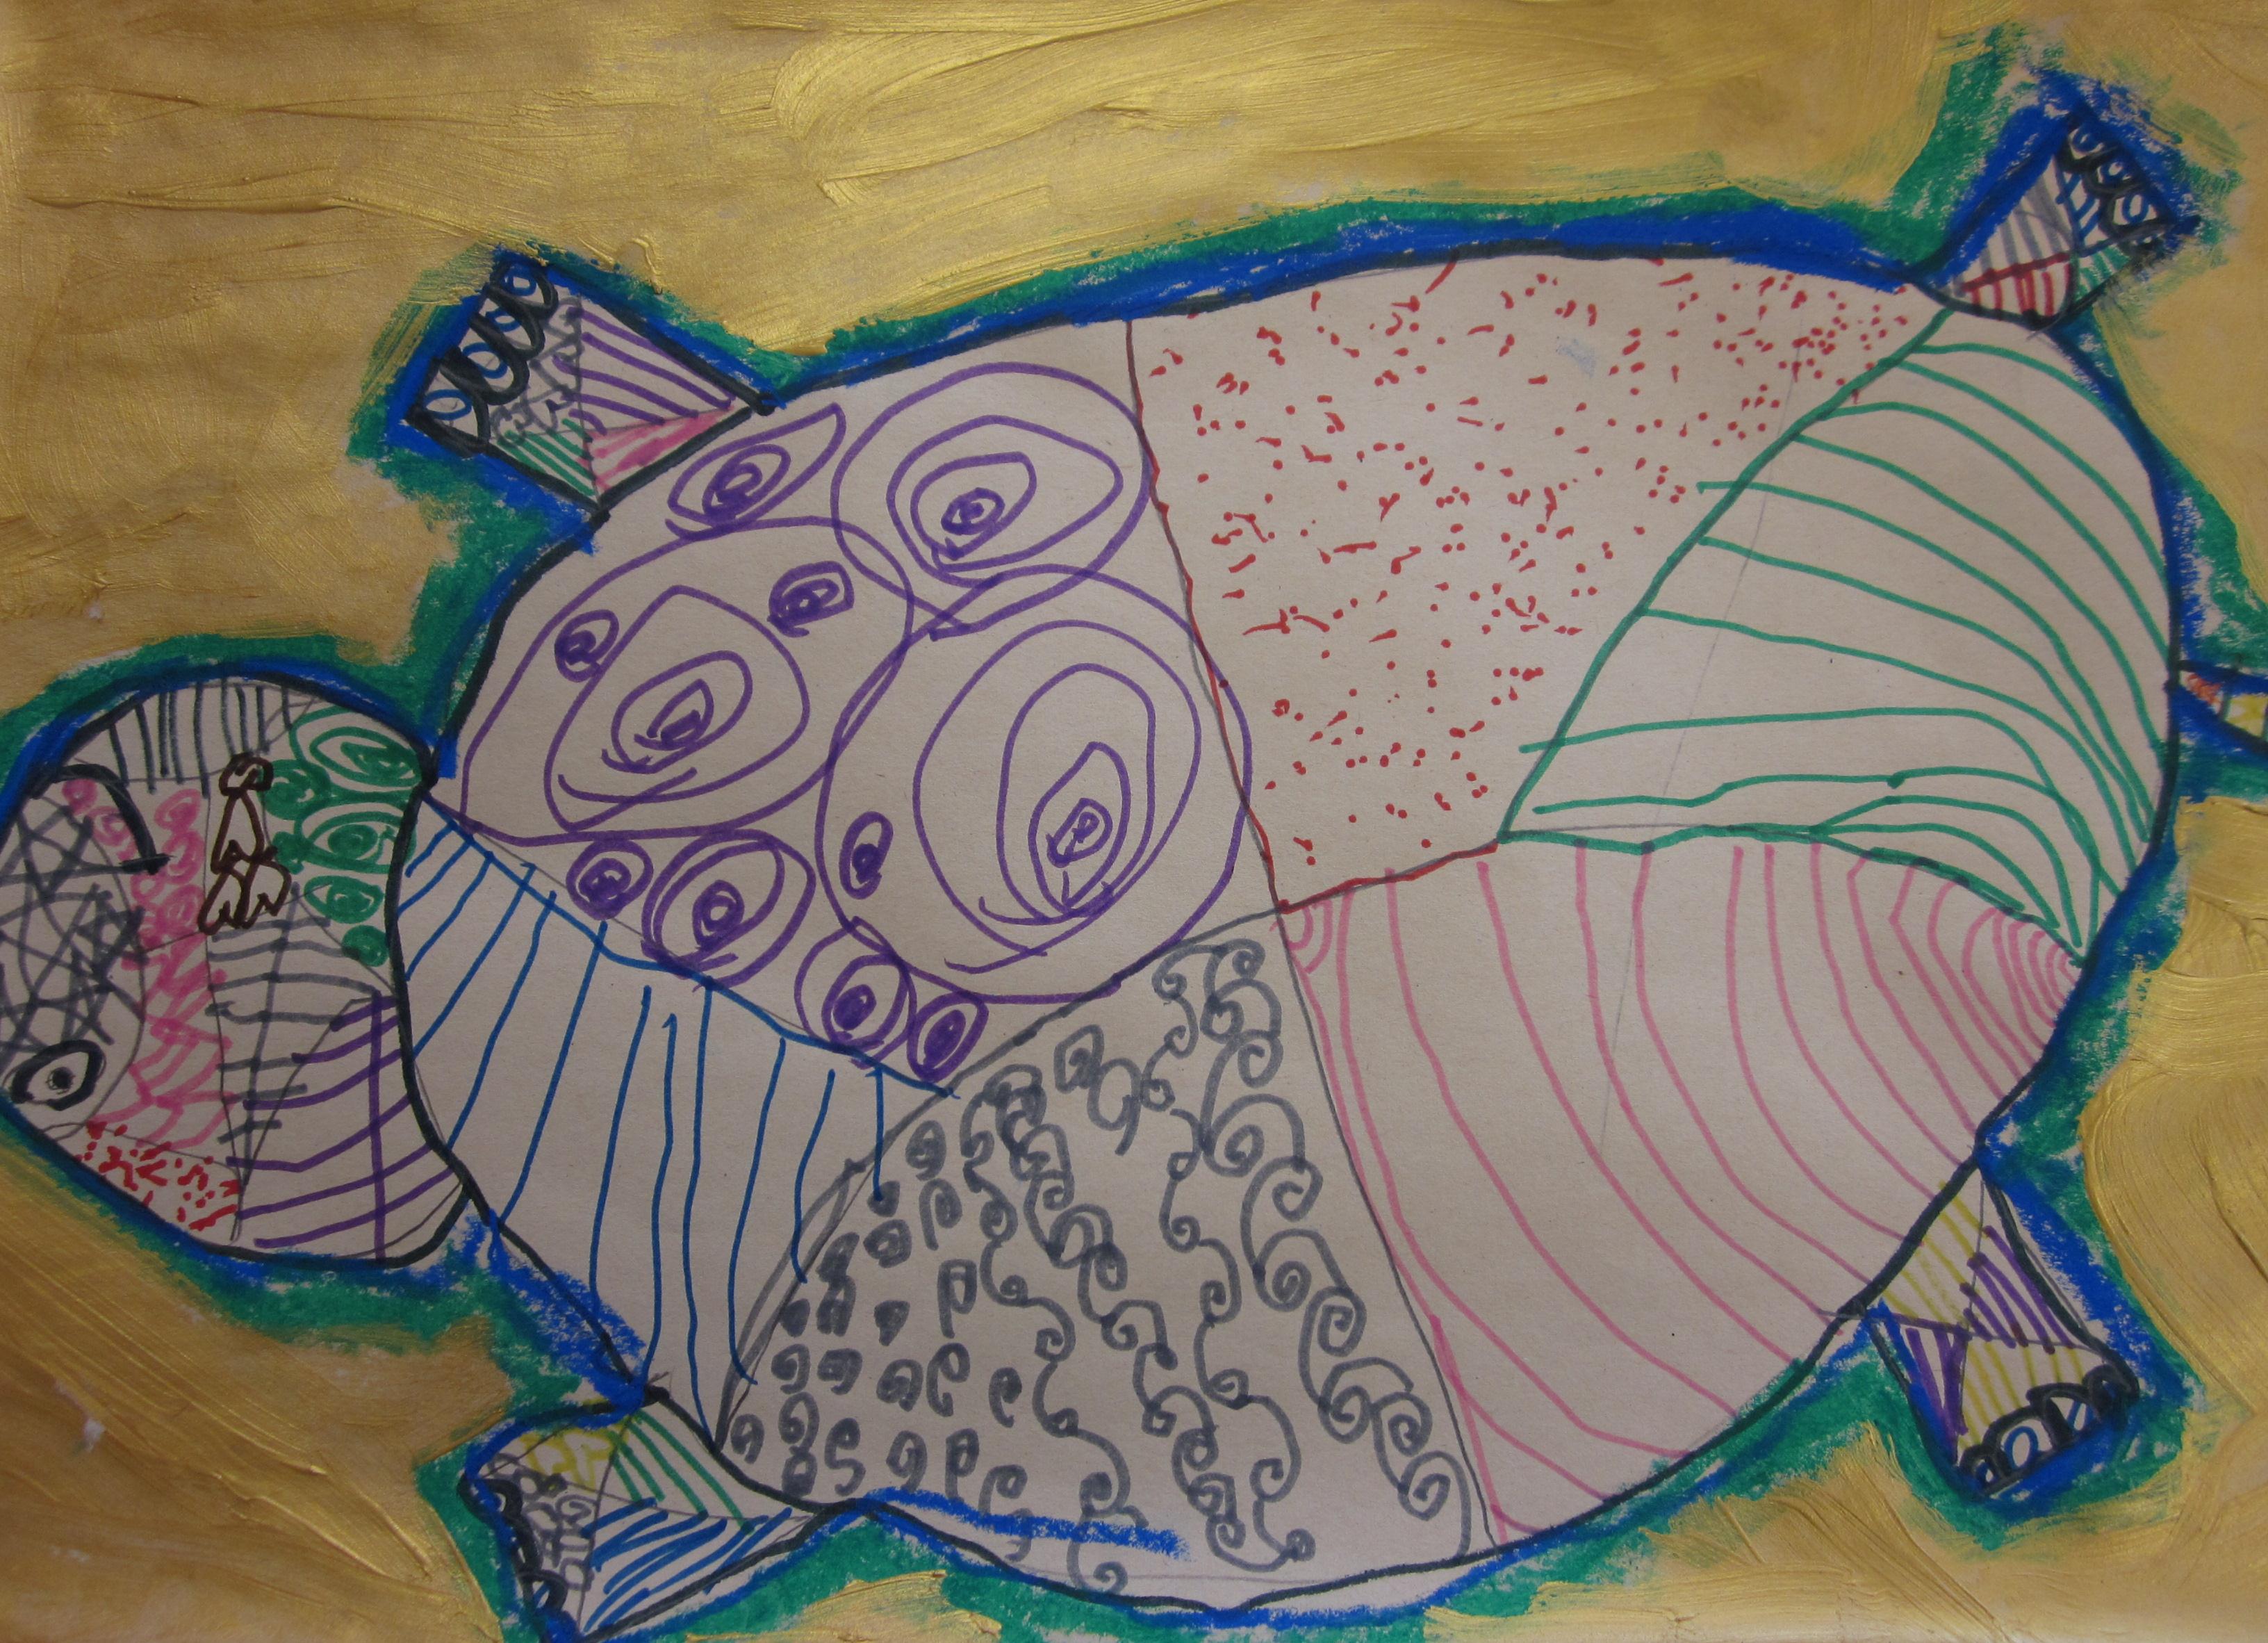
Back in the classroom, give out different colored 9×12 construction paper and hand out texture plates and sheets which have a wide range of textures on it and the kids love them. I got our classroom set from Dick Blick. Encourage your students to fill up the papers with all sorts of texture and to use all different colors.
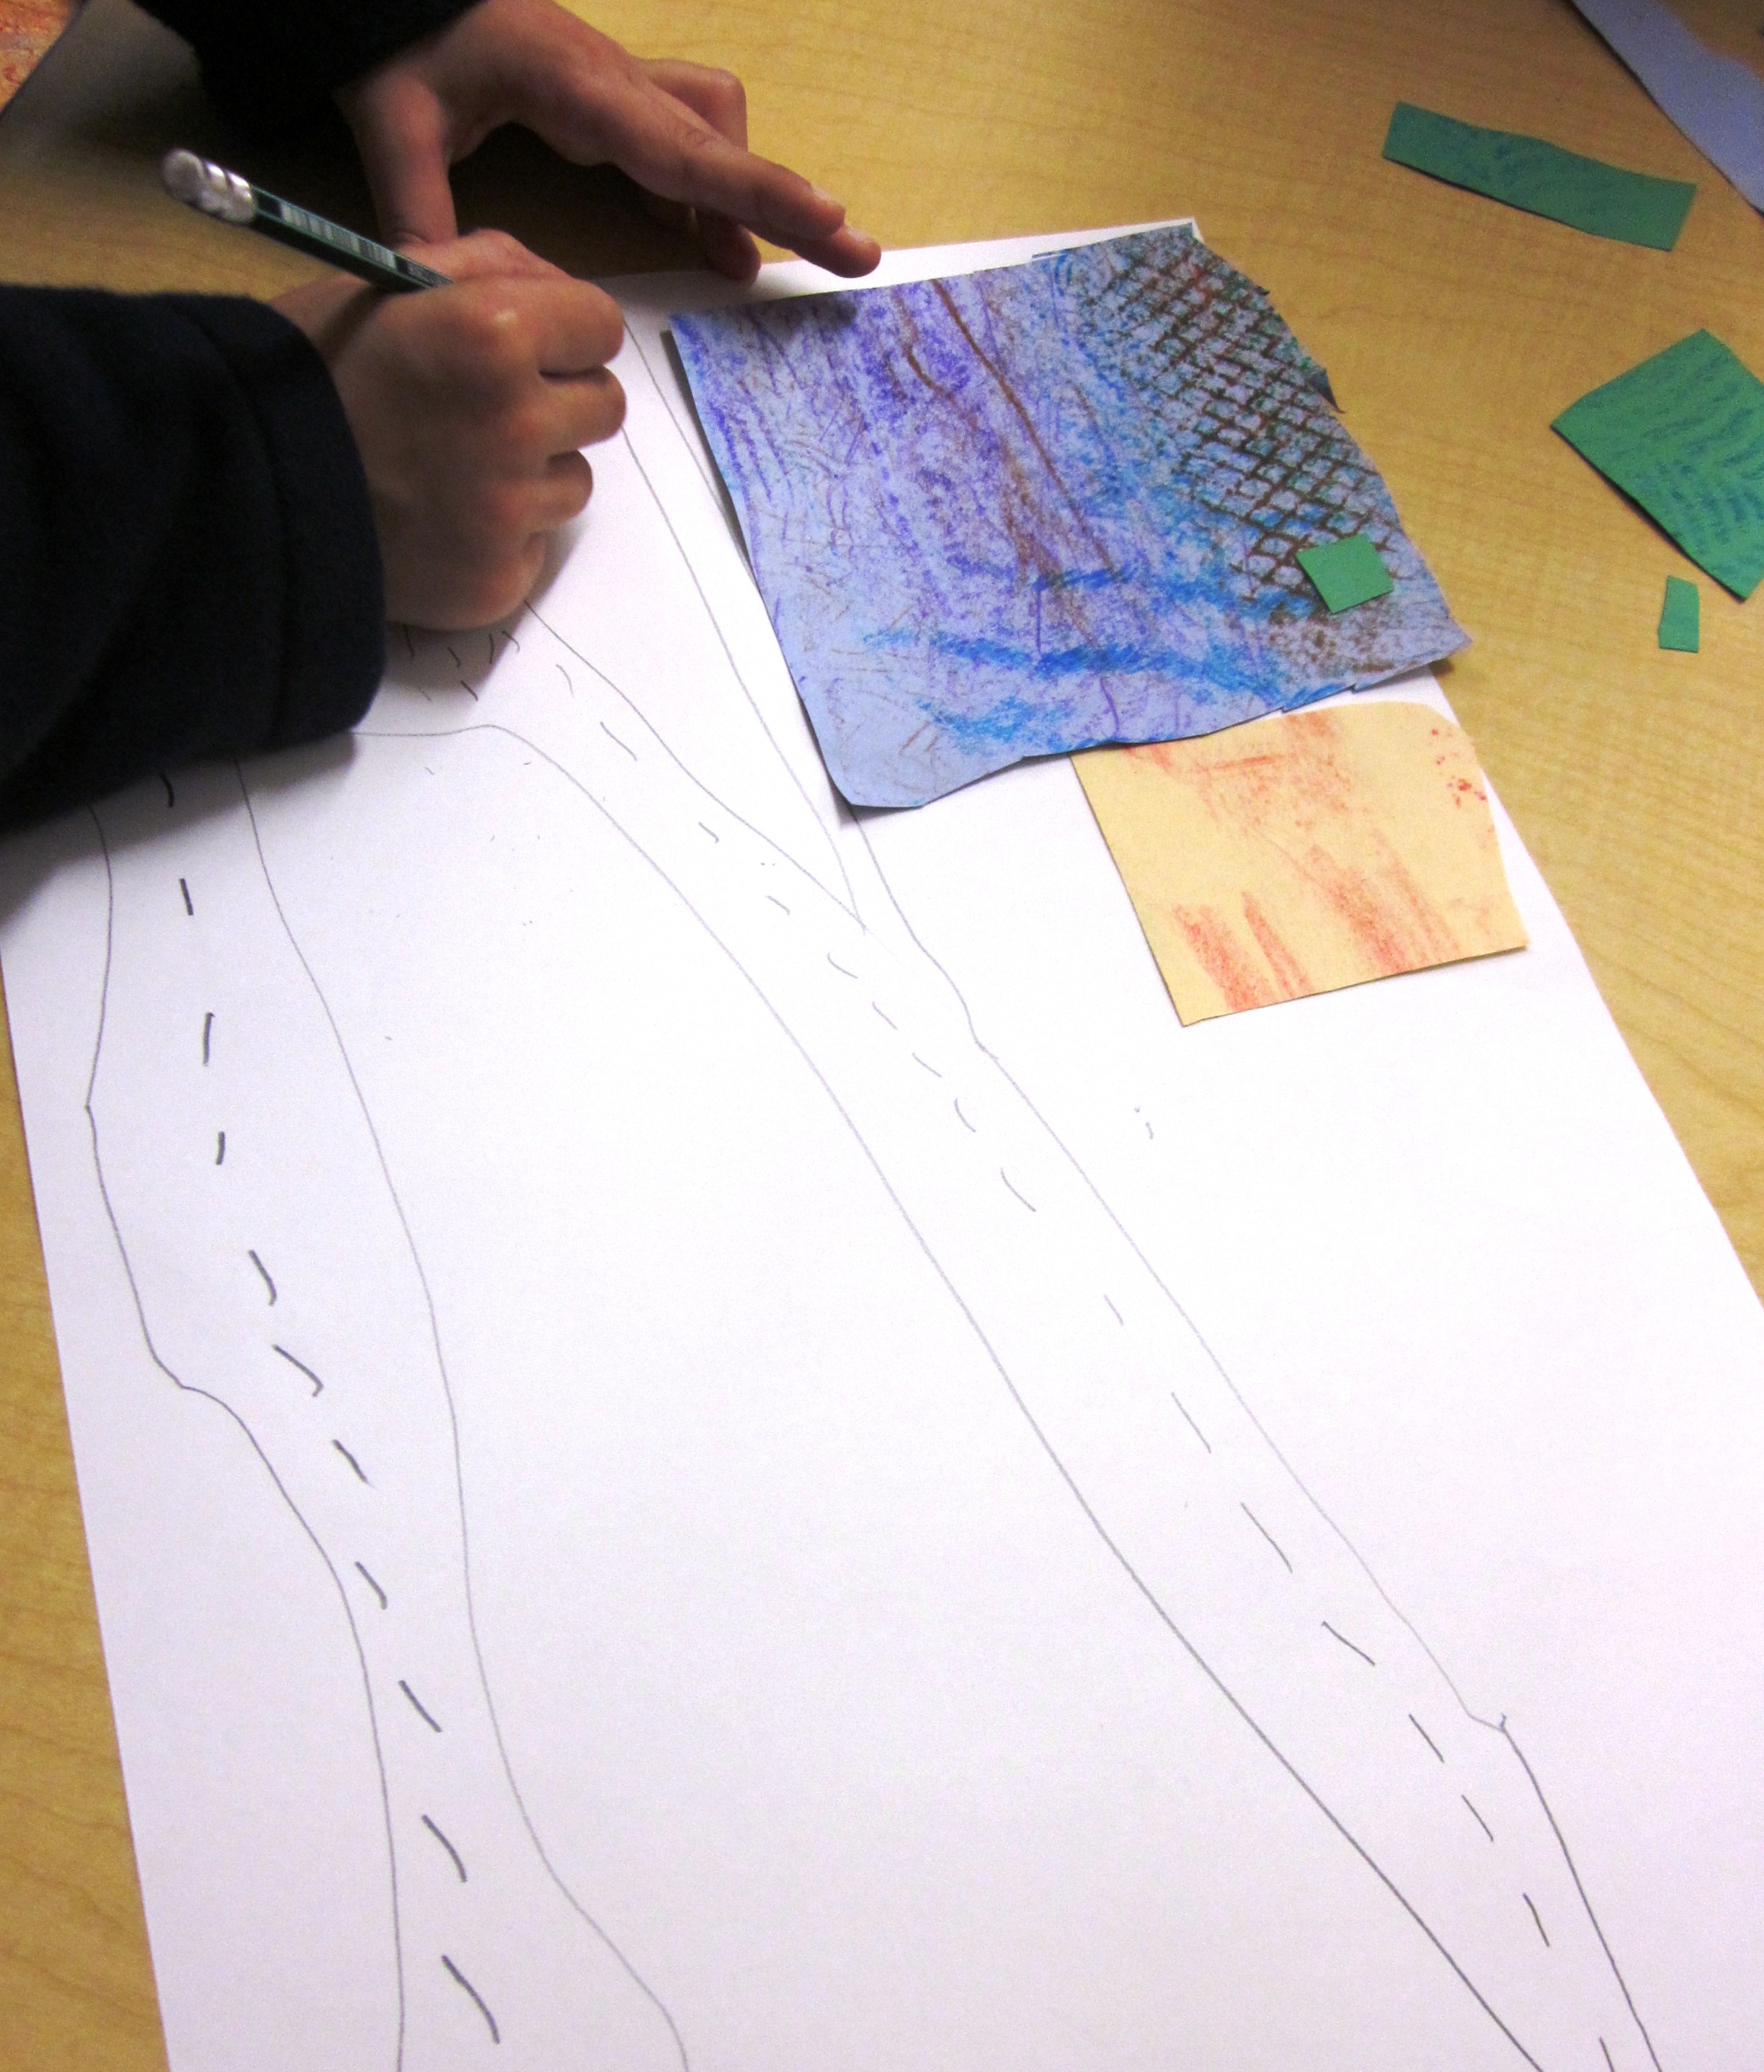
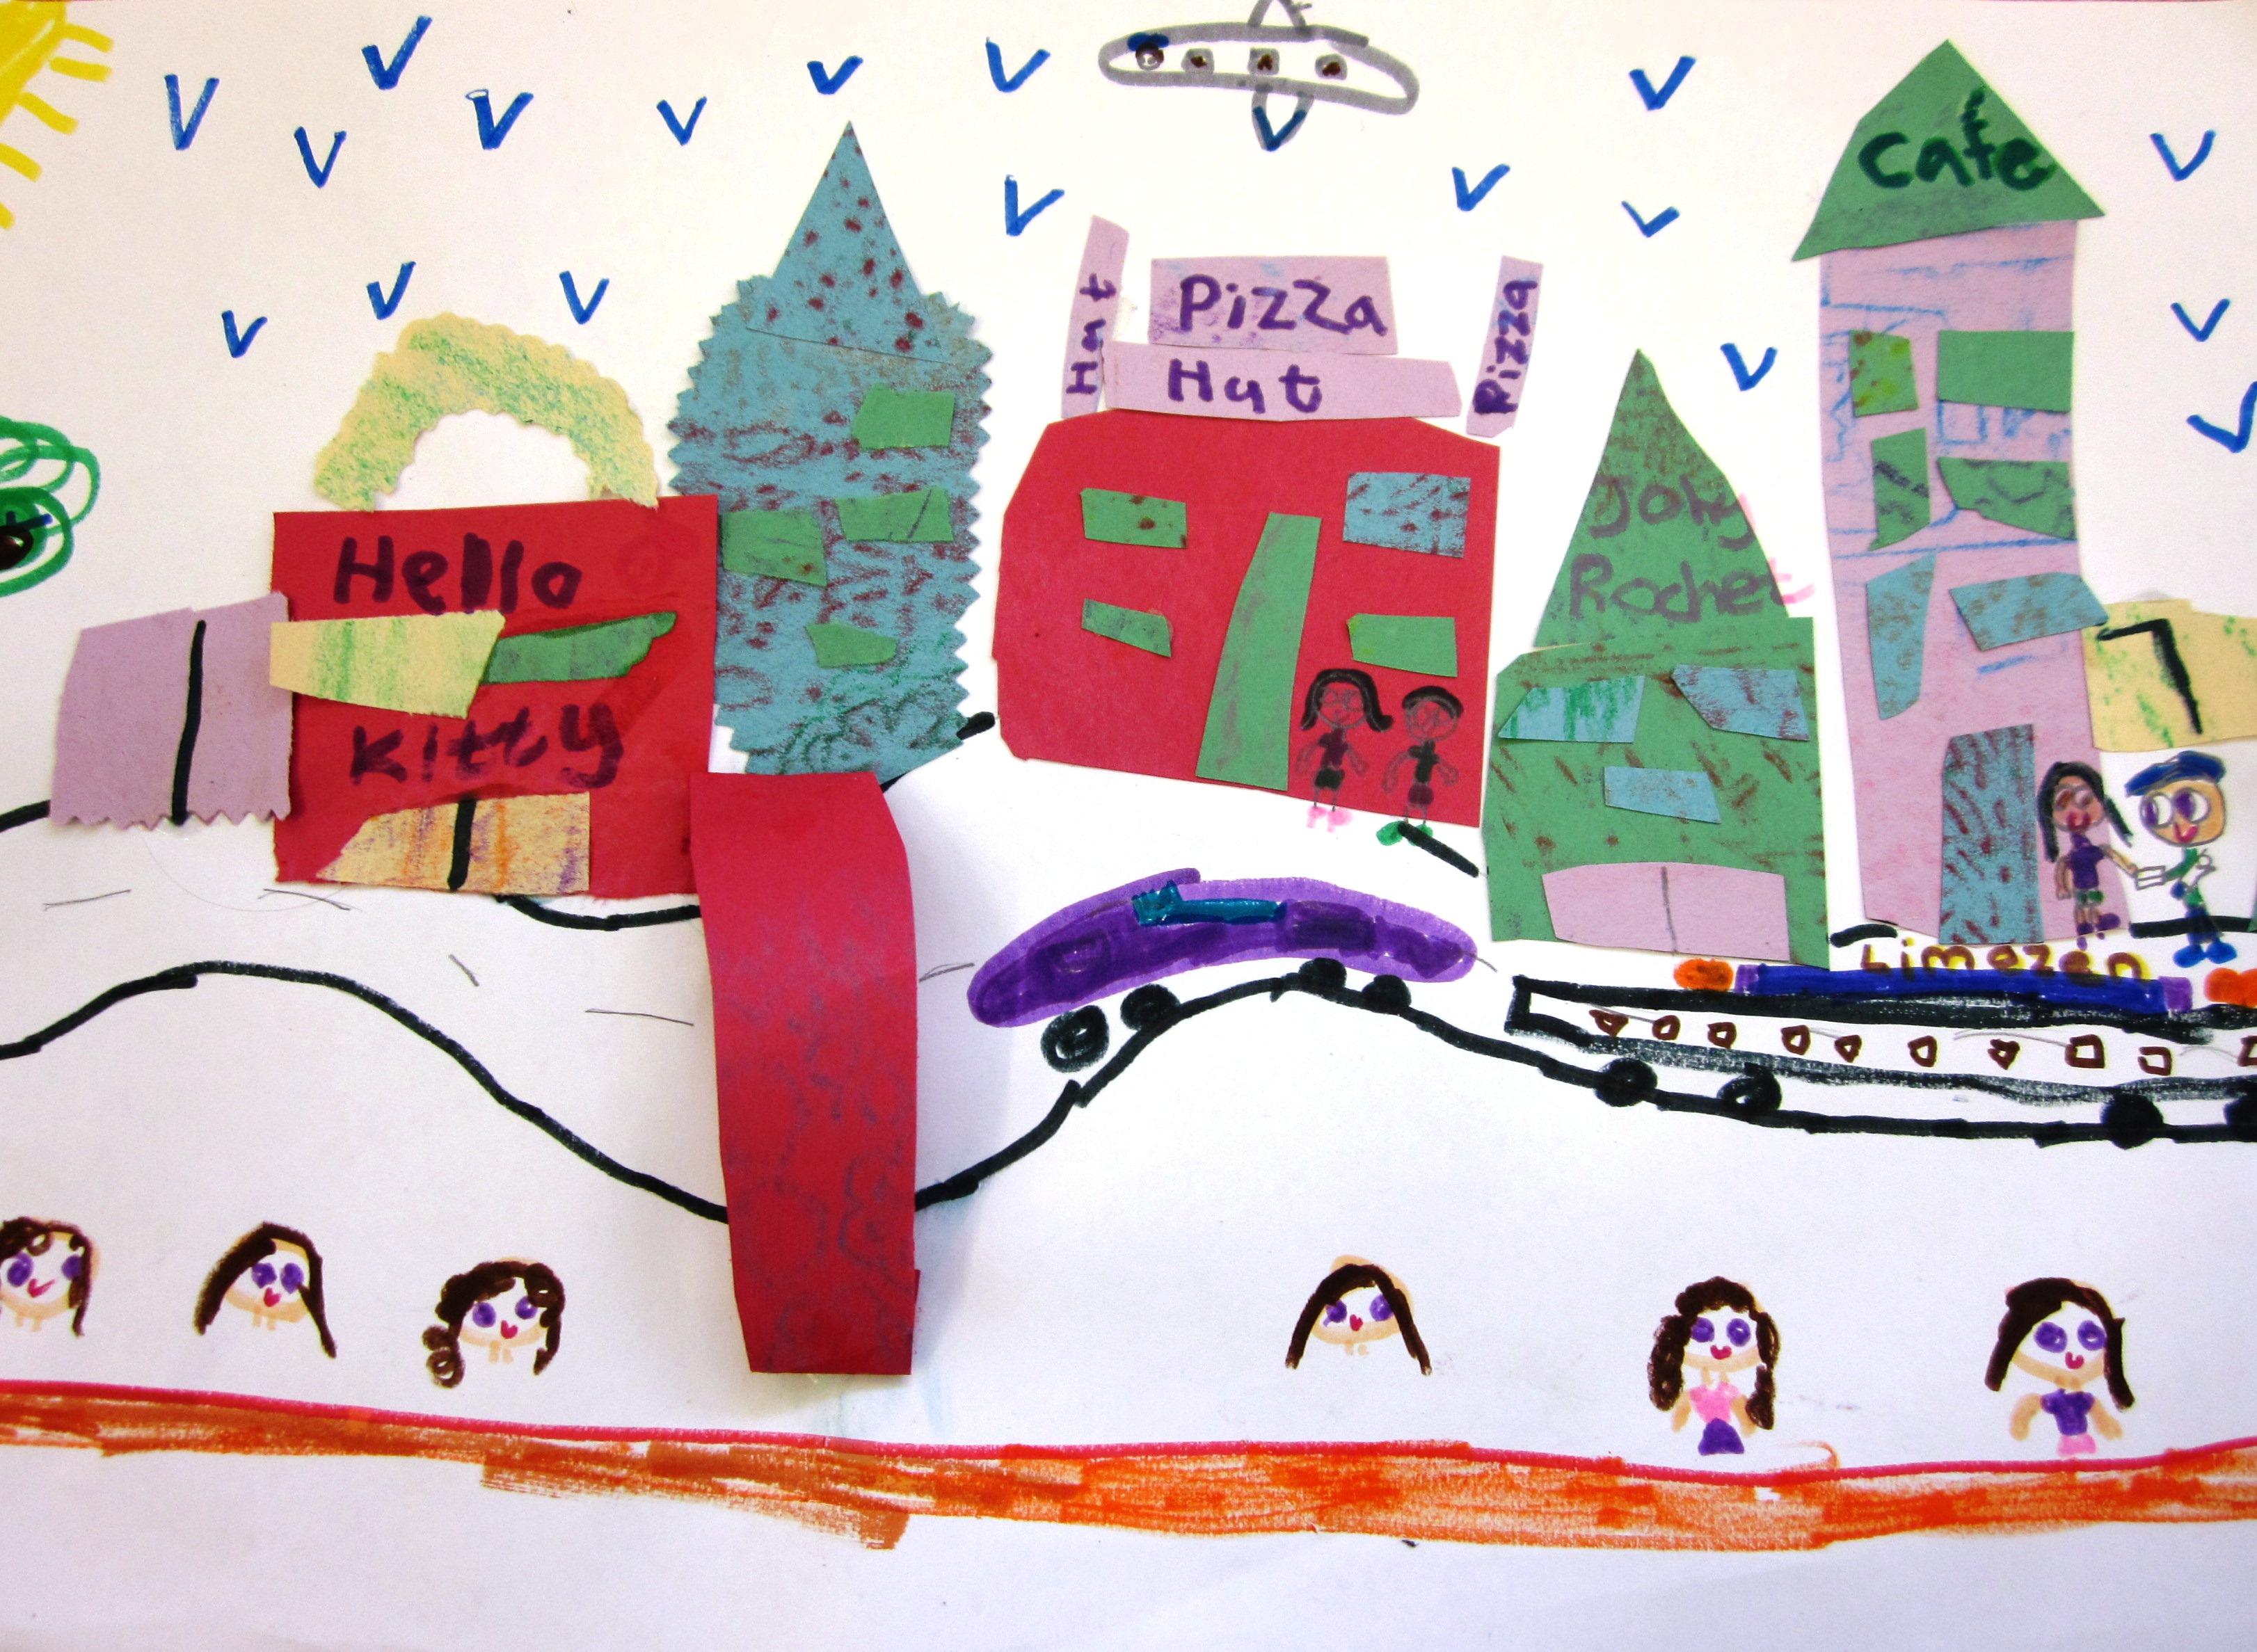
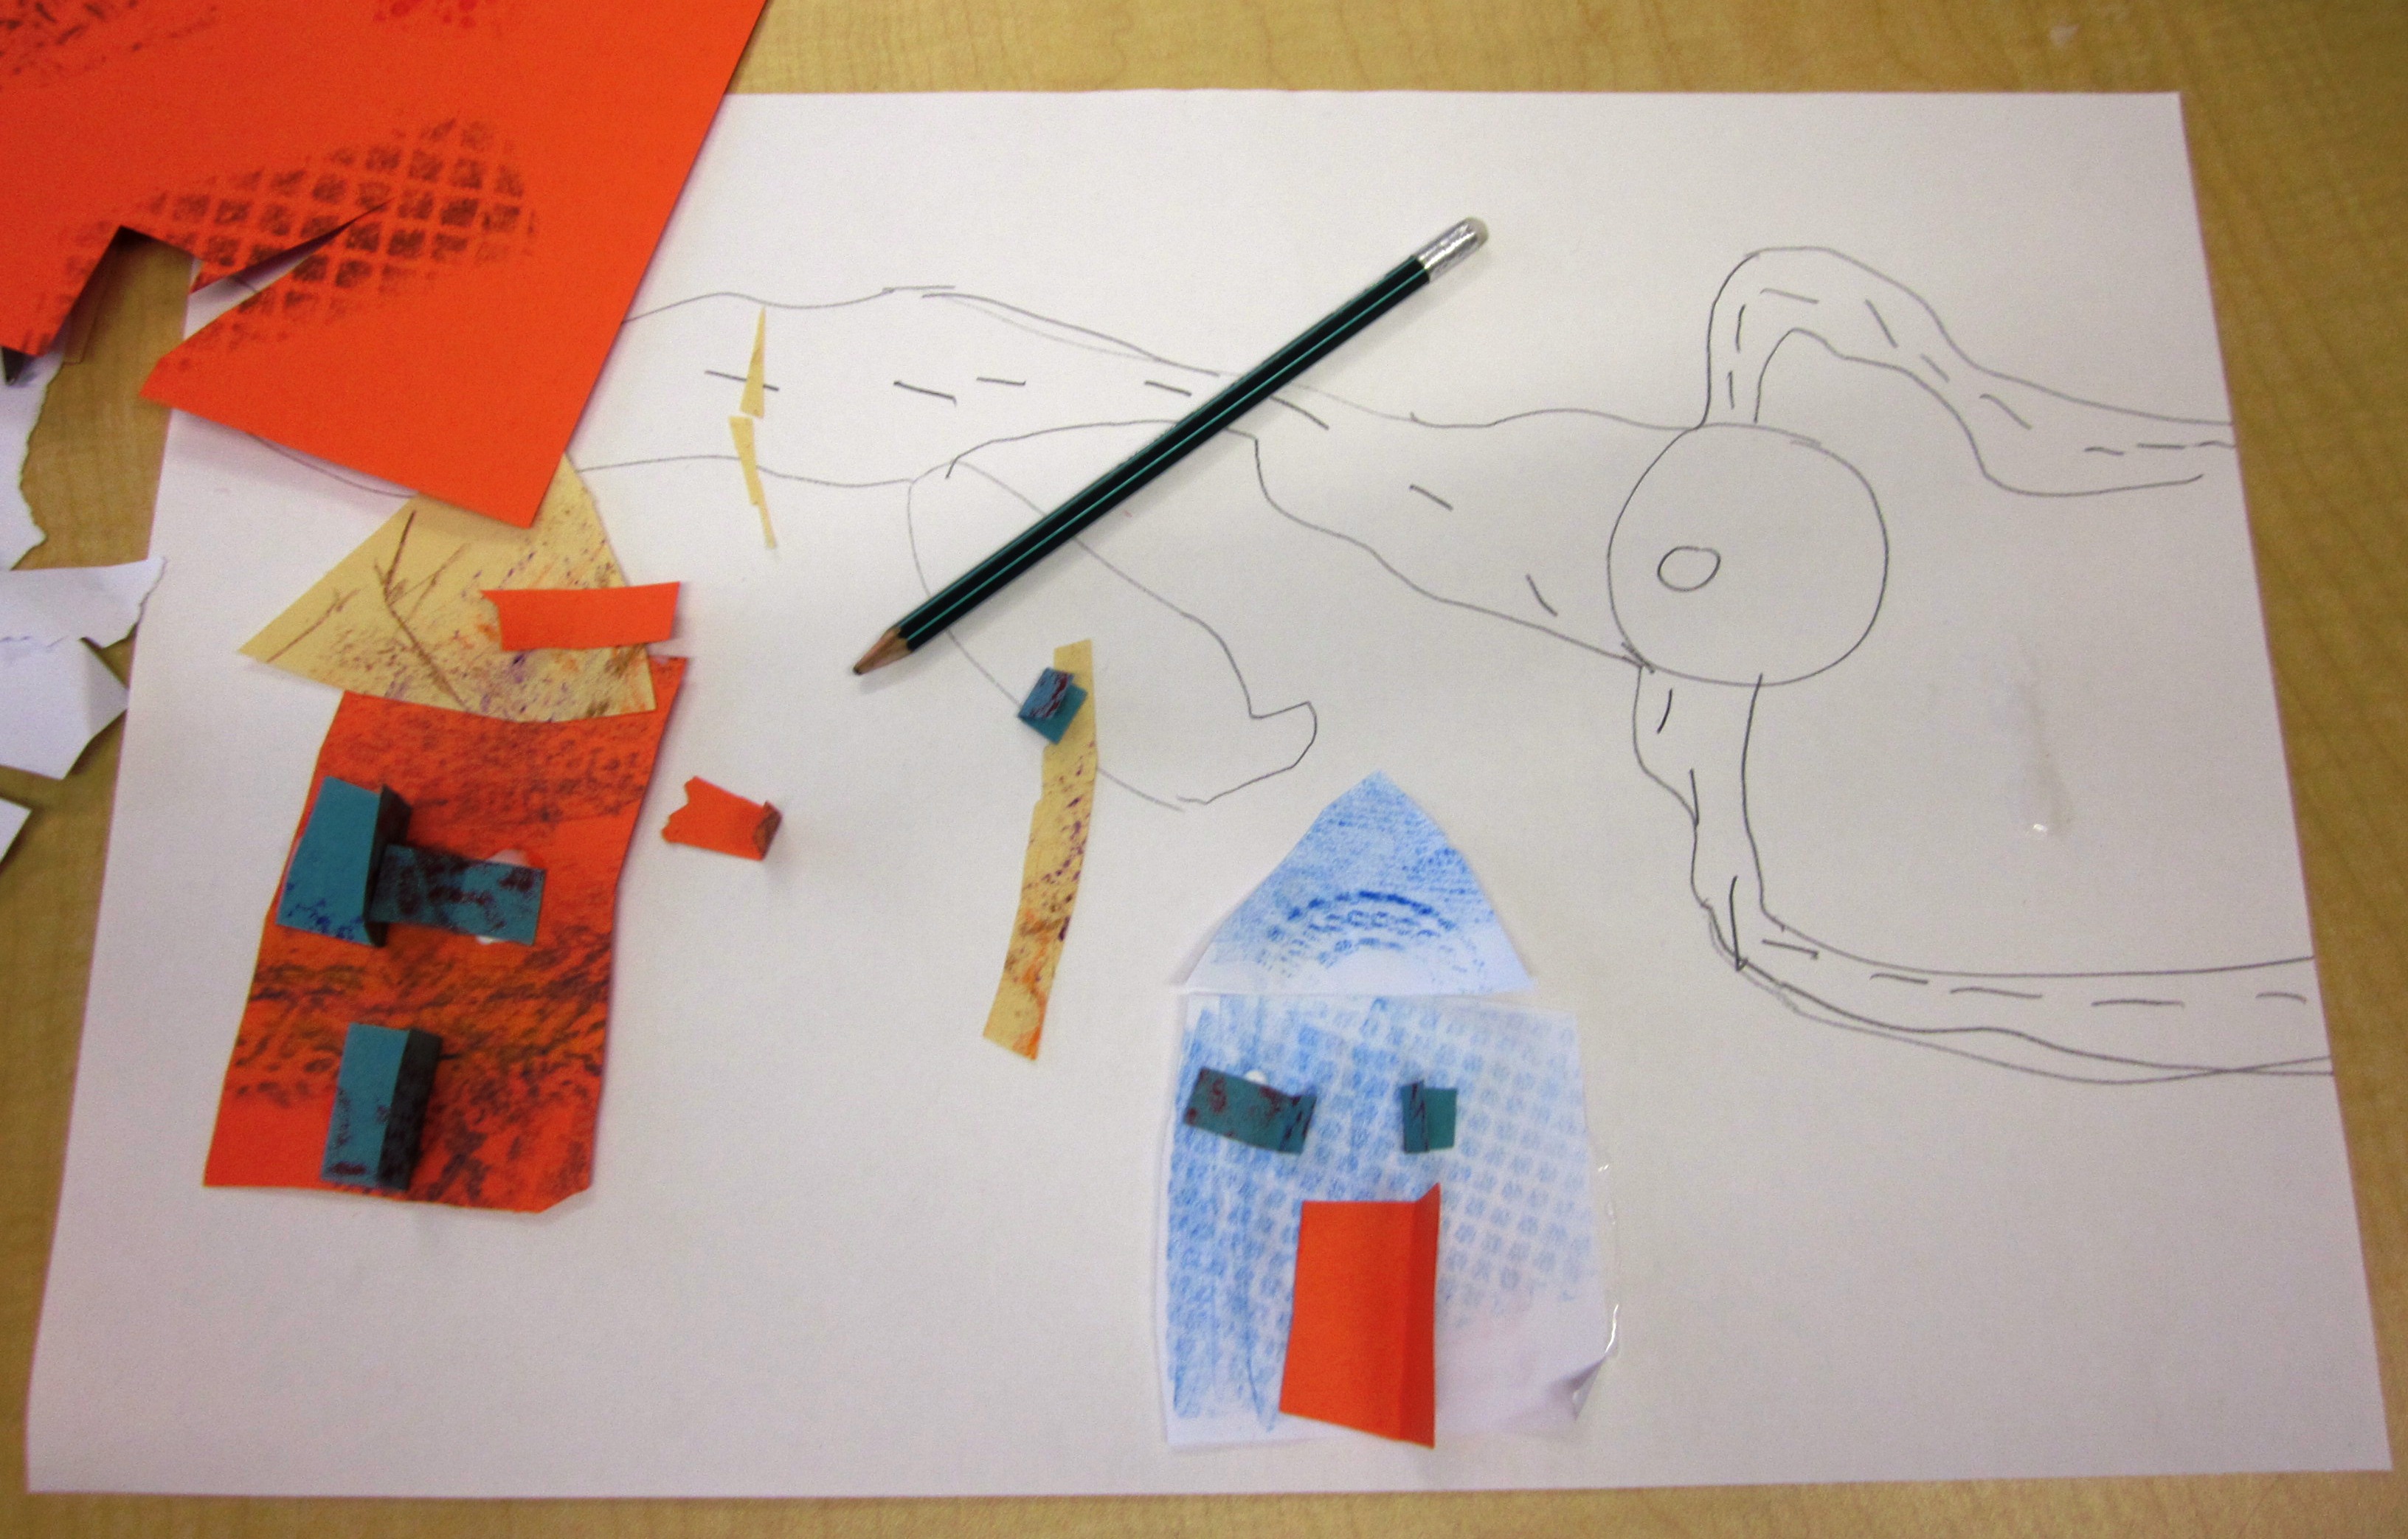
Next, everyone gets a piece of white 12×18 paper and they draw a road or two with maybe a round-a-bout which was popular here because we have so many of them in Bahrain! The rest of the paper is for glueing buildings, restaurants, cafe’s, malls, etc. that are cut out from the textured paper. Details such as restaurant names, people, bikes, etc can be done at the end with markers.
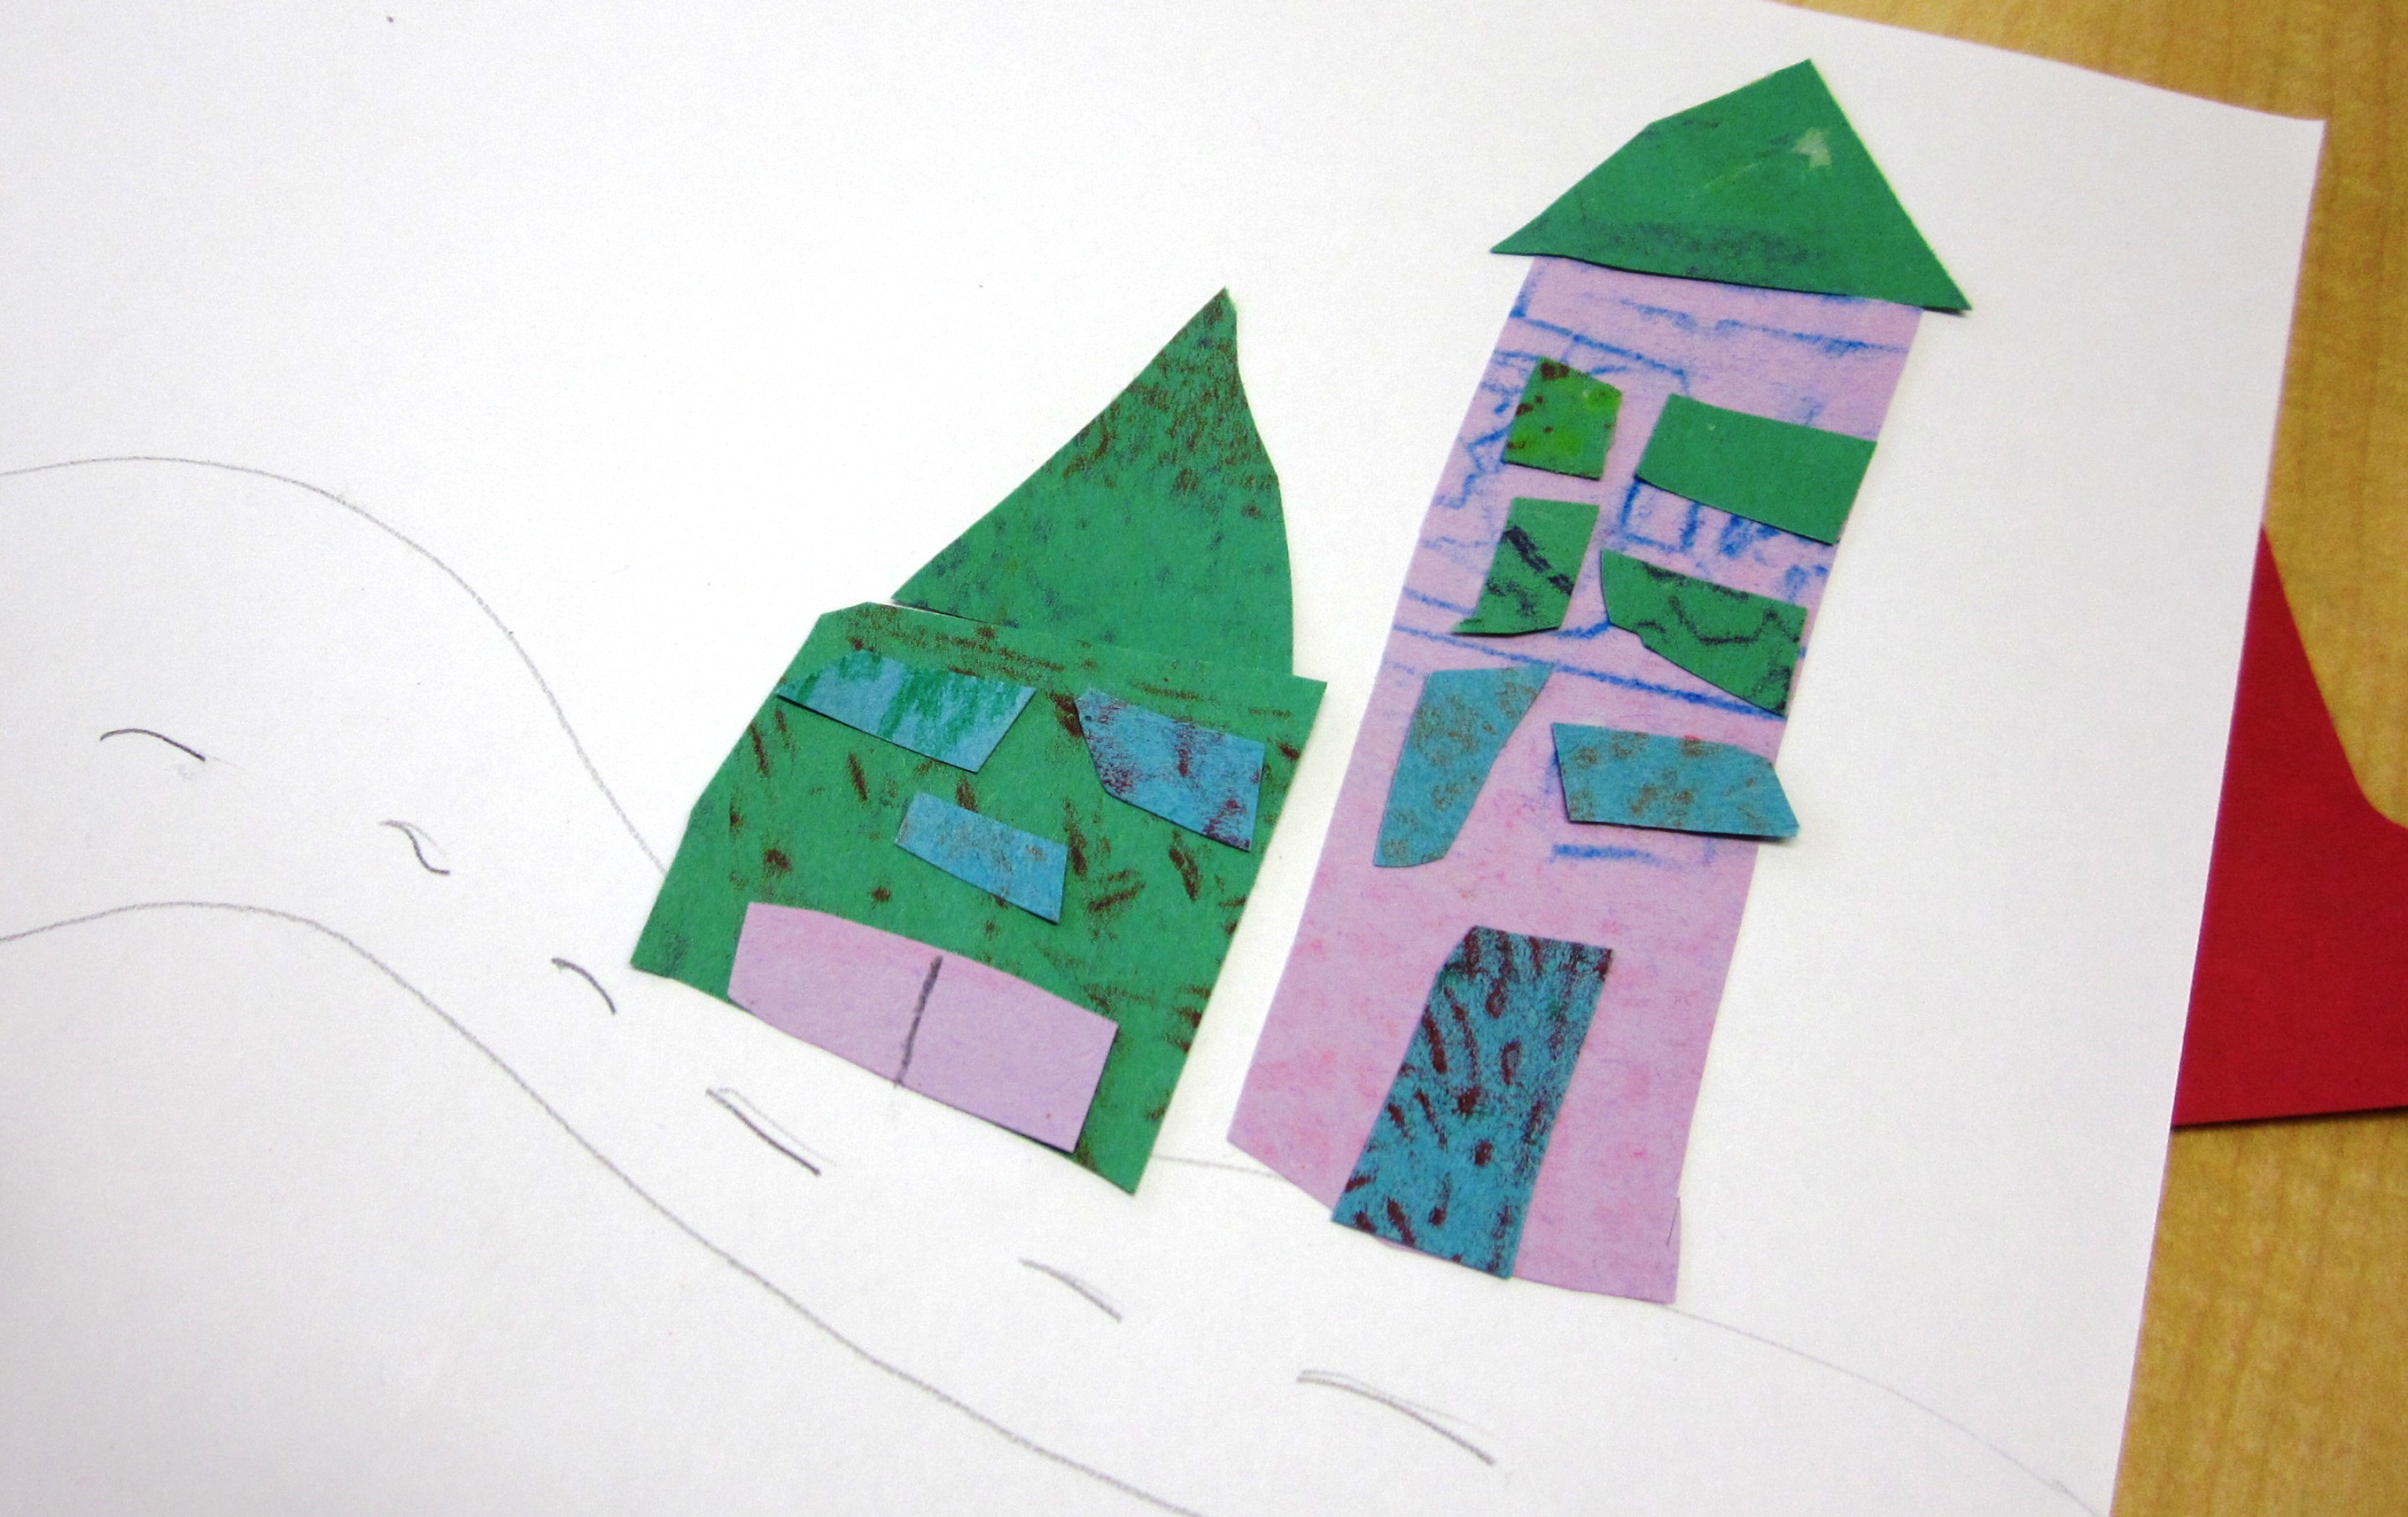
Aren’t these texture cities so adorable?
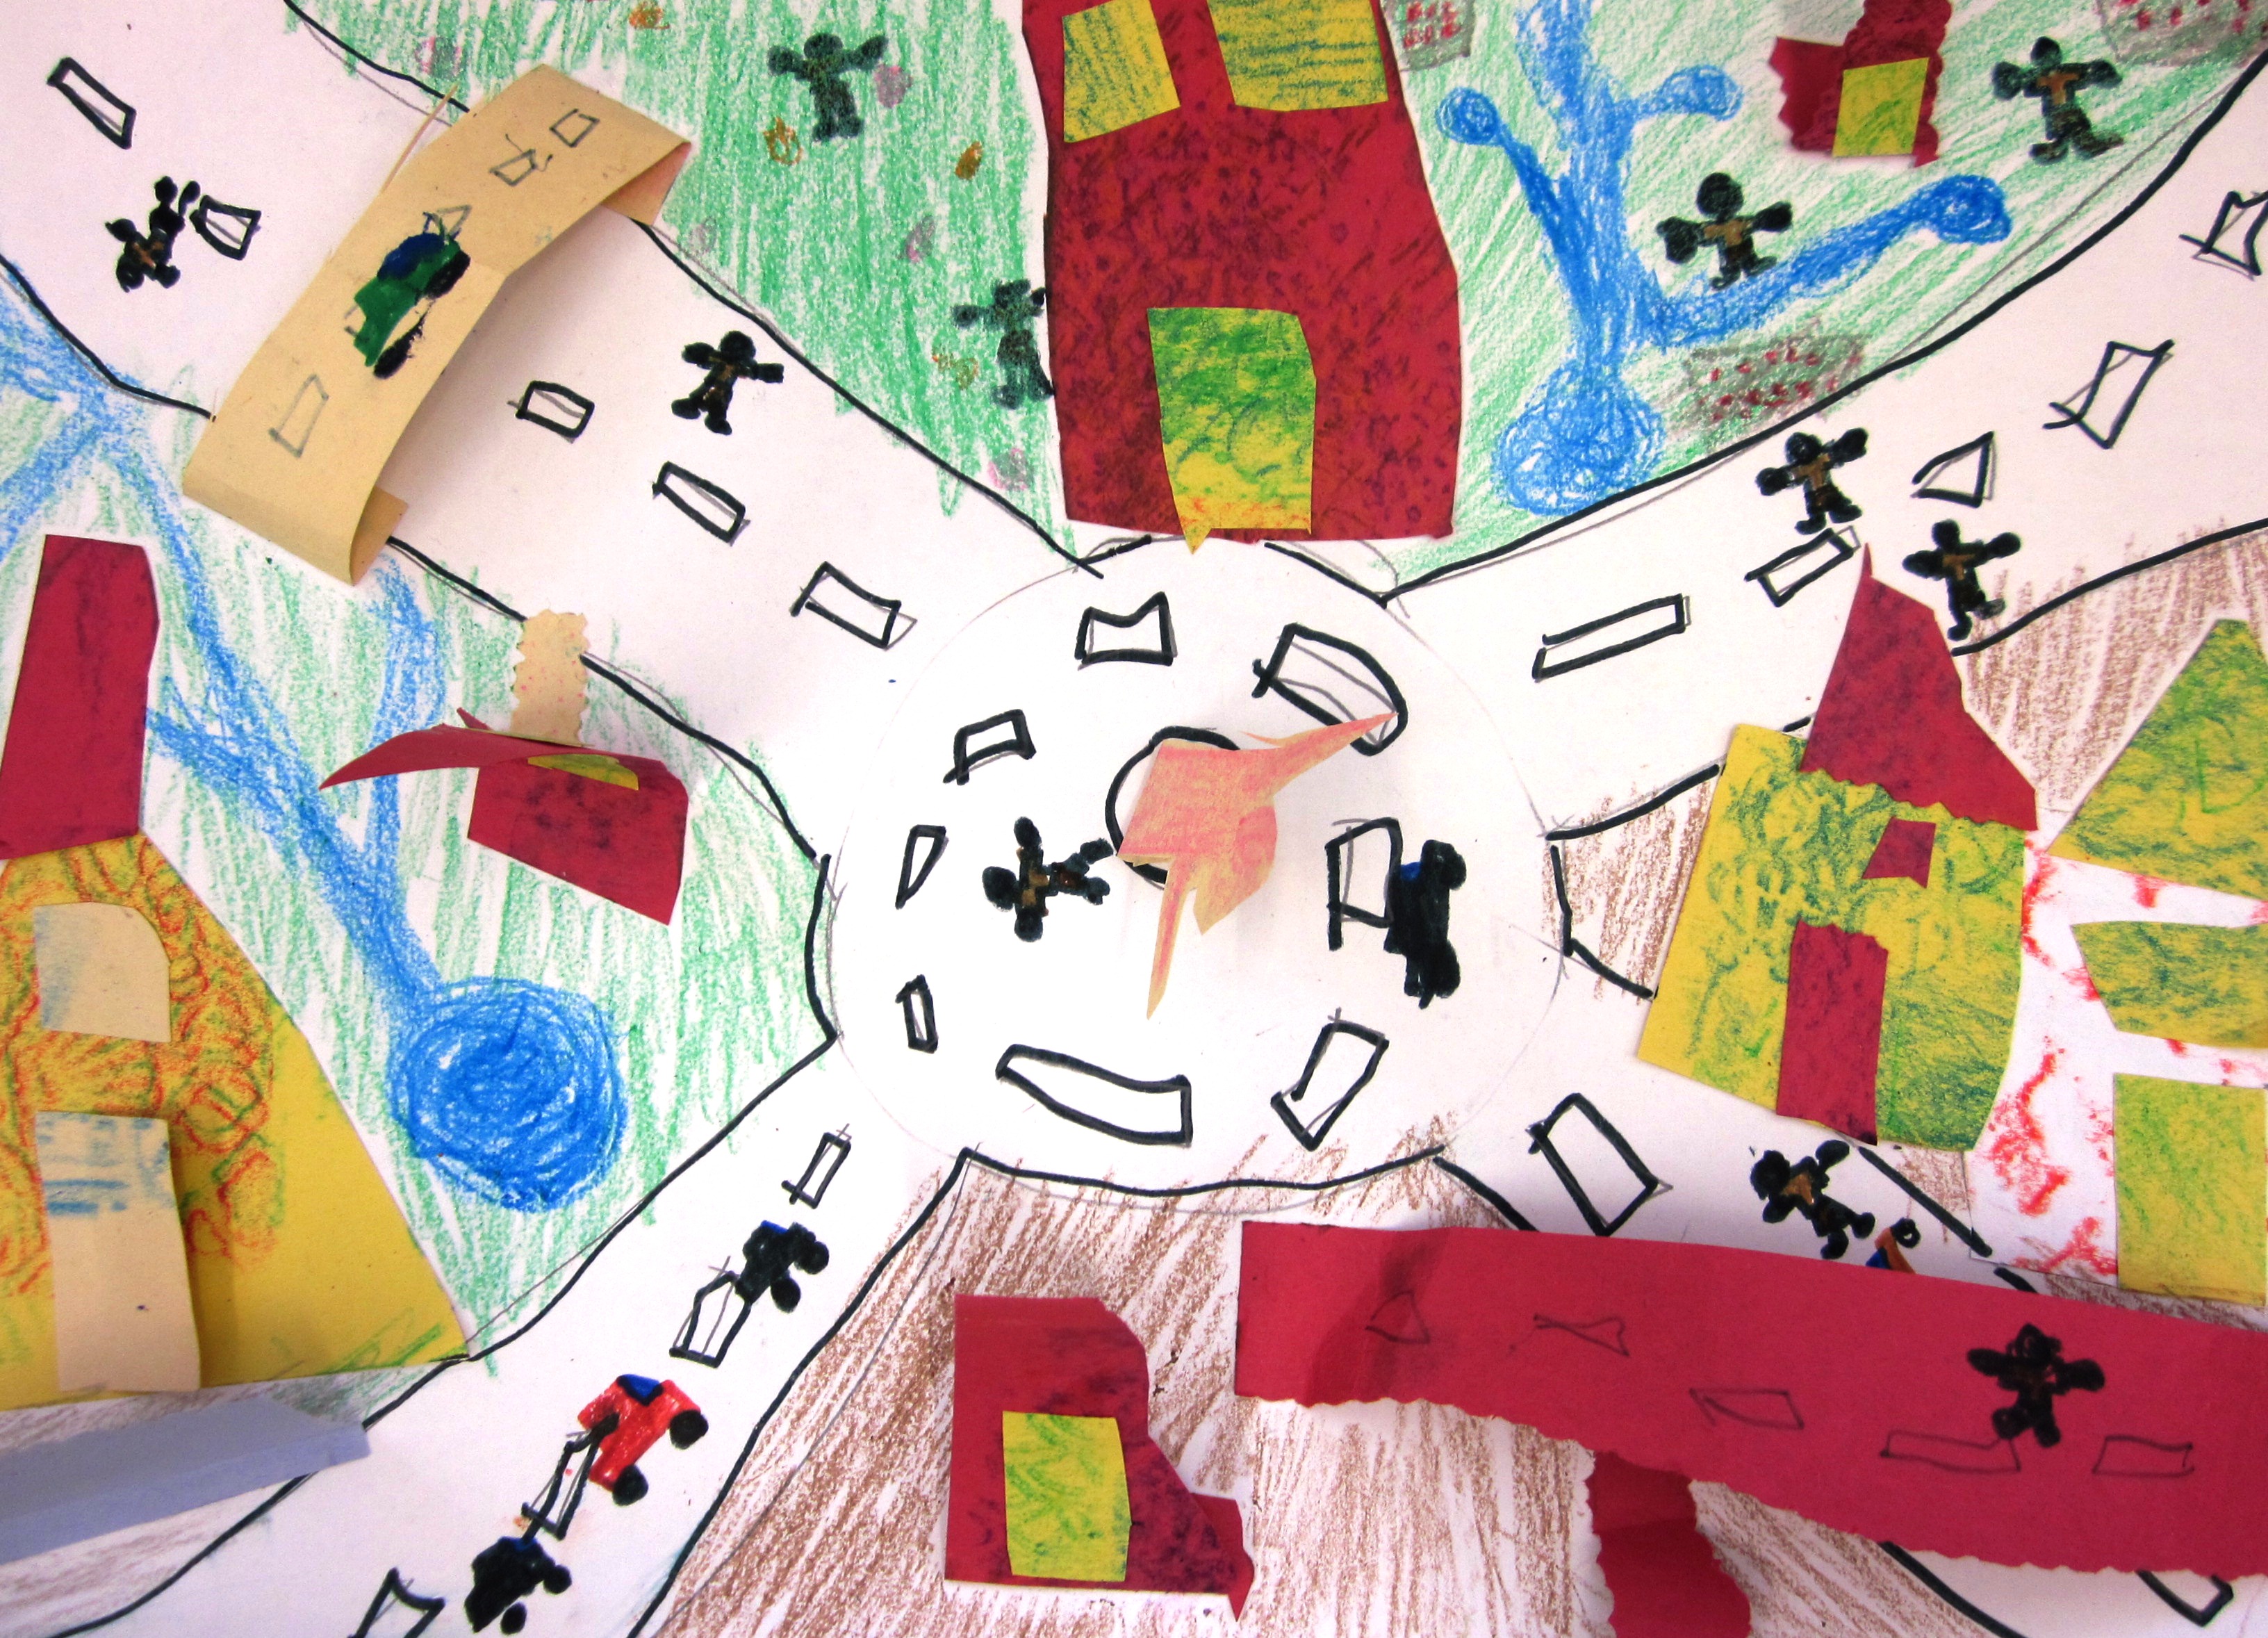
Can you see the cute stand up statue in the round-a-about?


Psst…
Art Lessons for Kids is on Facebook and we are GROWING. Hit the ”Like” button to show your LOVE and join the conversation. You can also follow my adventures on Twitter (@Ms_Alejandra) or see what I am pinning over at Pinterest.