Kids love paint and the magic of mixing their own colors. Take out your paints and art smocks because this is a really fun lesson! Start your lesson by reviewing the primary colors (red, yellow and blue). I like to … Continue reading
Kids love paint and the magic of mixing their own colors. Take out your paints and art smocks because this is a really fun lesson! Start your lesson by reviewing the primary colors (red, yellow and blue). I like to … Continue reading
Grade one color wheel
Teaching how a color wheel works is fun for kids and it teaches primary and secondary colors. I decided that all of my grades would make different kinds of color wheels. I am big on displays so I thought that it would look lovely for a final display.
Essentially, a color wheel is a tool to visually see the postion of the primary colors and the secondary colors which are mixed from red, yellow and blue. Experiment beforehand with this and have your students mix, mix mix! They love this and it’s important for them to get as much hands on experience because you learn so much more from DOING!
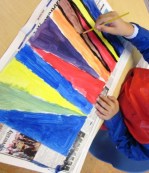
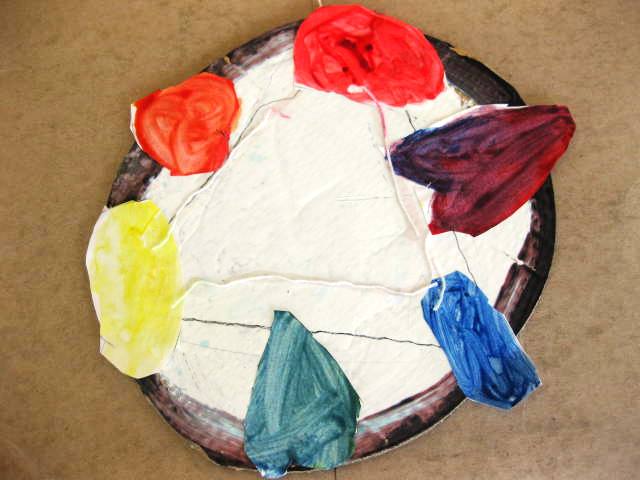
After the kids have mixed, explored and discovered, they are ready to make their own color wheels. Here are some samples of some of the color wheel my students made. Grade one made theirs the following way. I gave out pre- cut cardboard circles and then gave out a 9 x 12 piece of white paper which the students folded into 6 sections. Their instructions were to draw 3 identical shapes and paint them with the primary colors. The shapes needed to be simple with no details and just an outline. Then they made an outline of three other identical shapes. Their challenge was to make the secondary colors by mixing two primary colors together. They needed to make 3 new colors. I gave out plastic plates with some red, yellow and blue paint. Tip: plastic plates can be washed an re- used again and again!
They collected their water container, paint brush and protective paper for the table. It’s good to remind the students that they must keep their three colors ‘clean’ and can mix colors on another part of their plate. They must remember to wash their brush between colors using their water cup and dry their brush on the protective paper before mixing or changing colors. This is a routine that needs to be done over and over till they get it and it’s automatic.
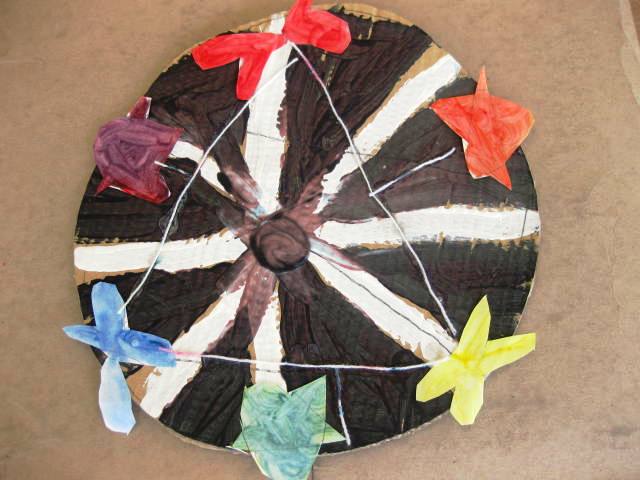
Once they made their new colors (green, orange and purple), they painted their remaining shapes. I then gave out their cardboard circles and they made some lines on them for divisions and painted them in using black and white. When everything was dry, they glued their ‘primary color’ shapes at the 12 , 3 and 9 o’clock marks on their circles and the secondary colors inbetween the primary colors. Then they glued yarn between the primary and secondary colors.

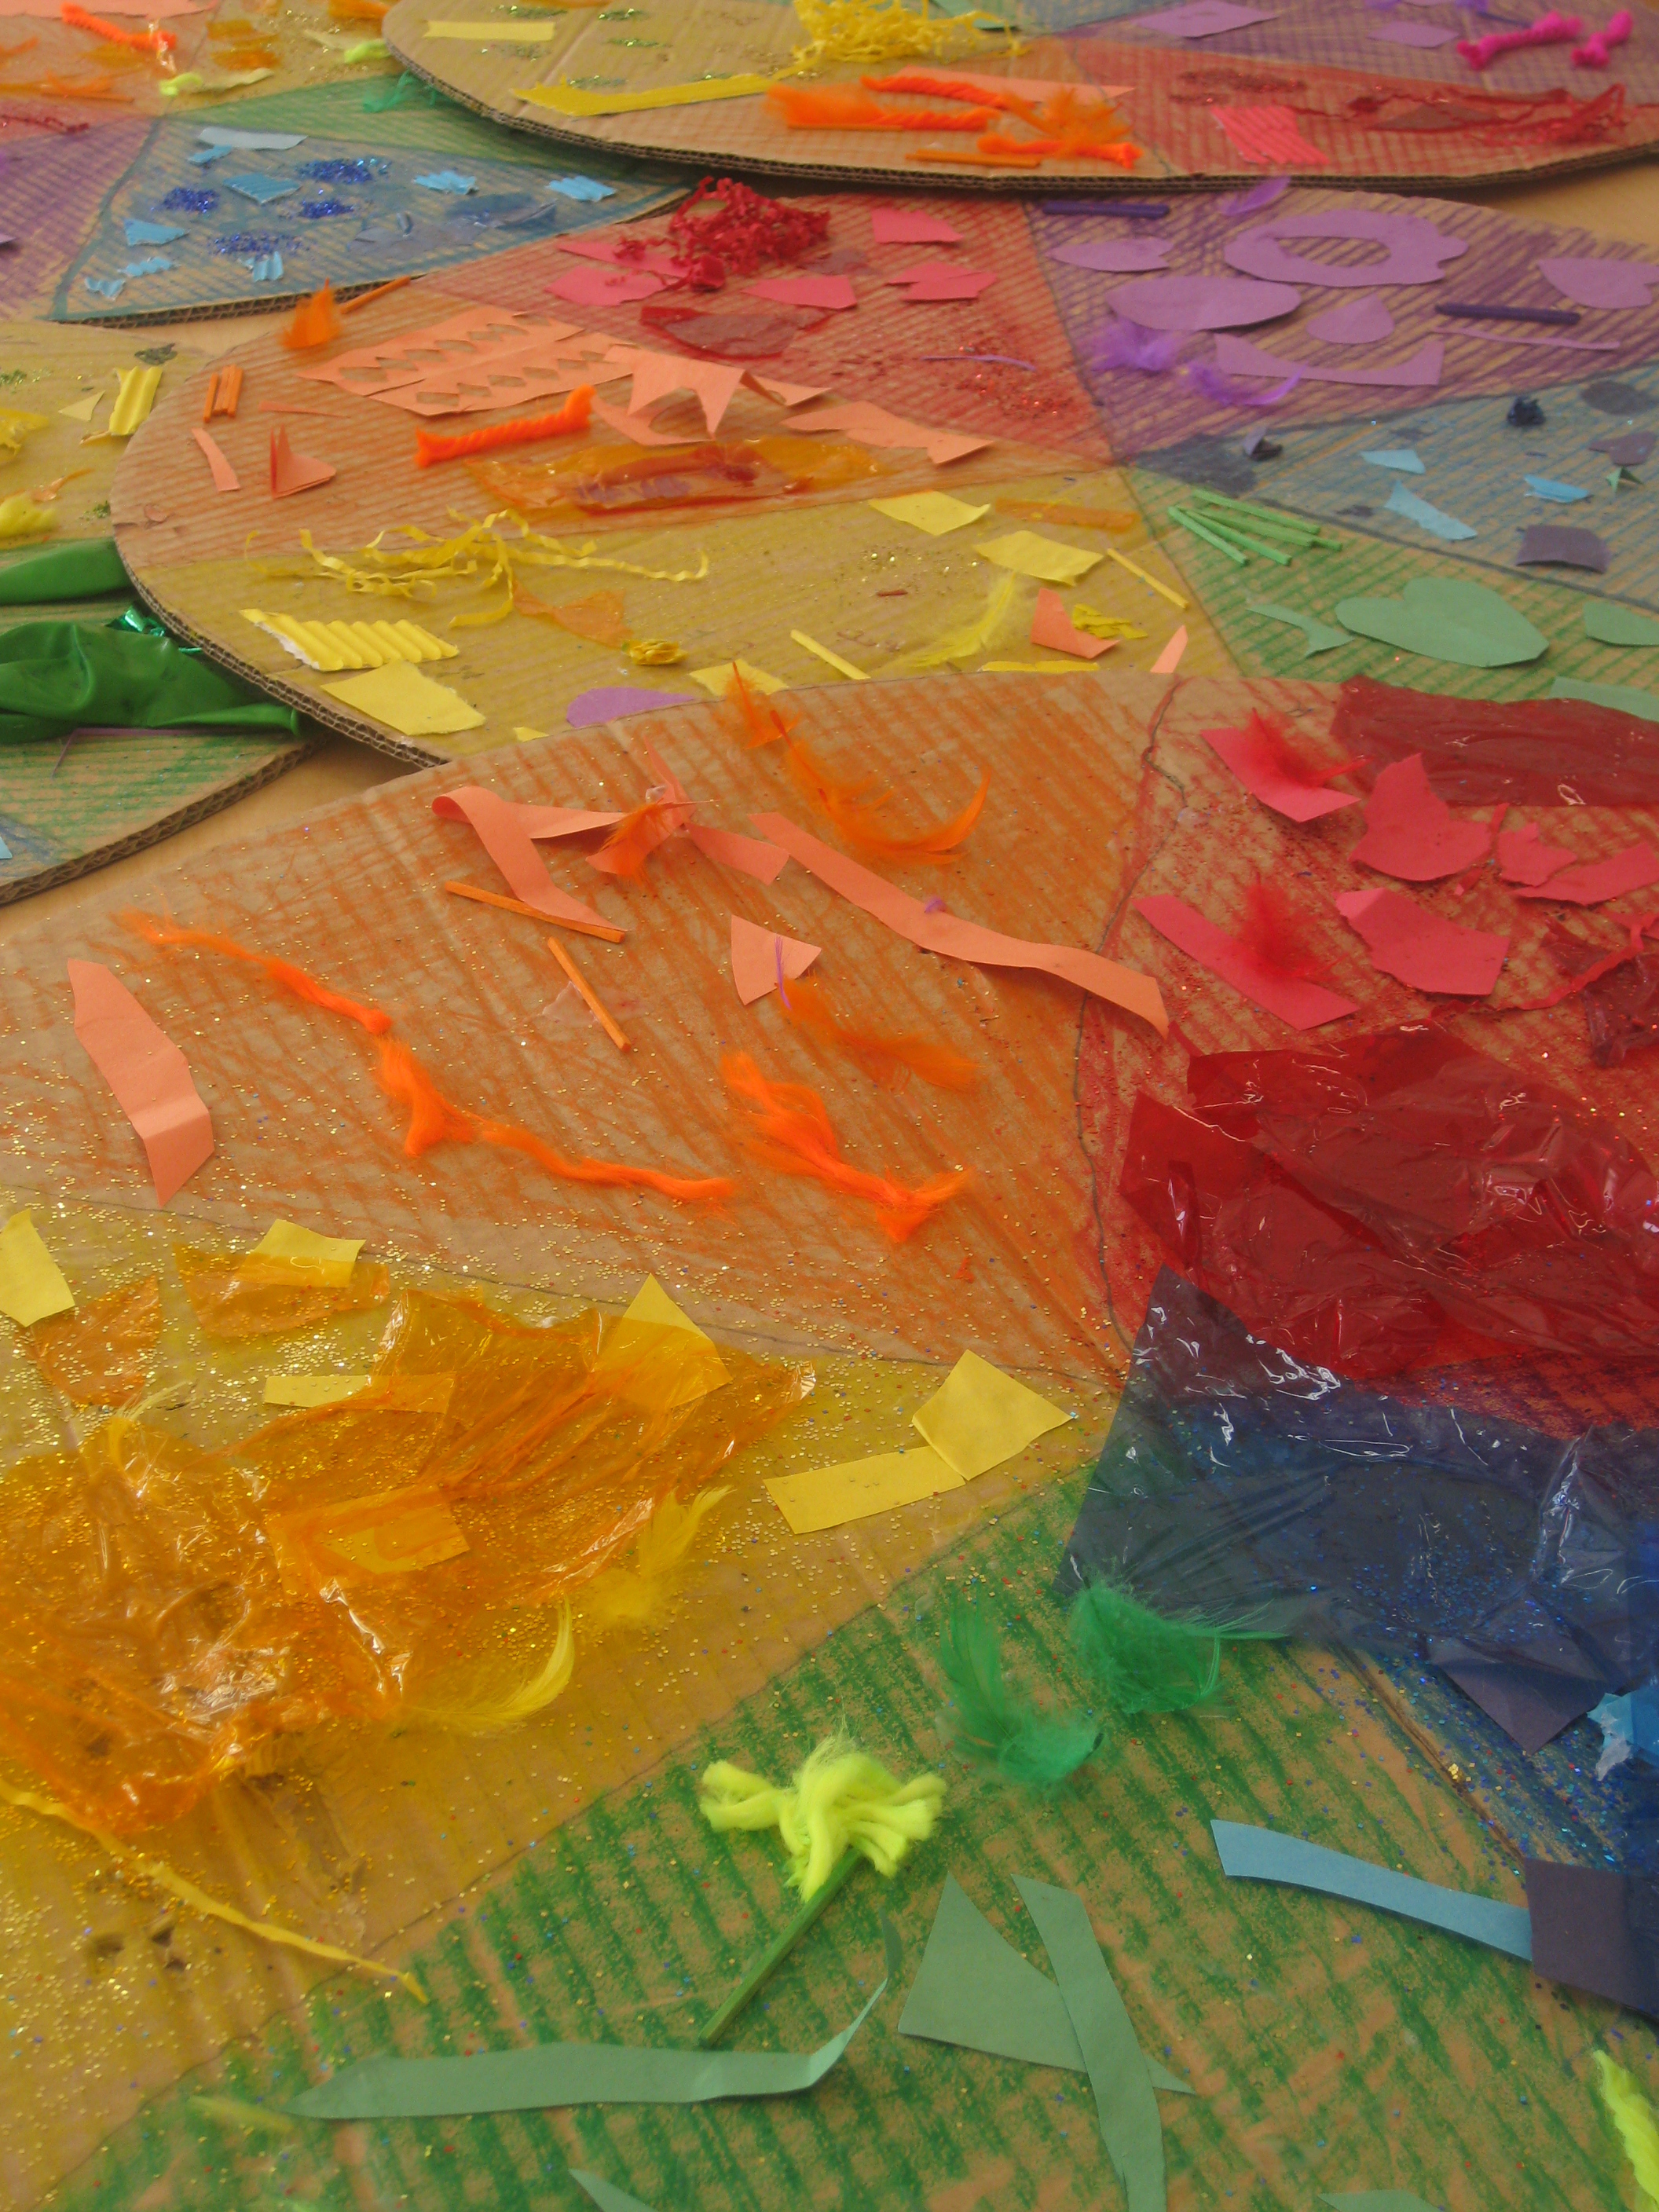
With my grade two class we made color wheel pizzas. These were a lot of fun and the kids loved doing them. They also looked stunning once they were finished and displayed. See my display page for ideas. Anyway, after the kids experimented mixing colors and could tell me how to make the secondary colors, I gave them a giant pre-cut cardboard circle which they divied up into 6 sections. They colored the primary colors and secondary color sections with crayon and then had to fill in each section with ‘toppings’ which were different kinds of paper and magazine cut outs for each color. They brought in from home other toppings such as balloons, wrapping paper etc.. When they were finished , the students sprinkled each section with glitter ‘cheese’. The end result was gorgeous and delicious!

Starting with the primary colors

Adding the toppings
Gorgeous results!

Making new colors
Making color blots are fun and the kids get a real sense of how colors mix to make new colors. Give each child a white piece of paper and have them fold the paper in half. Meanwhile you have already set up a painting station with the primary colors in tubs and with a plastic spoon in each tub.

I really like this blot!
Discuss the primary colors (red, yellow and blue). Explain that you cannot mix other colors to make blue, yellow or red. The primary colors are special colors because if you mix two of them together you make a new color called the secondary colors.
Allow them to discover the new colors they make by letting them choose their combinations. They should spoon a dollop of two primary colors into the middle of the crease on their paper. Tell them to close their paper, rub the paint around, open the paper and what do you see? Their amazement at discovering a new color is wonderful and they’ll want to make more colors! Let them do this with other primary color combinations till they have made green, orange and purple (the secondary colors).

Fill the white space with primary colors
With the Grade Ones and Two’s I encourage them put paint on their paper and fill the entire white space with two primary colors. Then they close it, rub it a little and their final product looks pretty awesome!

Great result!

