My students had a blast creating these fun and colorful camouflaged lizards. We spent some time researching lizards on internet and looking at the patterns and colors. We then discussed a little about camouflage and the kids were anxious to get into the project and create their own cool lizard.
The first part was to practice drawing real lizards. They printed copies of their favorite lizards and after some guided drawing lessons, they happily went off to draw their own.
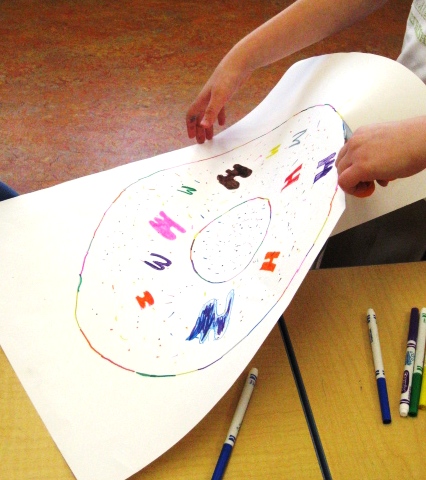
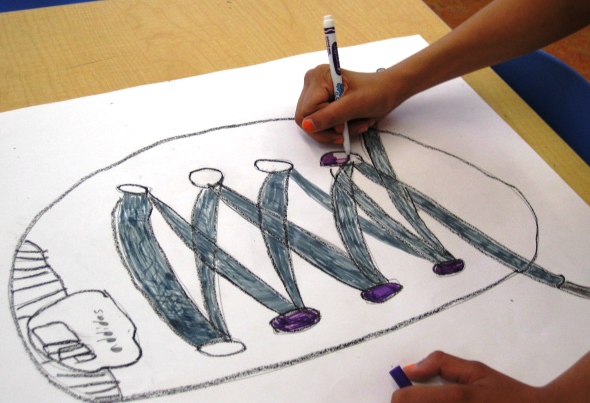
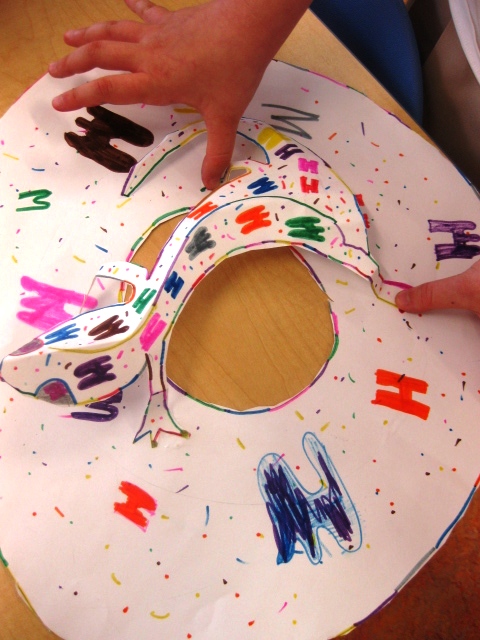
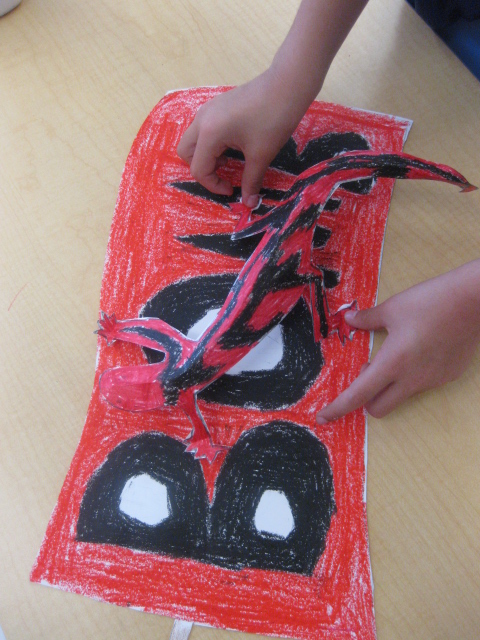
Next step was to think of a place where a lizard would not normally be found — after all this is an art class and the sky is the limit when it comes to imagination! This is a great time to introduce abstract art and look at some great works of Salvador Dali to get the kids inspired. Umbrellas, i pods, boots, etc were all drawn on large 18×12 paper and colored in.
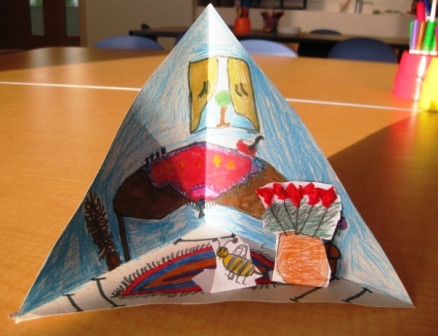
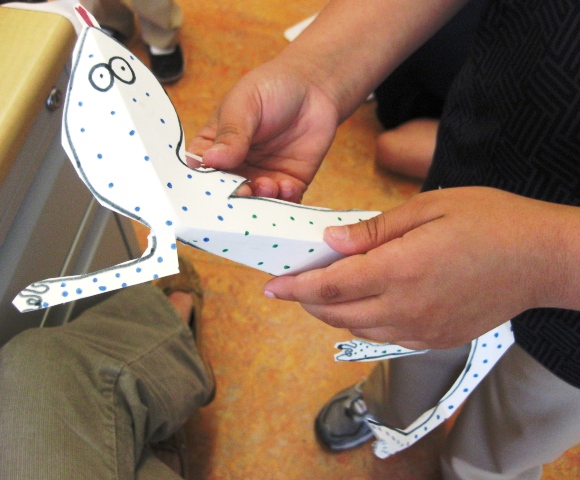
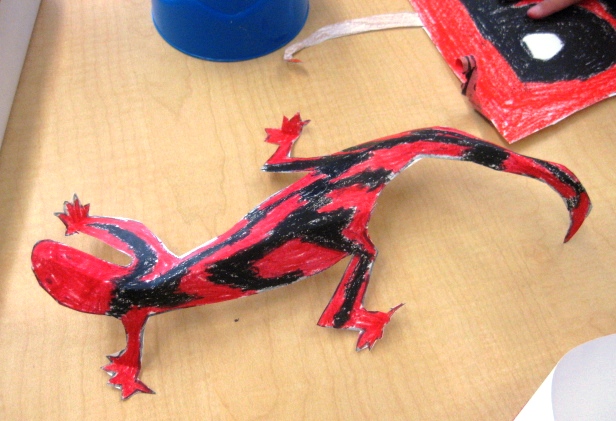
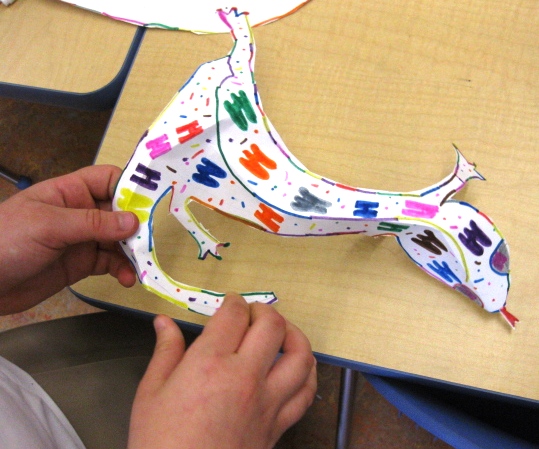
The final step was to draw the lizards on thicker paper such as bulletin board paper. Once the lizards were drawn, they had to be colored in to mimic part of the object they drew previously so their lizard would camouflage. The lizards were cut out, bent along the middle and the feet folded so they would ‘stand’ on their object after being glued.
Don’t these look so much fun?
Psst…
Art Lessons for Kids is on Facebook and we are GROWING. Hit the ”Like” button to show your LOVE and join the conversation. You can also follow my adventures on Twitter (@Ms_Alejandra) or see what I am pinning over at Pinterest.
Sign up today for The Happy Whole Teacher messages and get some lovin’ pep talks to keep you happy, balanced, energised and inspired. Click on the image below to join for FREE. I would love to have you in my tribe.
Become whole again and change your life. Let me show you how.