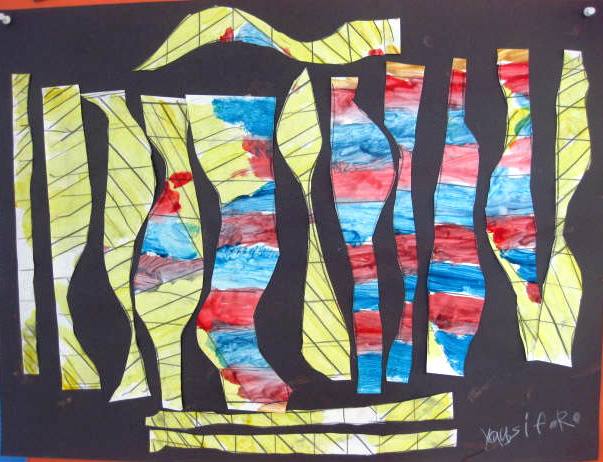
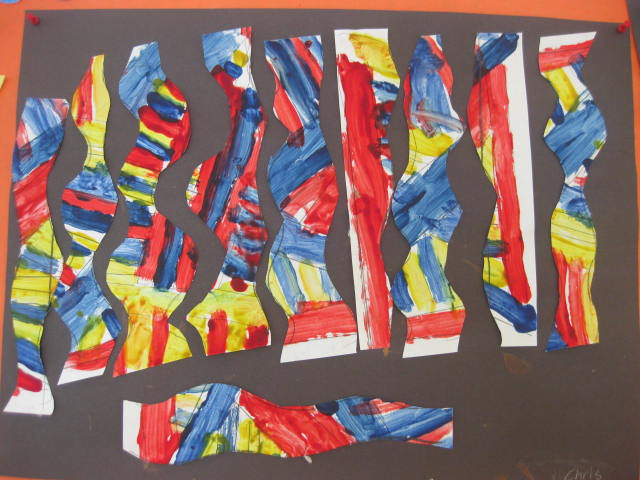
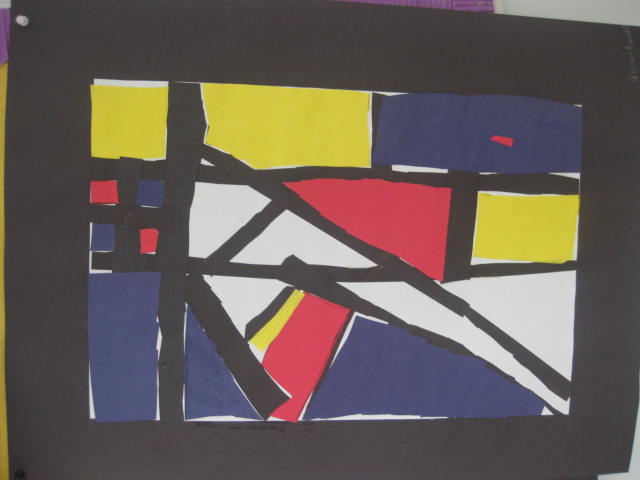
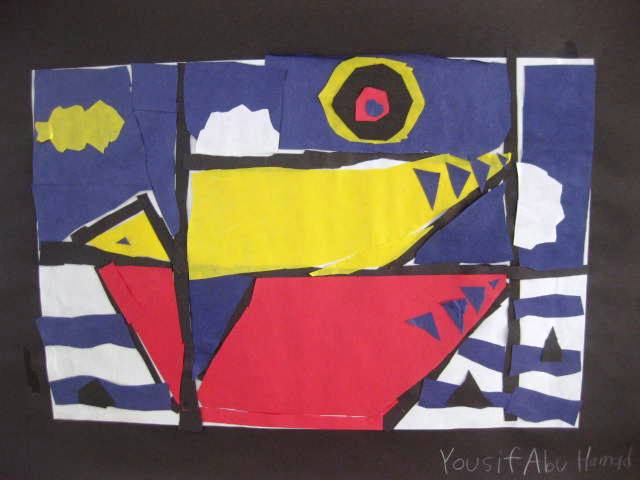
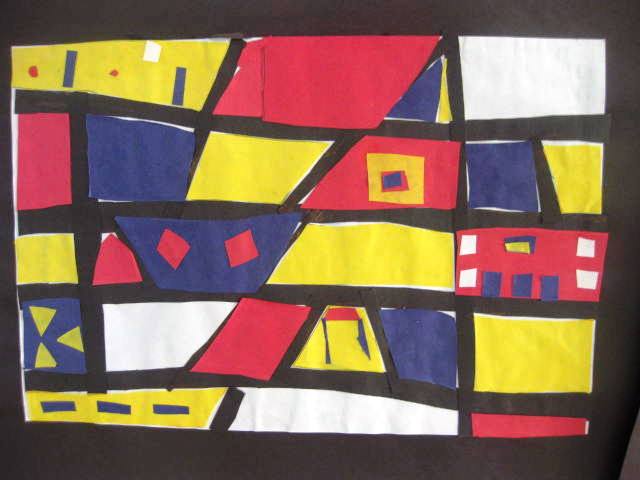
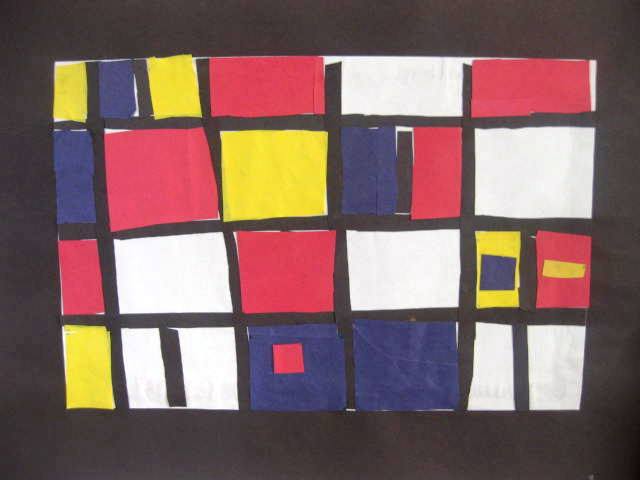
Filling in spaces with different kinds of lines
I have started my next big unit on LINES as part of the Elements of Art Theme. It’s important for kids to have an understanding of these elements which will help them when they go and make their own art. By knowing what the seven elements (line, shape, form, color, value, texture and space) of art are, kids will appreciate that all the art in the world is done with one or more of these elements.
I choose to look at each element seperately so that my students can really get a good grasp of them and practice using them when making their own art work.
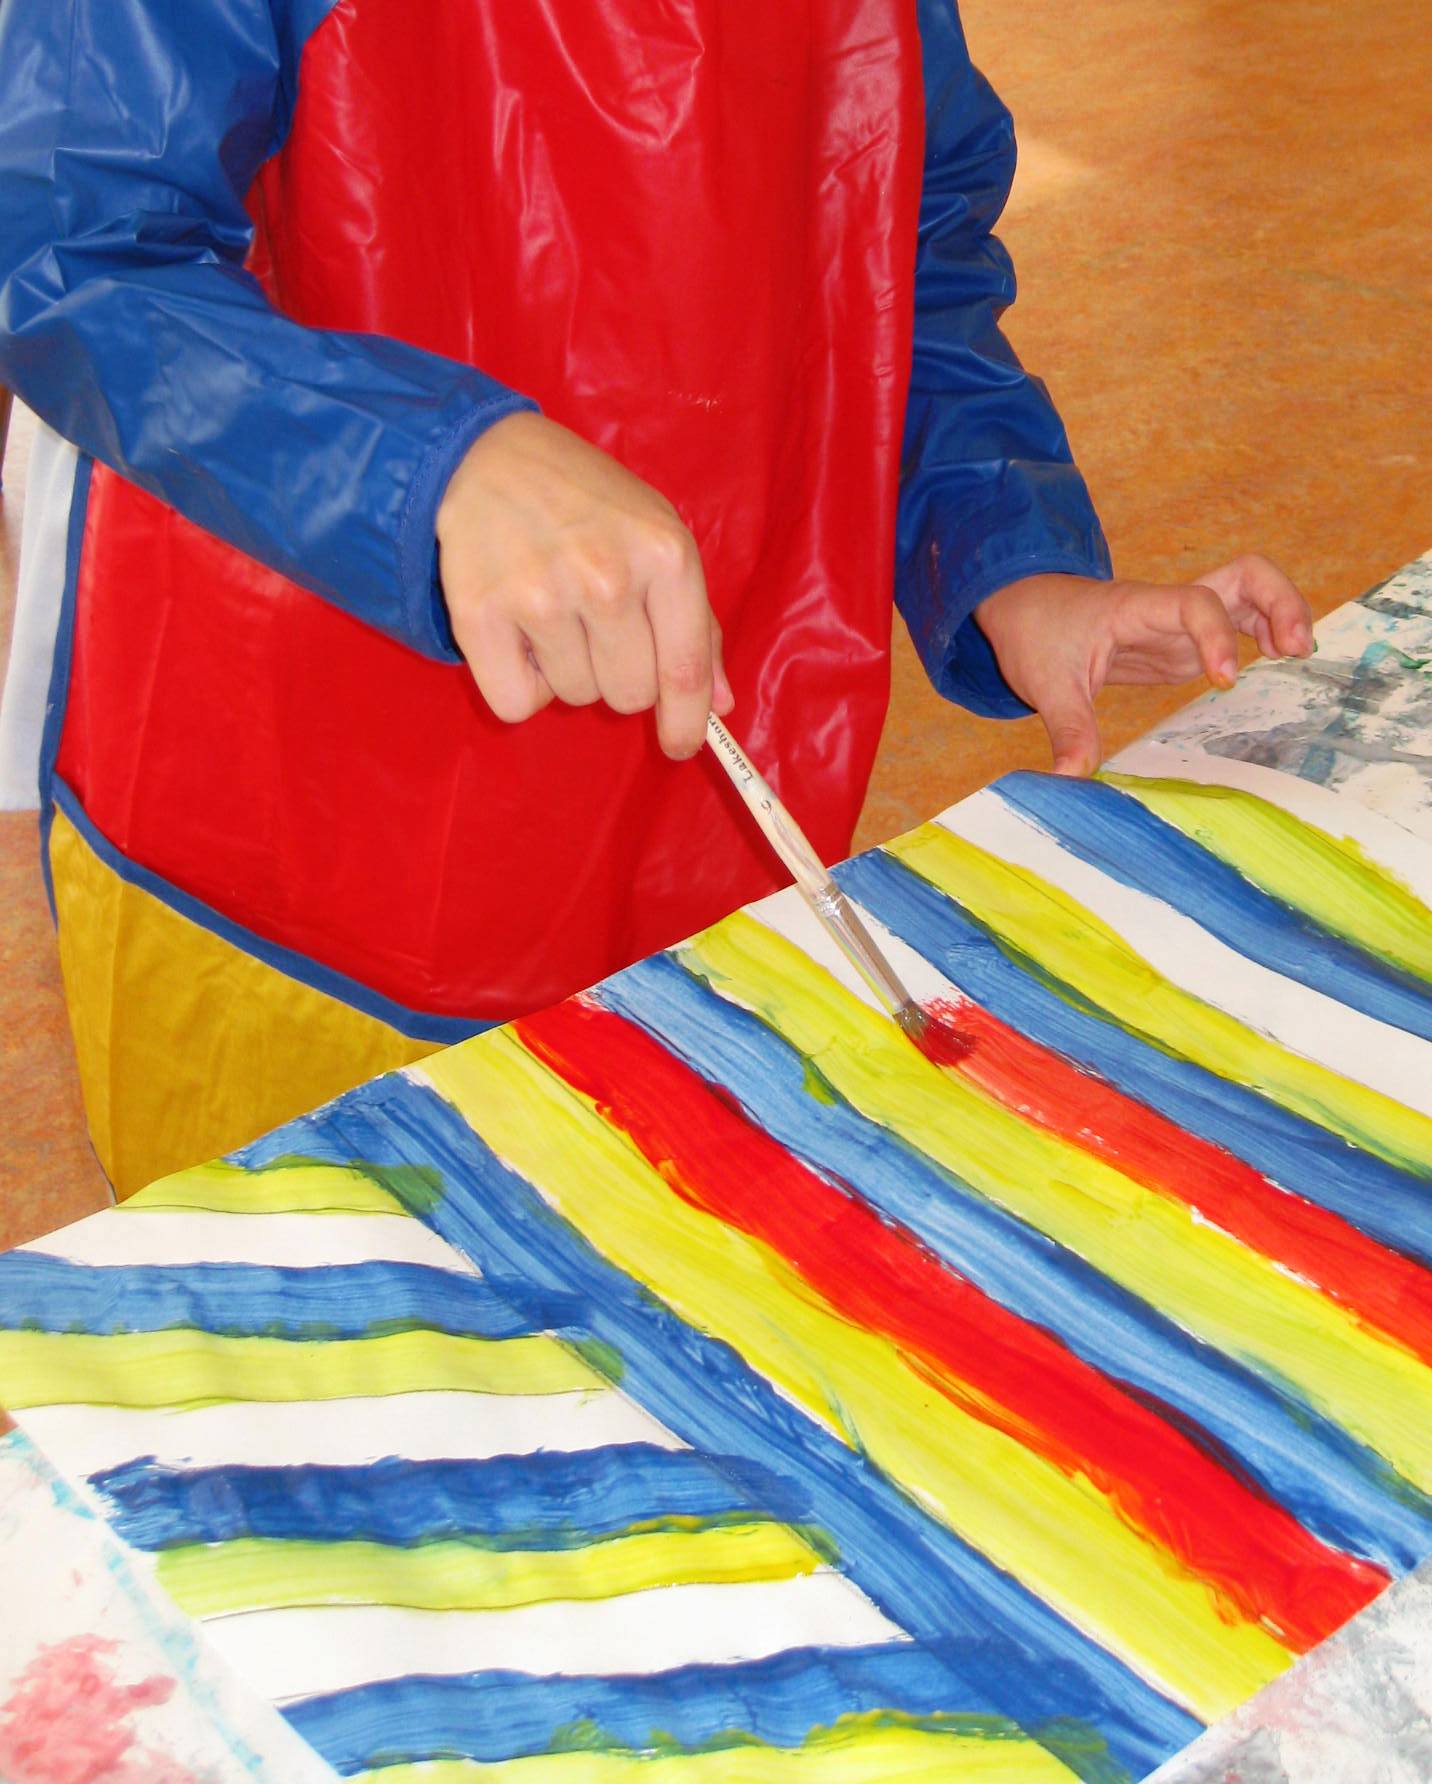
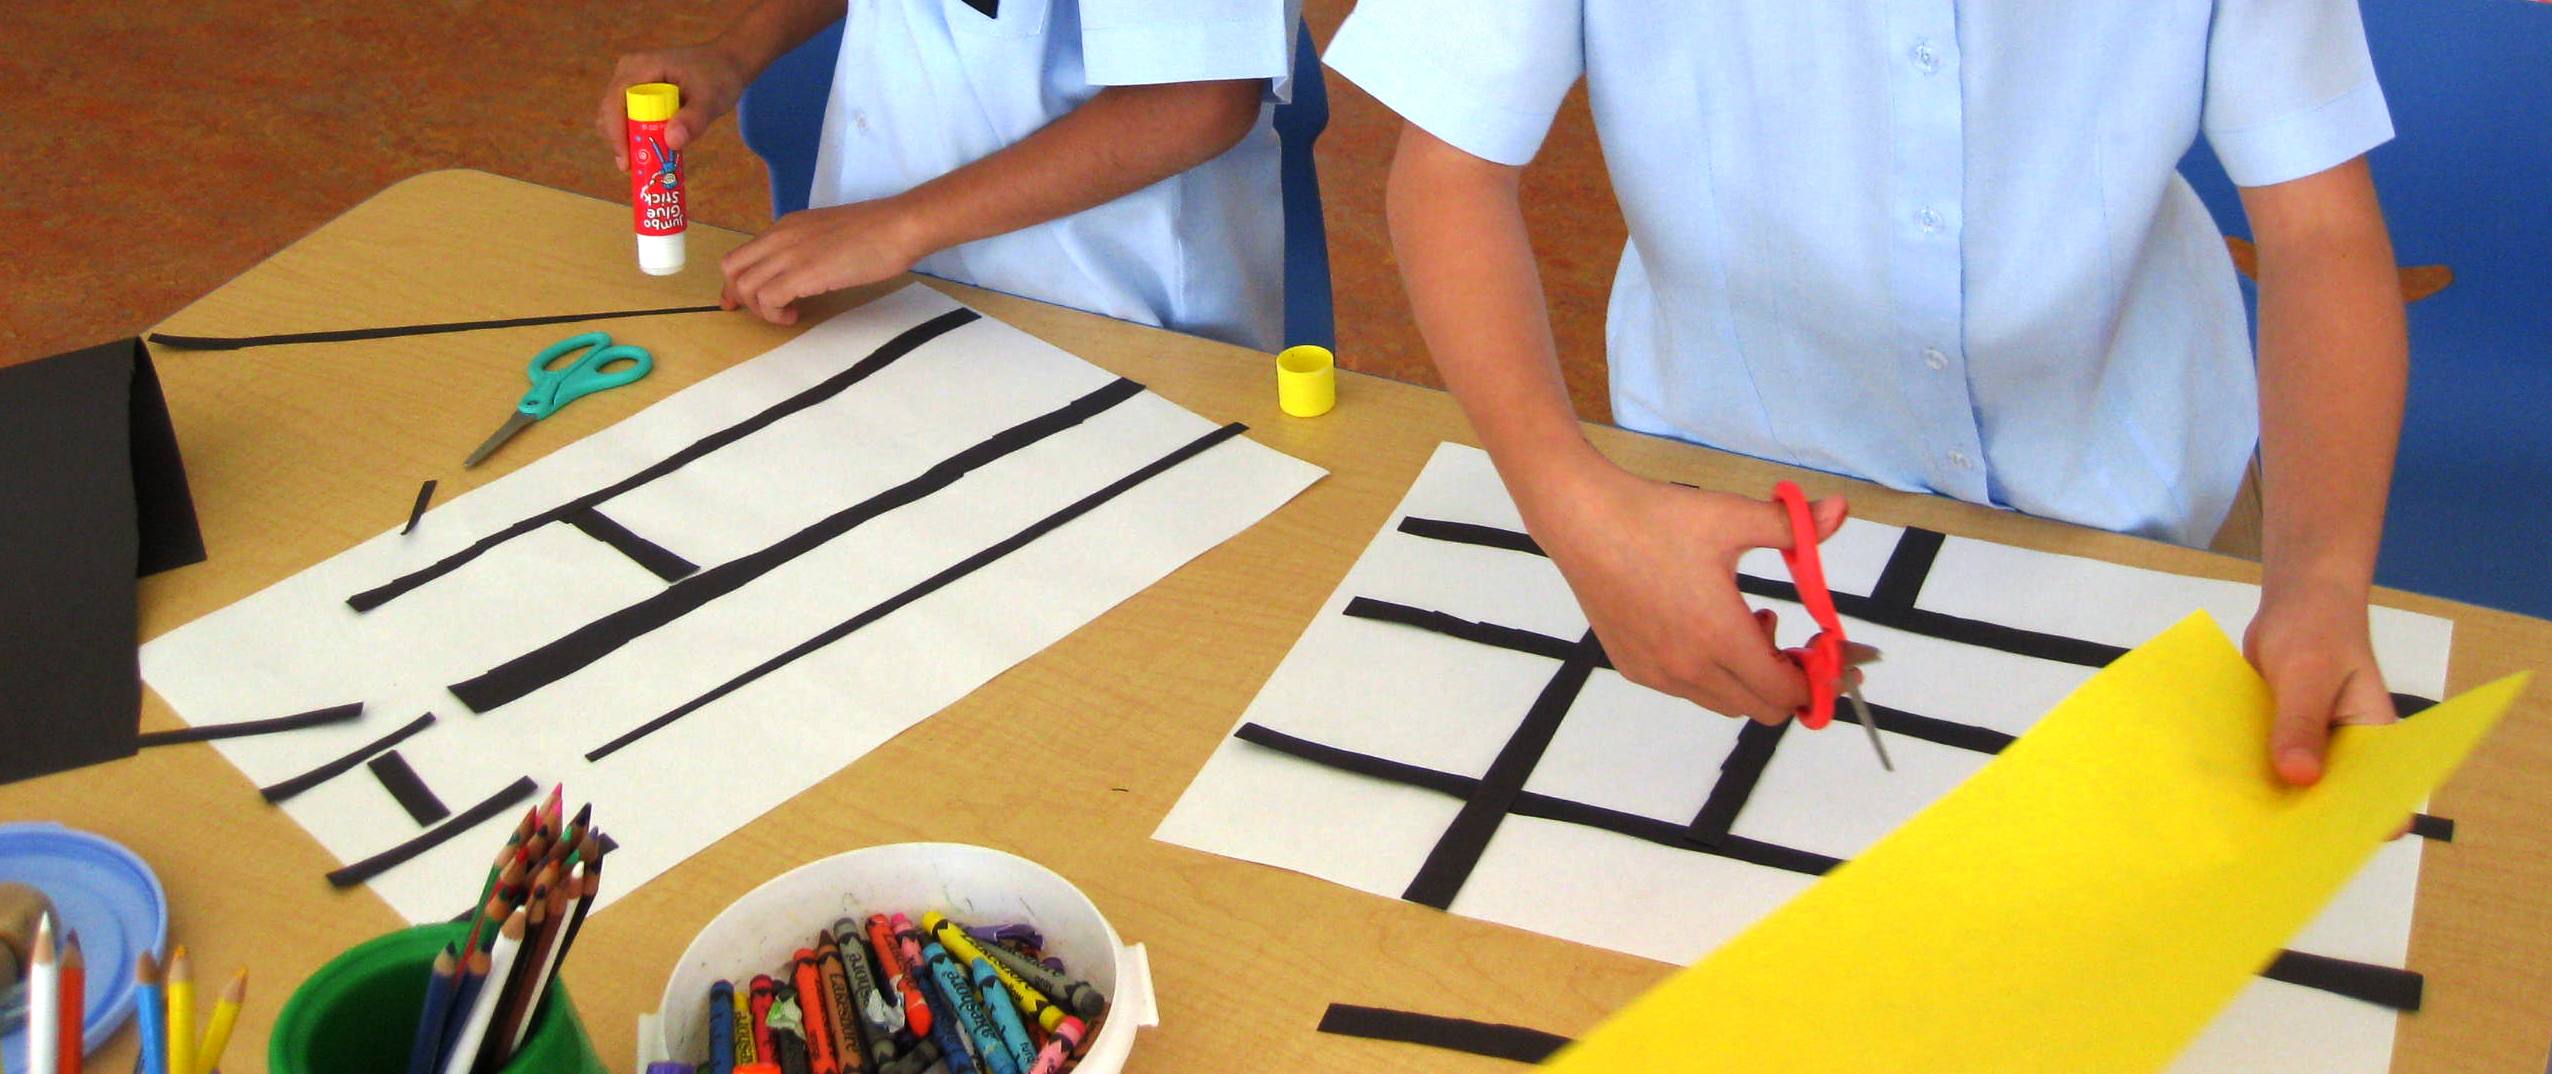
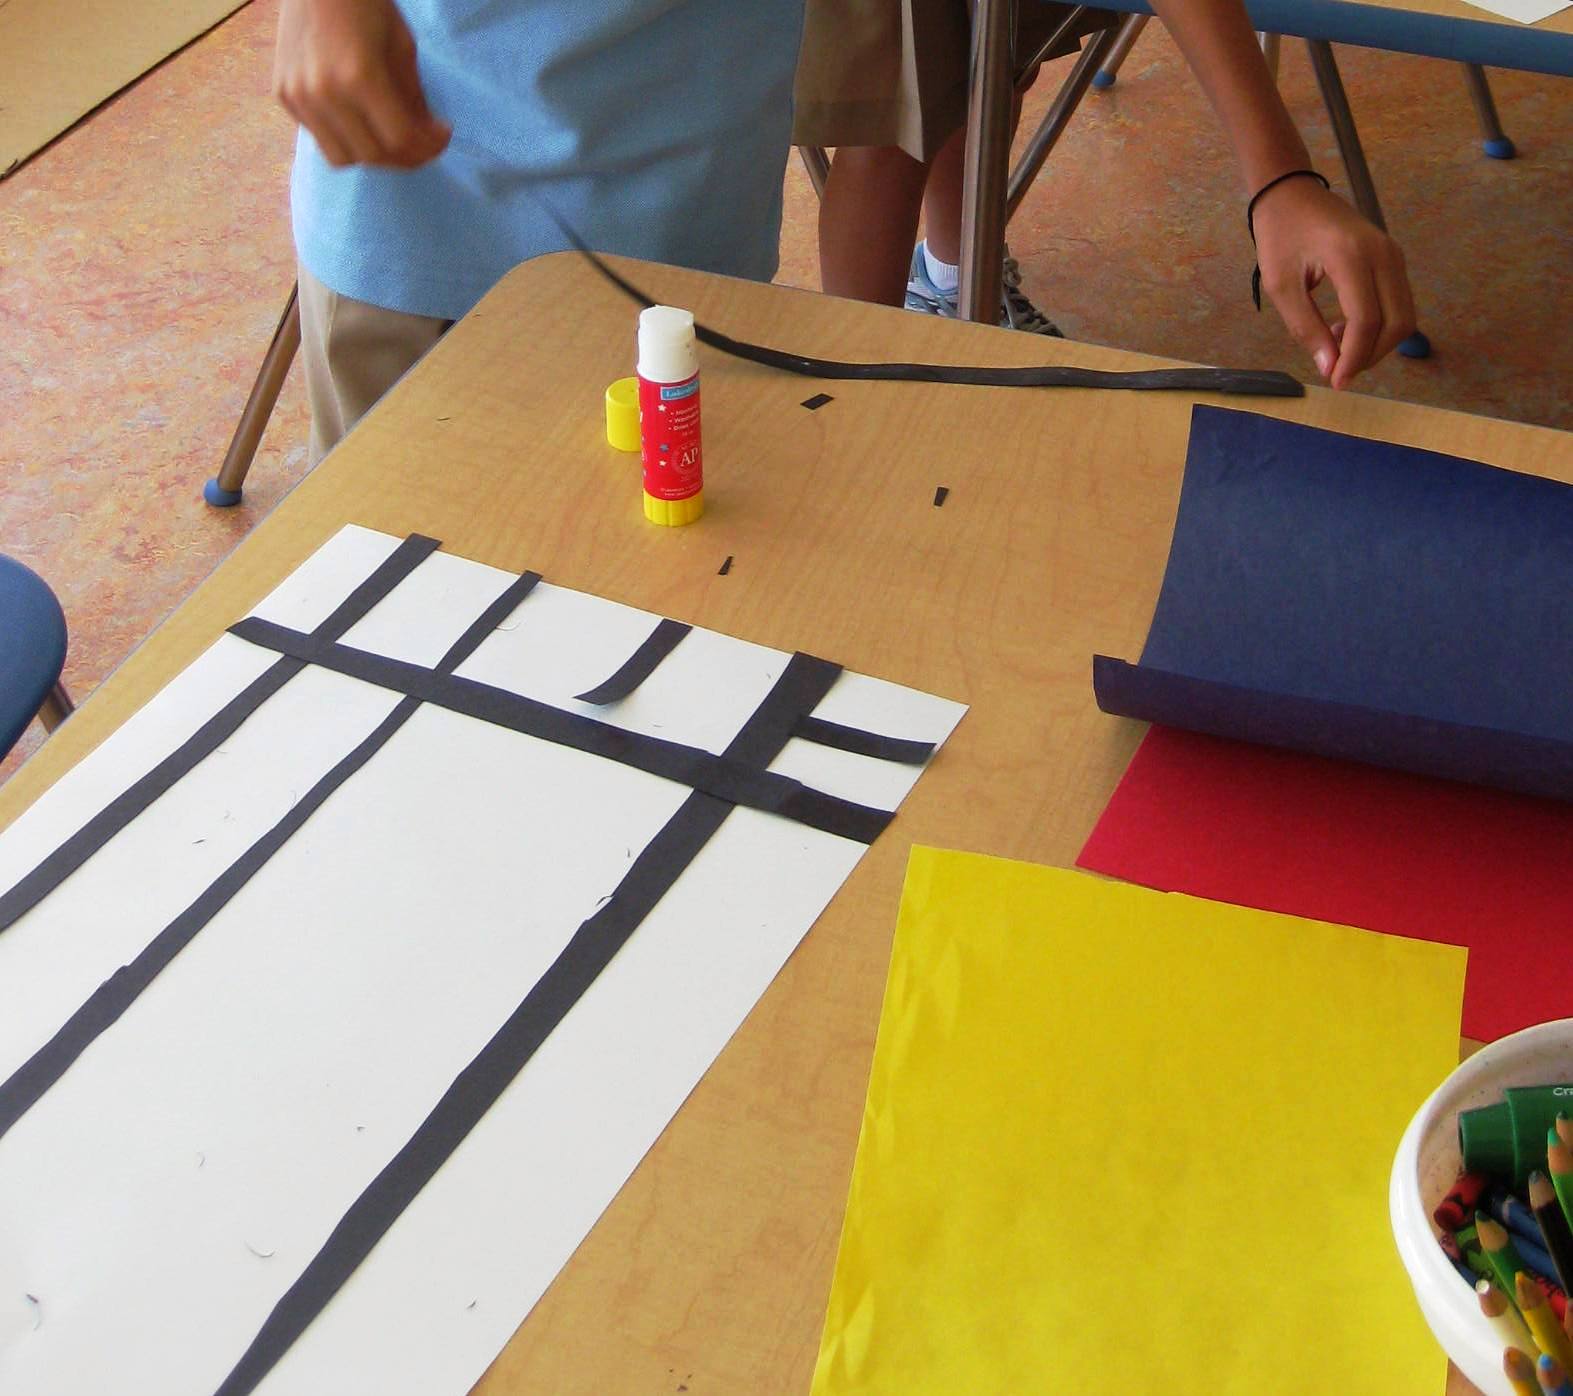
Start by telling your students that they will become a detective. This is a good time to define what a detective is and then tell them they will be a ‘line detective’ This is a hit with younger kids, grades 2 down. We first brainstorm all the lines we know and I let my kids come up to the smartboard and draw their lines. We them establish that a line is a mark made by a pointed tool such as a pencil, crayon, marker, paintbrush, tree branch, etc. For older kids you can get into more detail about what a line is. It’s important for kids to learn that lines can be vertical, horizontal, straight, diagnal, wavy, zig-zag and curved. Of course add more ‘line’ words to your list but these are essentially the basic lines to know.
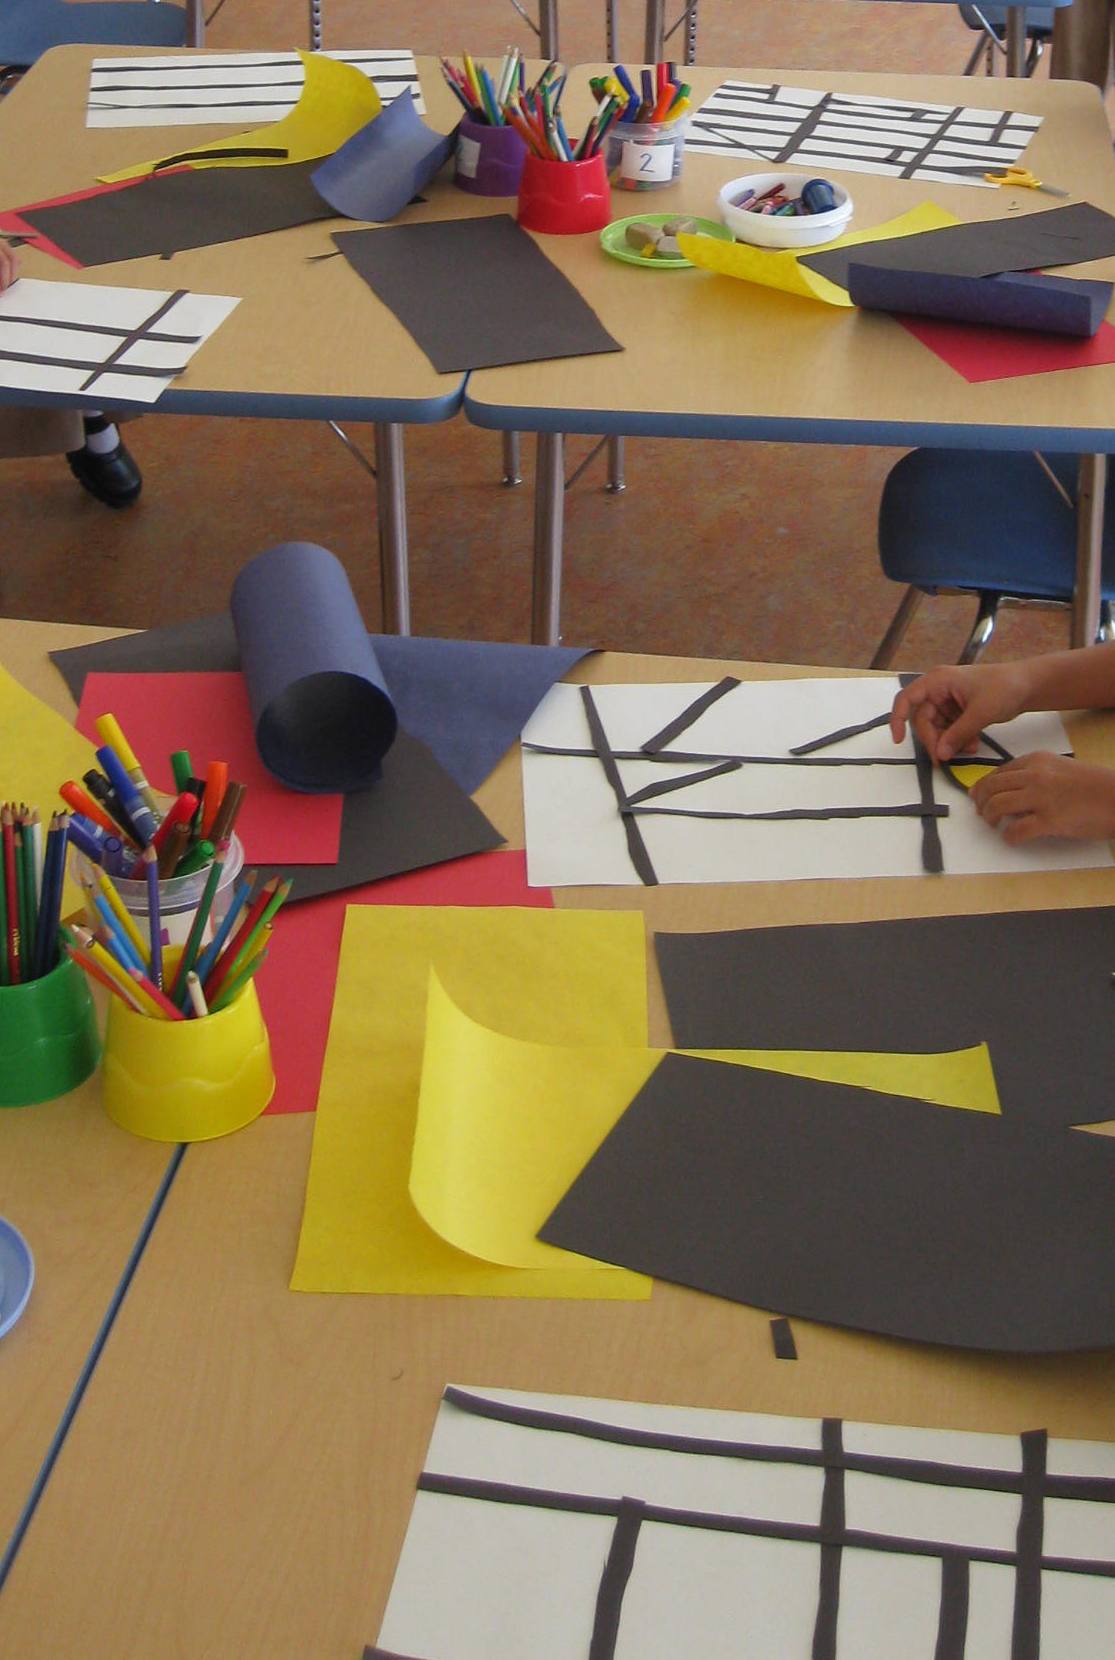
Then give each student their sketchbook, a pencil, marker and a crayon and hunt for lines in the classroom. Once they find a line, they record it in their sketchbook by copying it. Once you have found some interesting lines in the classroom, go outside and record more lines.
Kids have a great time finding lines and it makes them aware of all the lines around them. When you come back to class discuss your findings and then show a slide show (that you previously made!) showing lines in nature such as leaves, buildings, birds, architecture, water ripple etc. Have your kids point to the lines they see and use the correct word: horizontal, curvy, zig-zag, vertical, etc.
Sign up today for The Happy Whole Teacher messages and get some lovin’ pep talks to keep you happy, balanced, energised and inspired. Click on the image below to join for FREE. I would love to have you in my tribe.
Become whole again and change your life. Let me show you how.