I am always trying to think of creative ways to reinforce some of the elements of art. Here is a great project that will help you do just that. Kids will learn or review, depending on the age level, lines, primary colors, shape, space and even value.
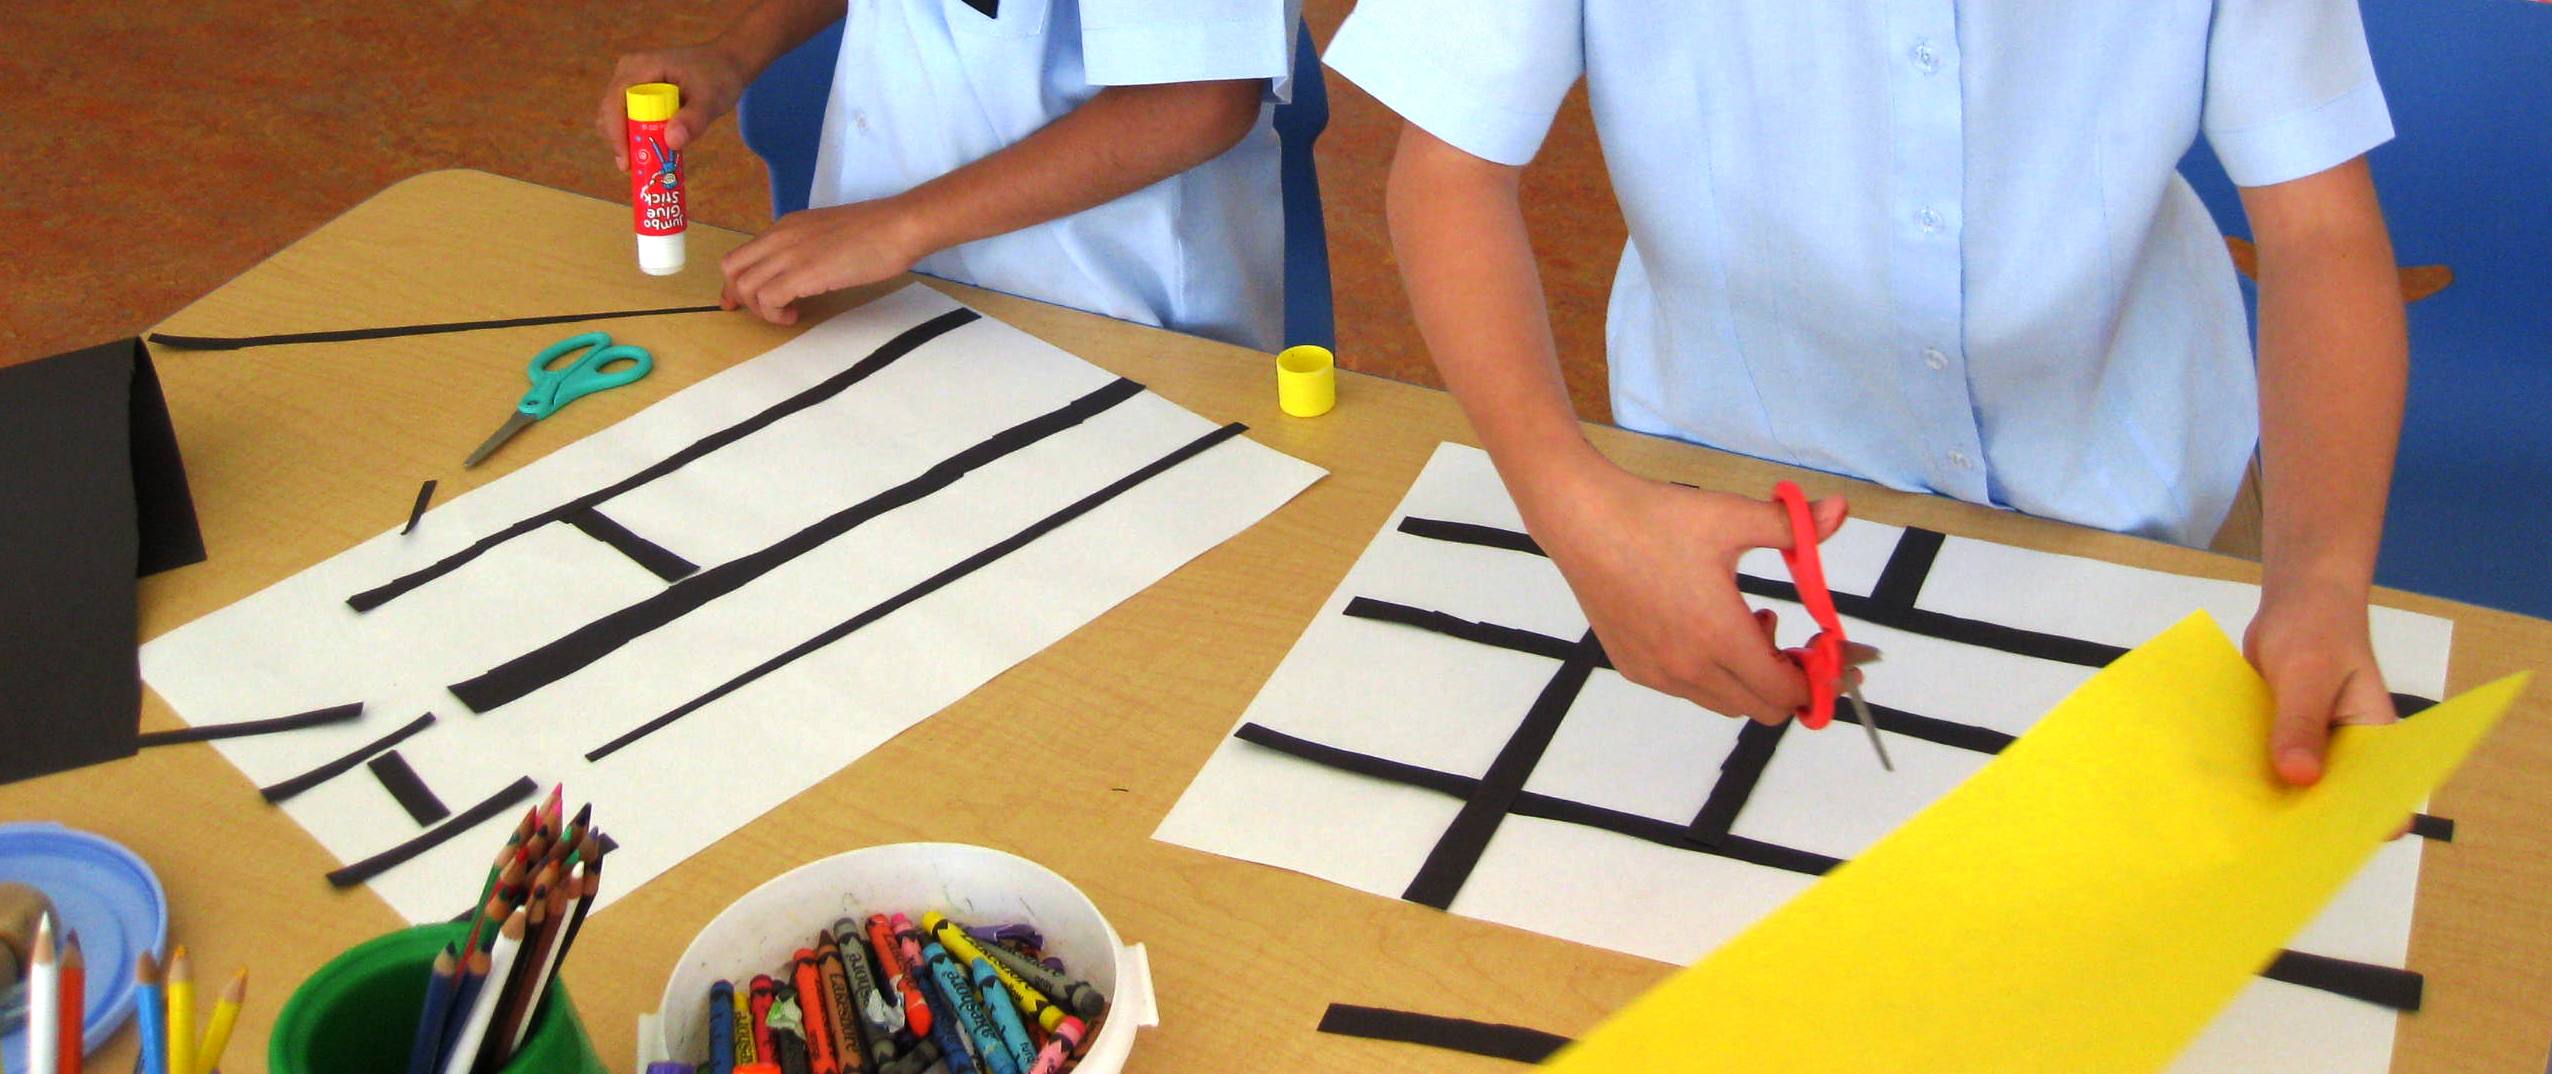
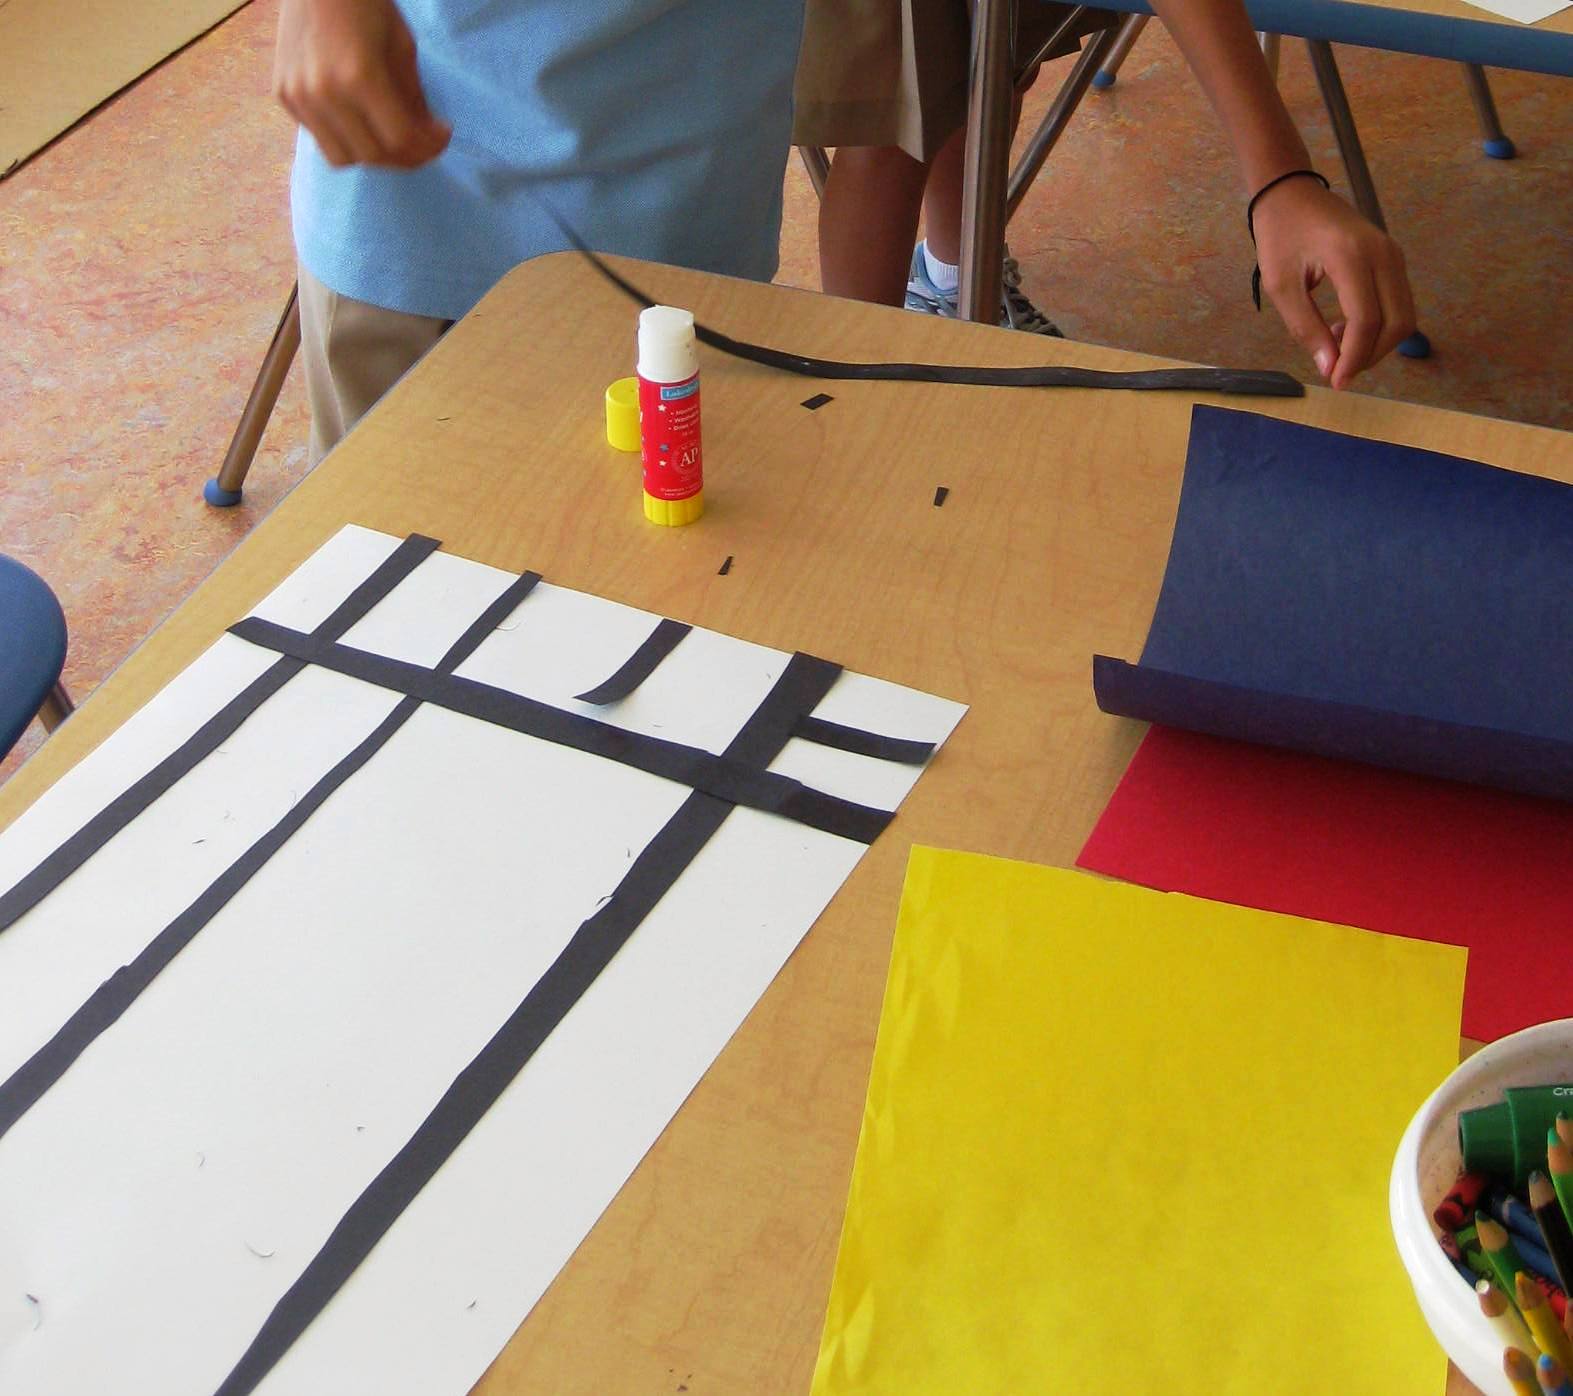
After discussing these elements, give your students a 12 x 18 piece of white paper, pencil and ruler. They are to make a mix of vertical, diagnal and horizontal lines that can either be straight, zig-zag or wavy. Once they have outlined their lines with a black crayon, they go to the painting station where there are paint cups with the primary colros waiting for them. Go over the routine of how to use a brush (wash your brush between colors) and starting with one primary color they paint diferent sections of their paper. Remind them that two same colors cannot be next to each other! Then they go onto the next primary color and so on.

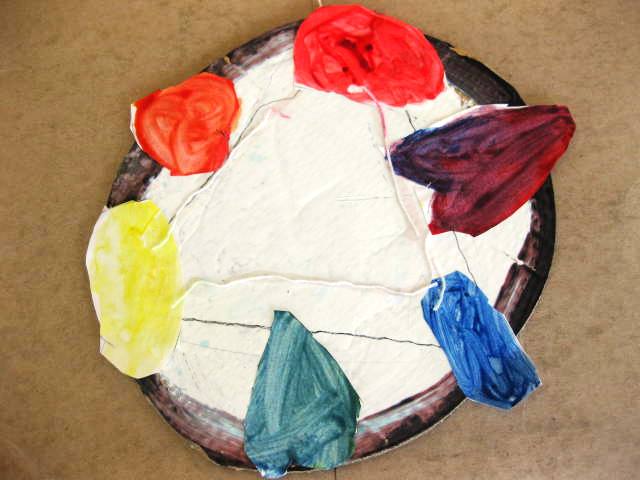
Dividing the paper into sections
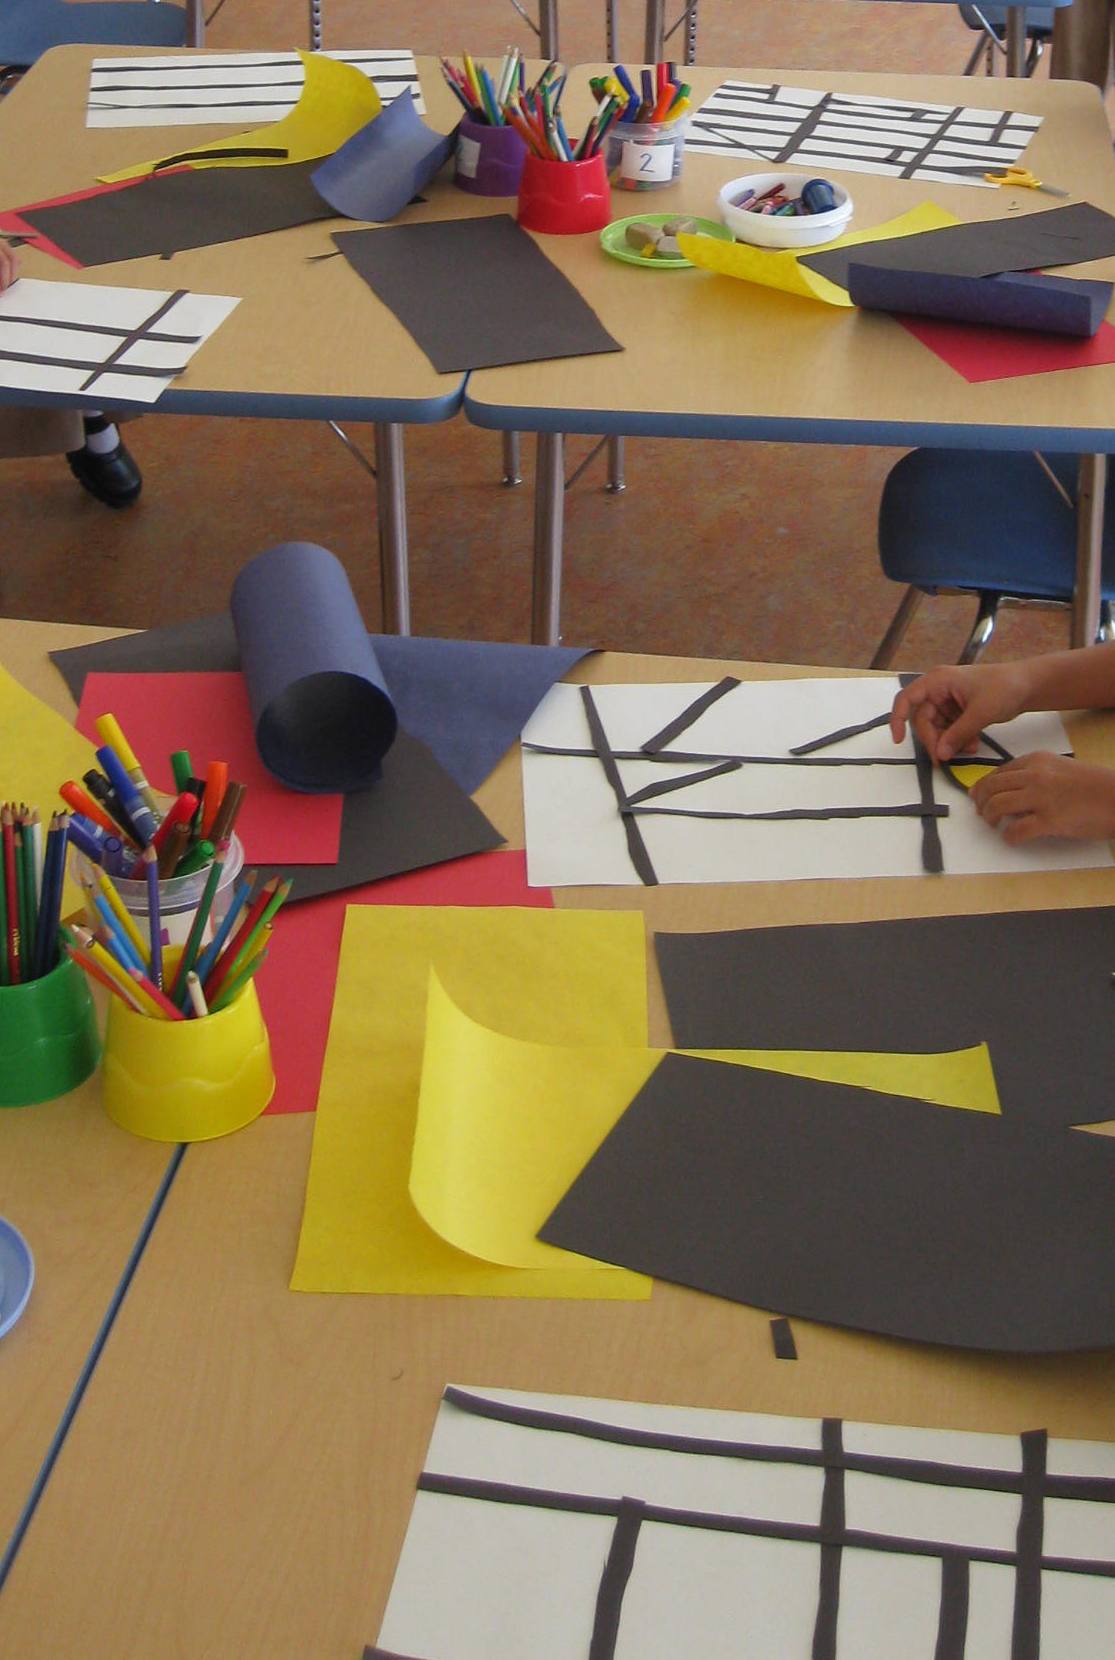
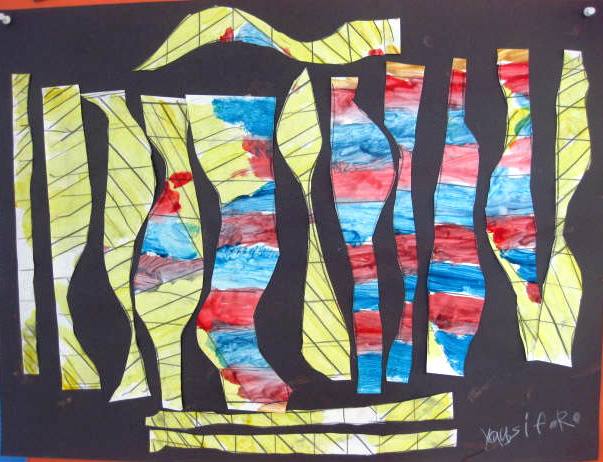
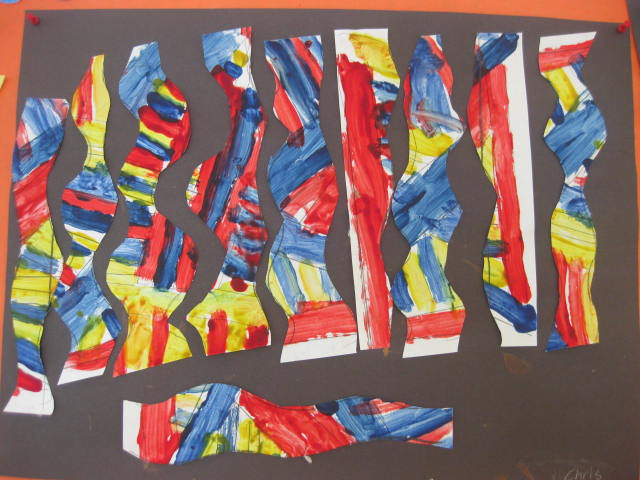
Once their painting is dry, they need to cut up their paper and keep the pieces in the same order they are cutting them because they will glue them down onto a large piece of black paper, kind of like a jig saw puzzle. When they glue them down, there remind them to keep a small space between strips.
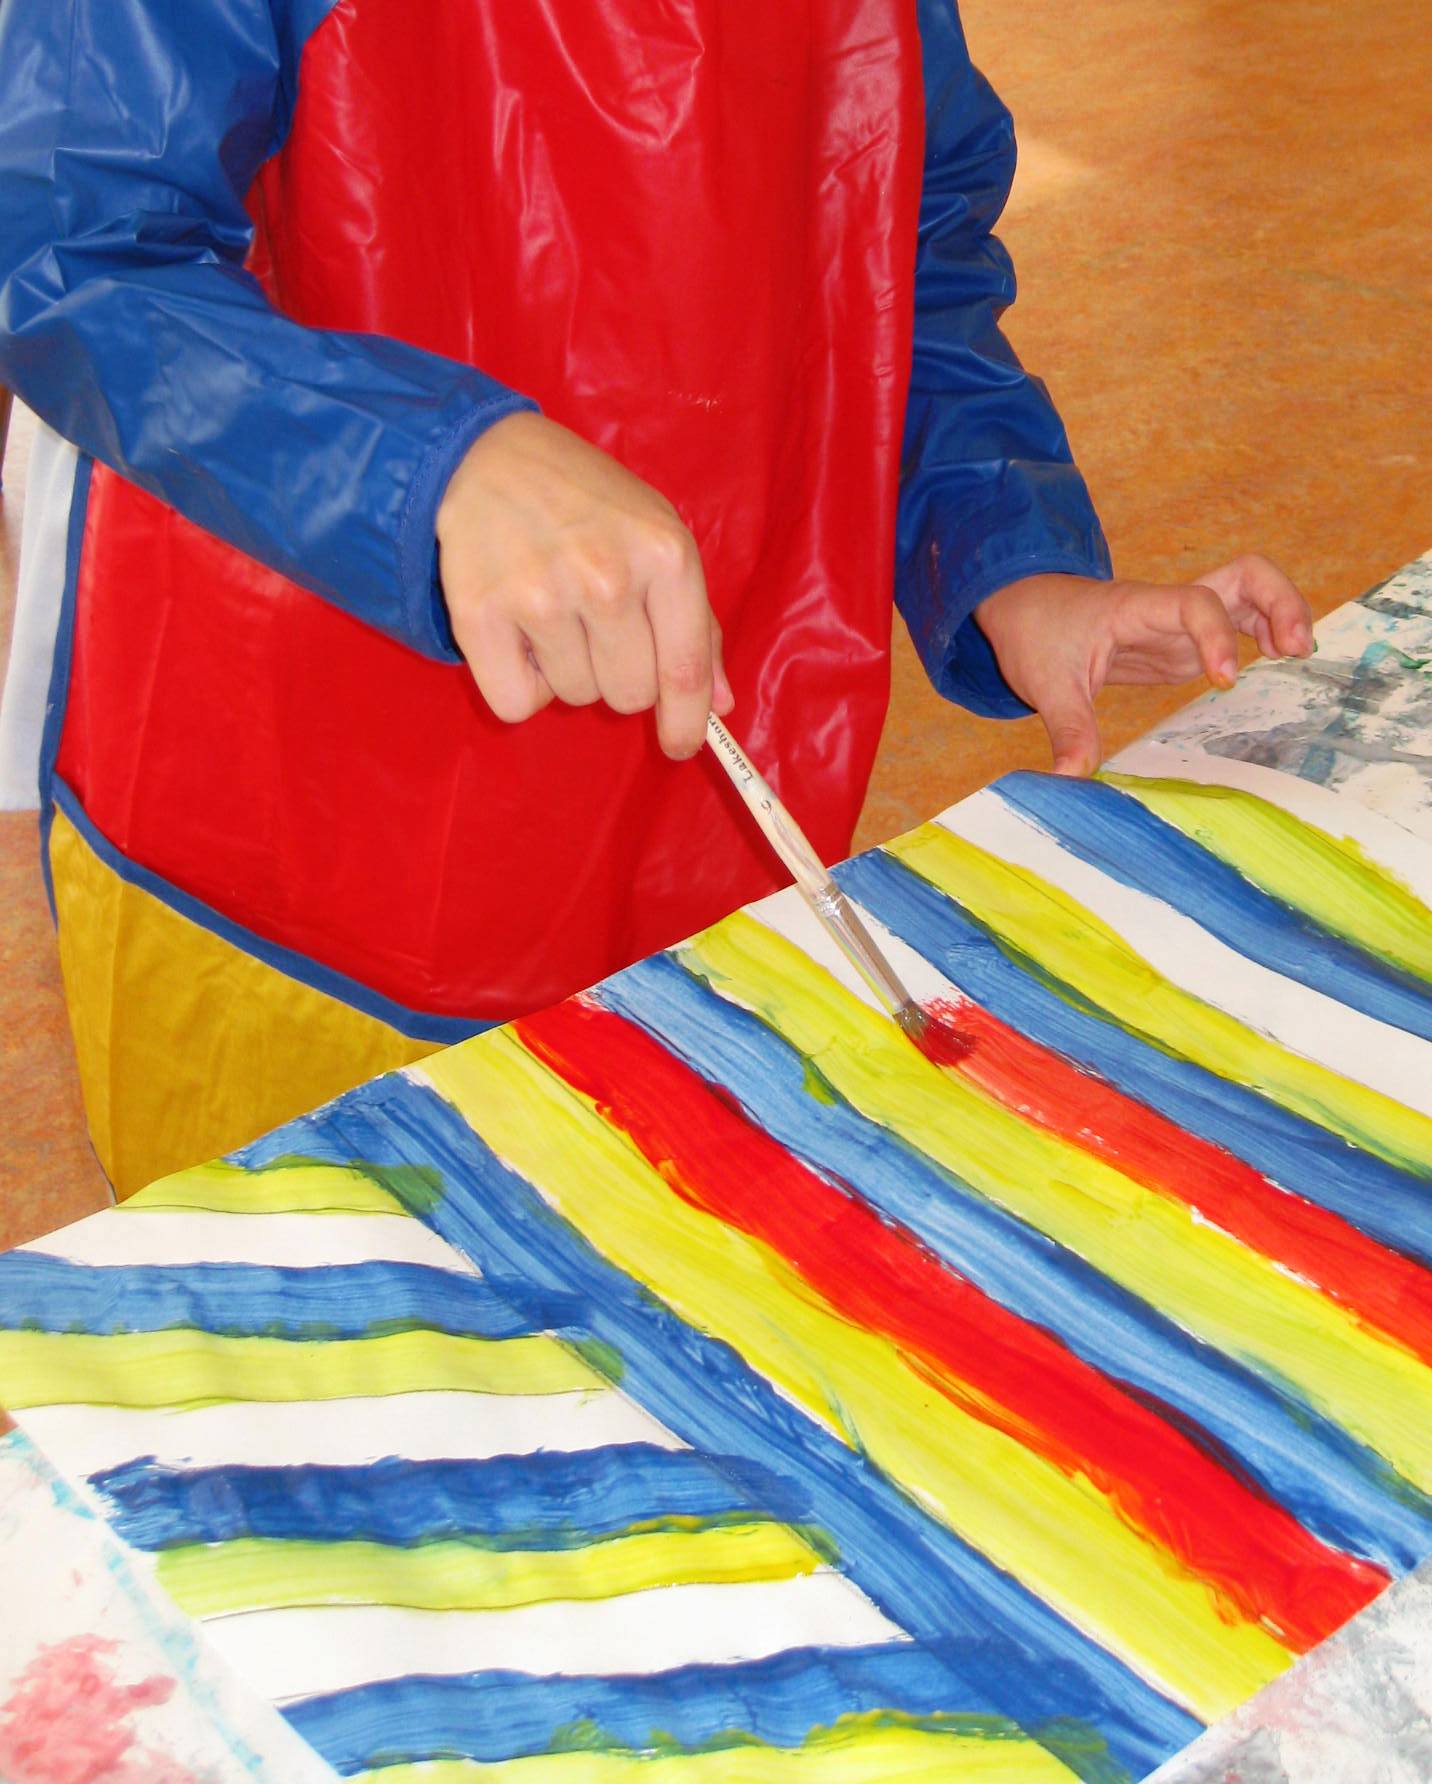
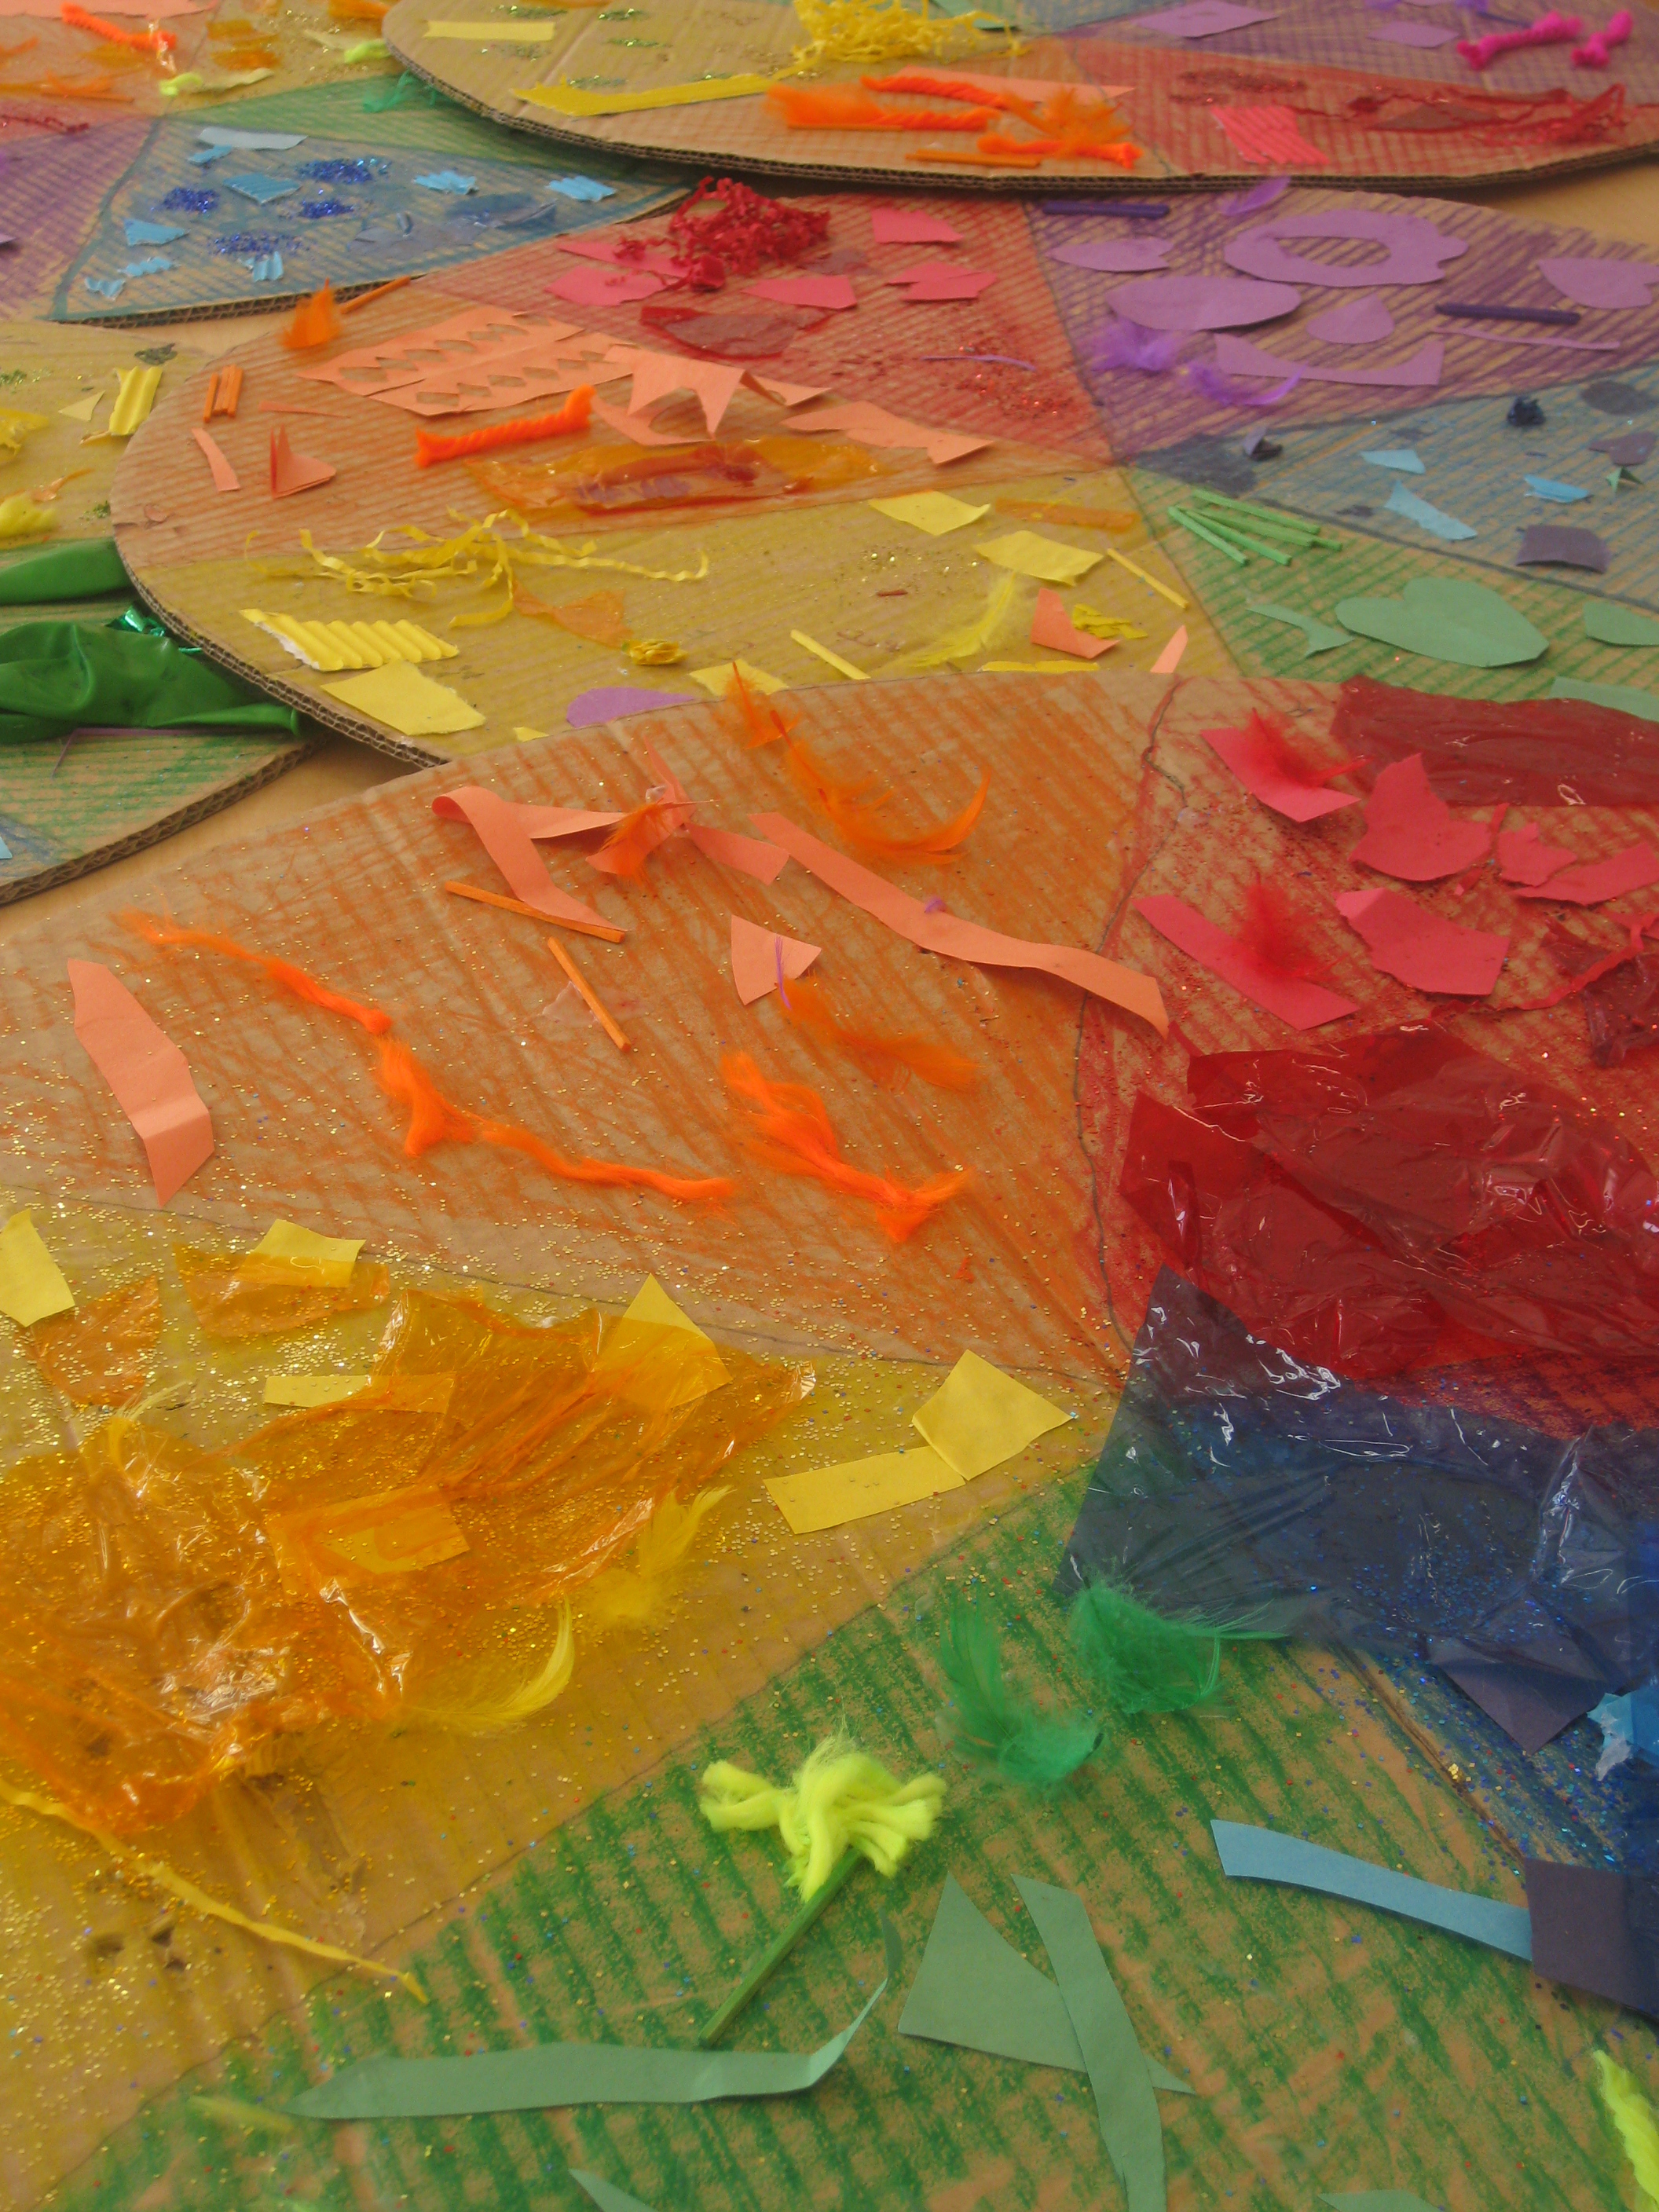
Painting in each section
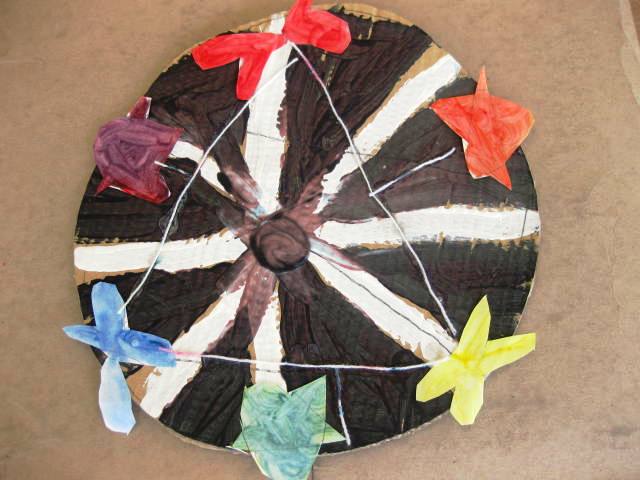
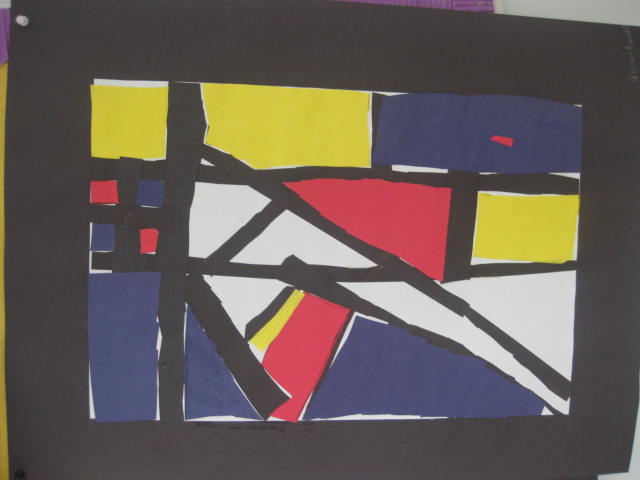
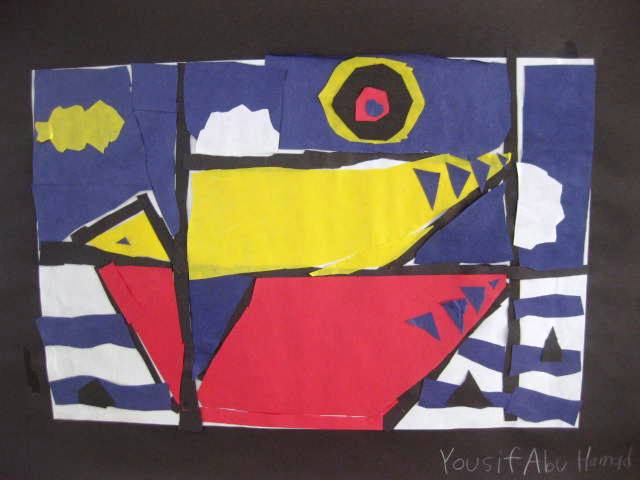
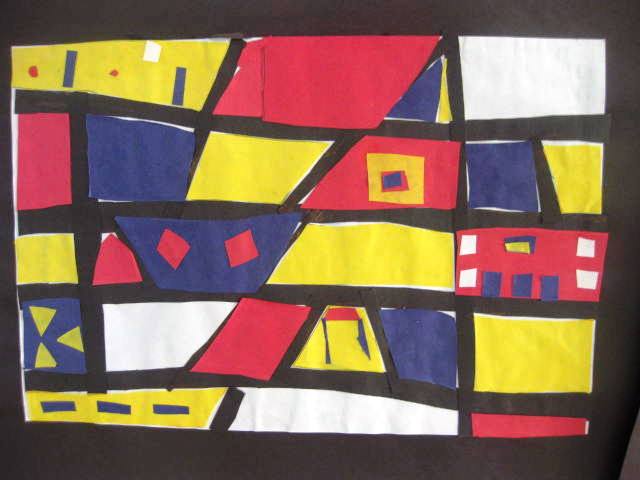
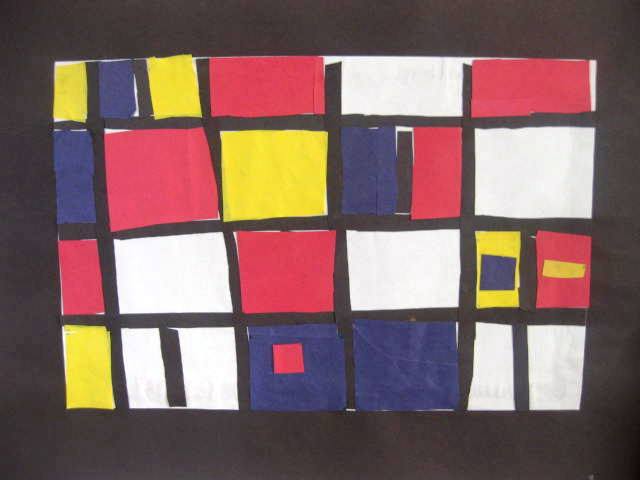
The final result is beautiful and the kids love to see them when they are finished. this project can be adapted to any age level. Instead of painting with the primary colors you could paint different shades or tints of a hue (color), use only warm or cool colors, complementary colors, etc. The possibilties are endless!


Sign up today for The Happy Whole Teacher messages and get some lovin’ pep talks to keep you happy, balanced, energised and inspired. Click on the image below to join for FREE. I would love to have you in my tribe.
Become whole again and change your life. Let me show you how.