I have started my after school activity Art and Science Extravaganza so I can have my art teaching fix! It’s so nice to be with students for a change.We are having such a good time and I will try and post as many of the activities we do so you can try them in your classrooms. Everyone loves art and everyone loves science so when you put these together you are bound to get excitement, and a lot of learning.
I saw this activity floating about on Pinterest and followed the link to a really good site: Krokotak. Here you will find lots of fun activities for all ages.
The appeal for this lesson is that it involves drawing, making patterns with makers to create an optical illusion that if done correctly is quite impressive. My club is for grades 1-3 and I found that the older kids were more successful with this particular activity. Younger students will struggle a bit however with your help, they can do it.
Start by having your students outline their hand and part of their arm with a pencil. Make sure they spread their fingers nice and wide. You will then have to model the next part which is to make black horizontal lines across the page with a permanent marker. When you get to any part of the outlined hand you make a curve or a little ‘hill’ and then continue with a straight line. Hills for the inside of the hand and fingers, straight line for any other open spaces. The lines should not be too fart apart or too close either. More details here for the process as I was too busy helping the younger students and couldn’t take photos.
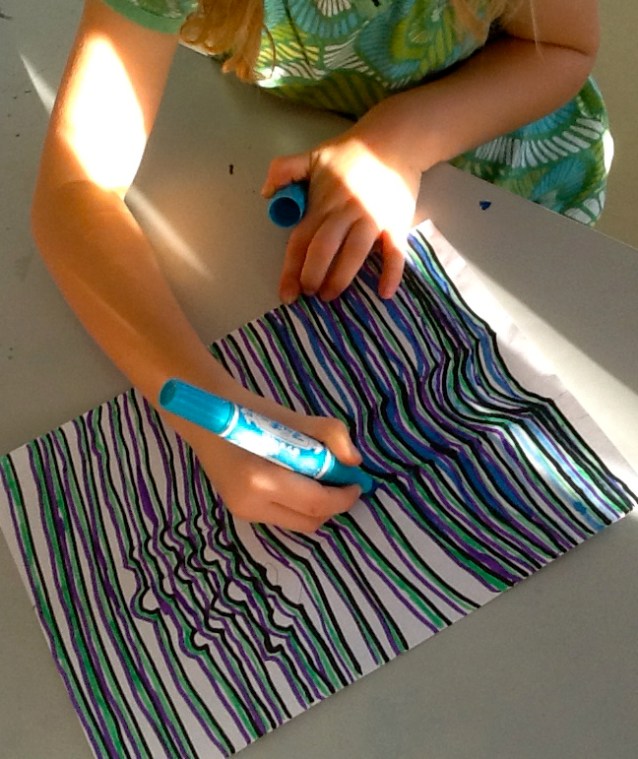
Once the black lines are drawn, the magic and illusion begins with the help of colored markers. It’s best to use the thicker markers to produce even lines. I use Crayola but any good quality marker is great.
Starting at the bottom of the page, each student needs to pick one color and make a line right under each black line and do this all the way to the top of the page. Next, they get another color and make a line under the previous color and continue all the way to the top and so on. It’s important to really emphasize that you can’t change colors halfway- for the illusion to happen, there has to be a pattern. This is your cue to review what a pattern is 🙂
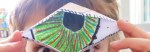
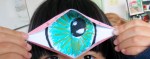
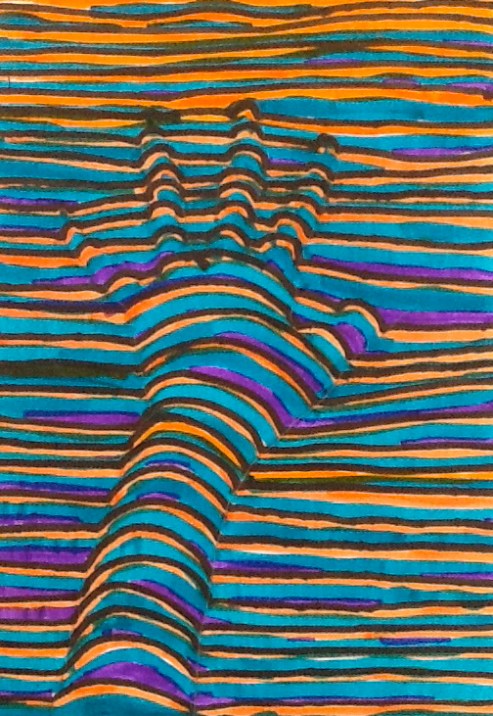
Once all the spaces are filled, you should have a 3D arm that seems to be on top of the colors–pretty awesome don’t you think?
Happy teaching and see you on Facebook at the Art lessons for Kids page. Join the conversation and if you liked this lesson, please pass it along or pin it for later use.
Looking for more art lesson ideas? Grab my eBook with my best 28 lessons and projects of all time your students can do from home, from a cart or in the classroom. Click on the link to find out more.