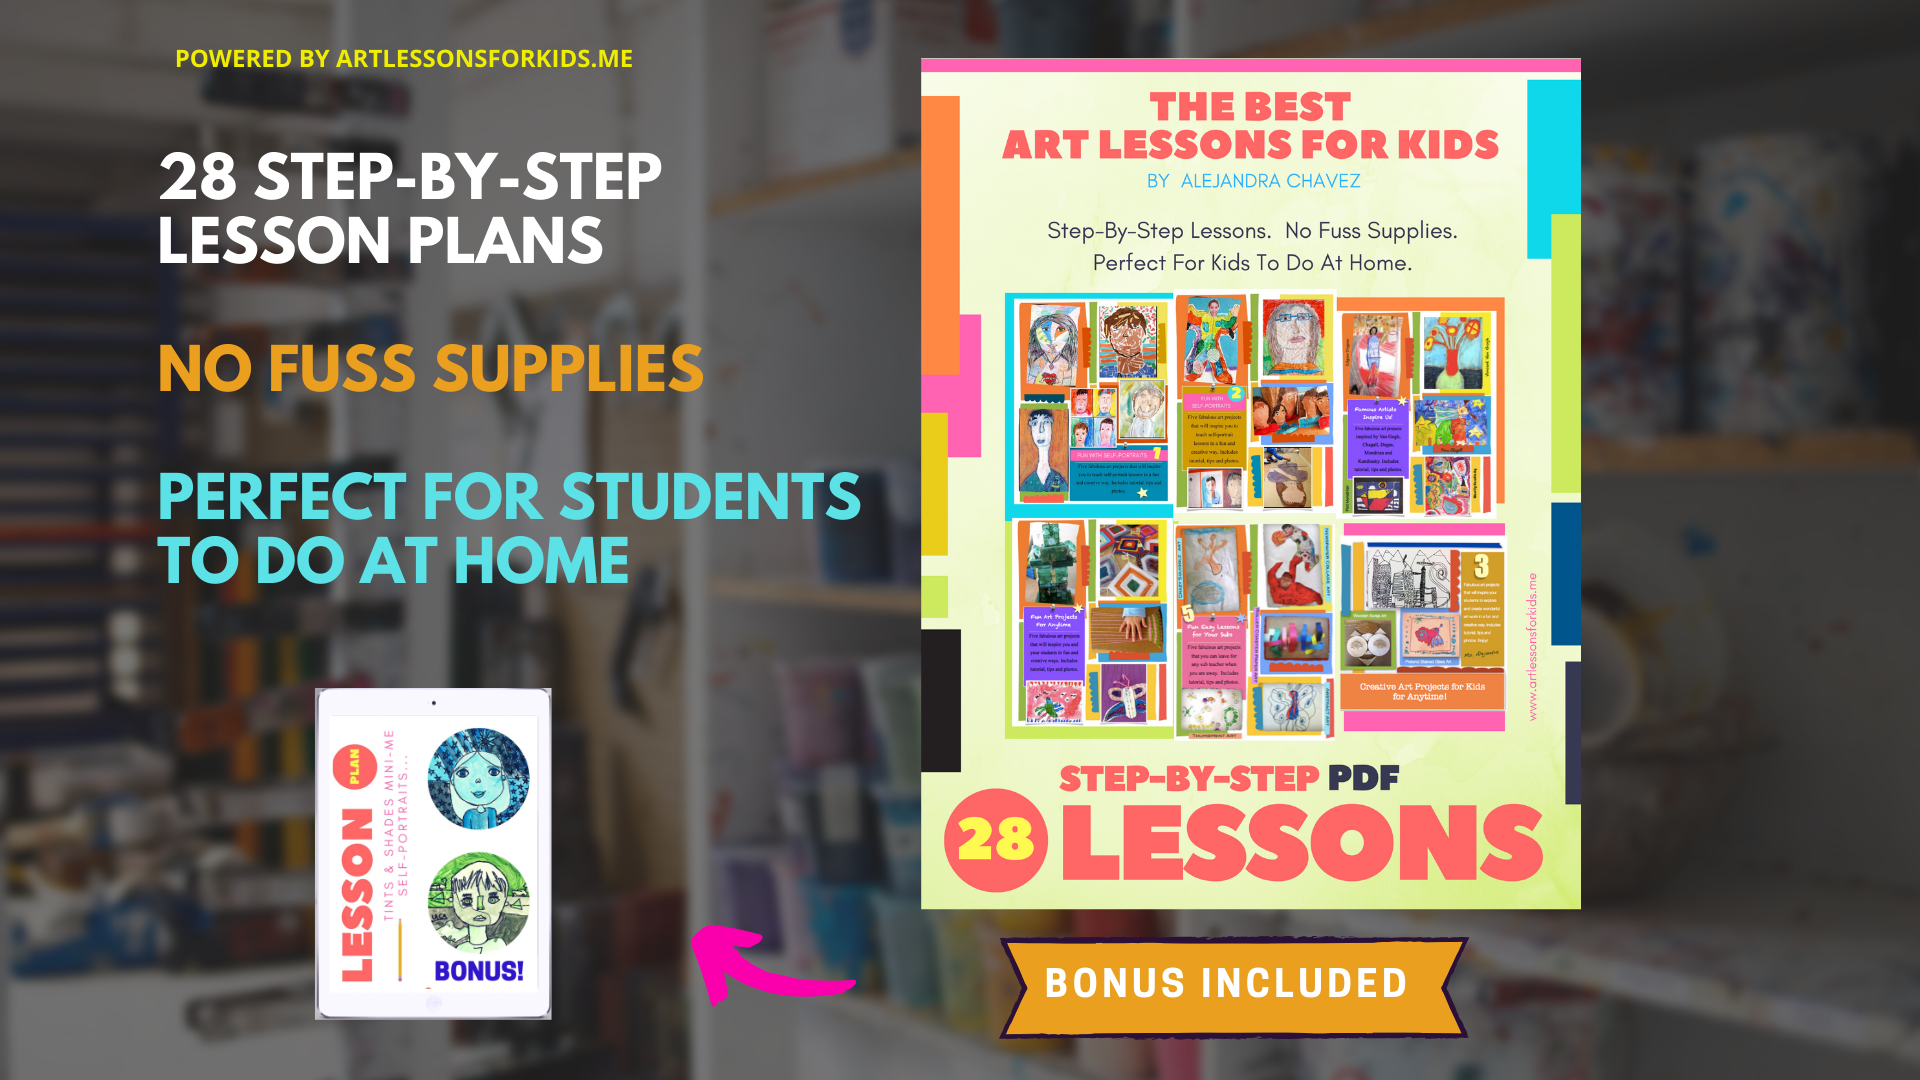
Are you looking for STEP-BY-STEP unique lesson plans that will engage your students and reduce your planning time?
If you enjoy all the art lessons that I post here on Art Lessons for Kids, then you are in for a treat! Below you will find a collection of my most popular art lessons that you can download right now in my book, The Best Art Lessons For Kids. Your students will love doing these art lessons and projects, not to mention the parents and teachers when they see the finished artwork displayed around the school!
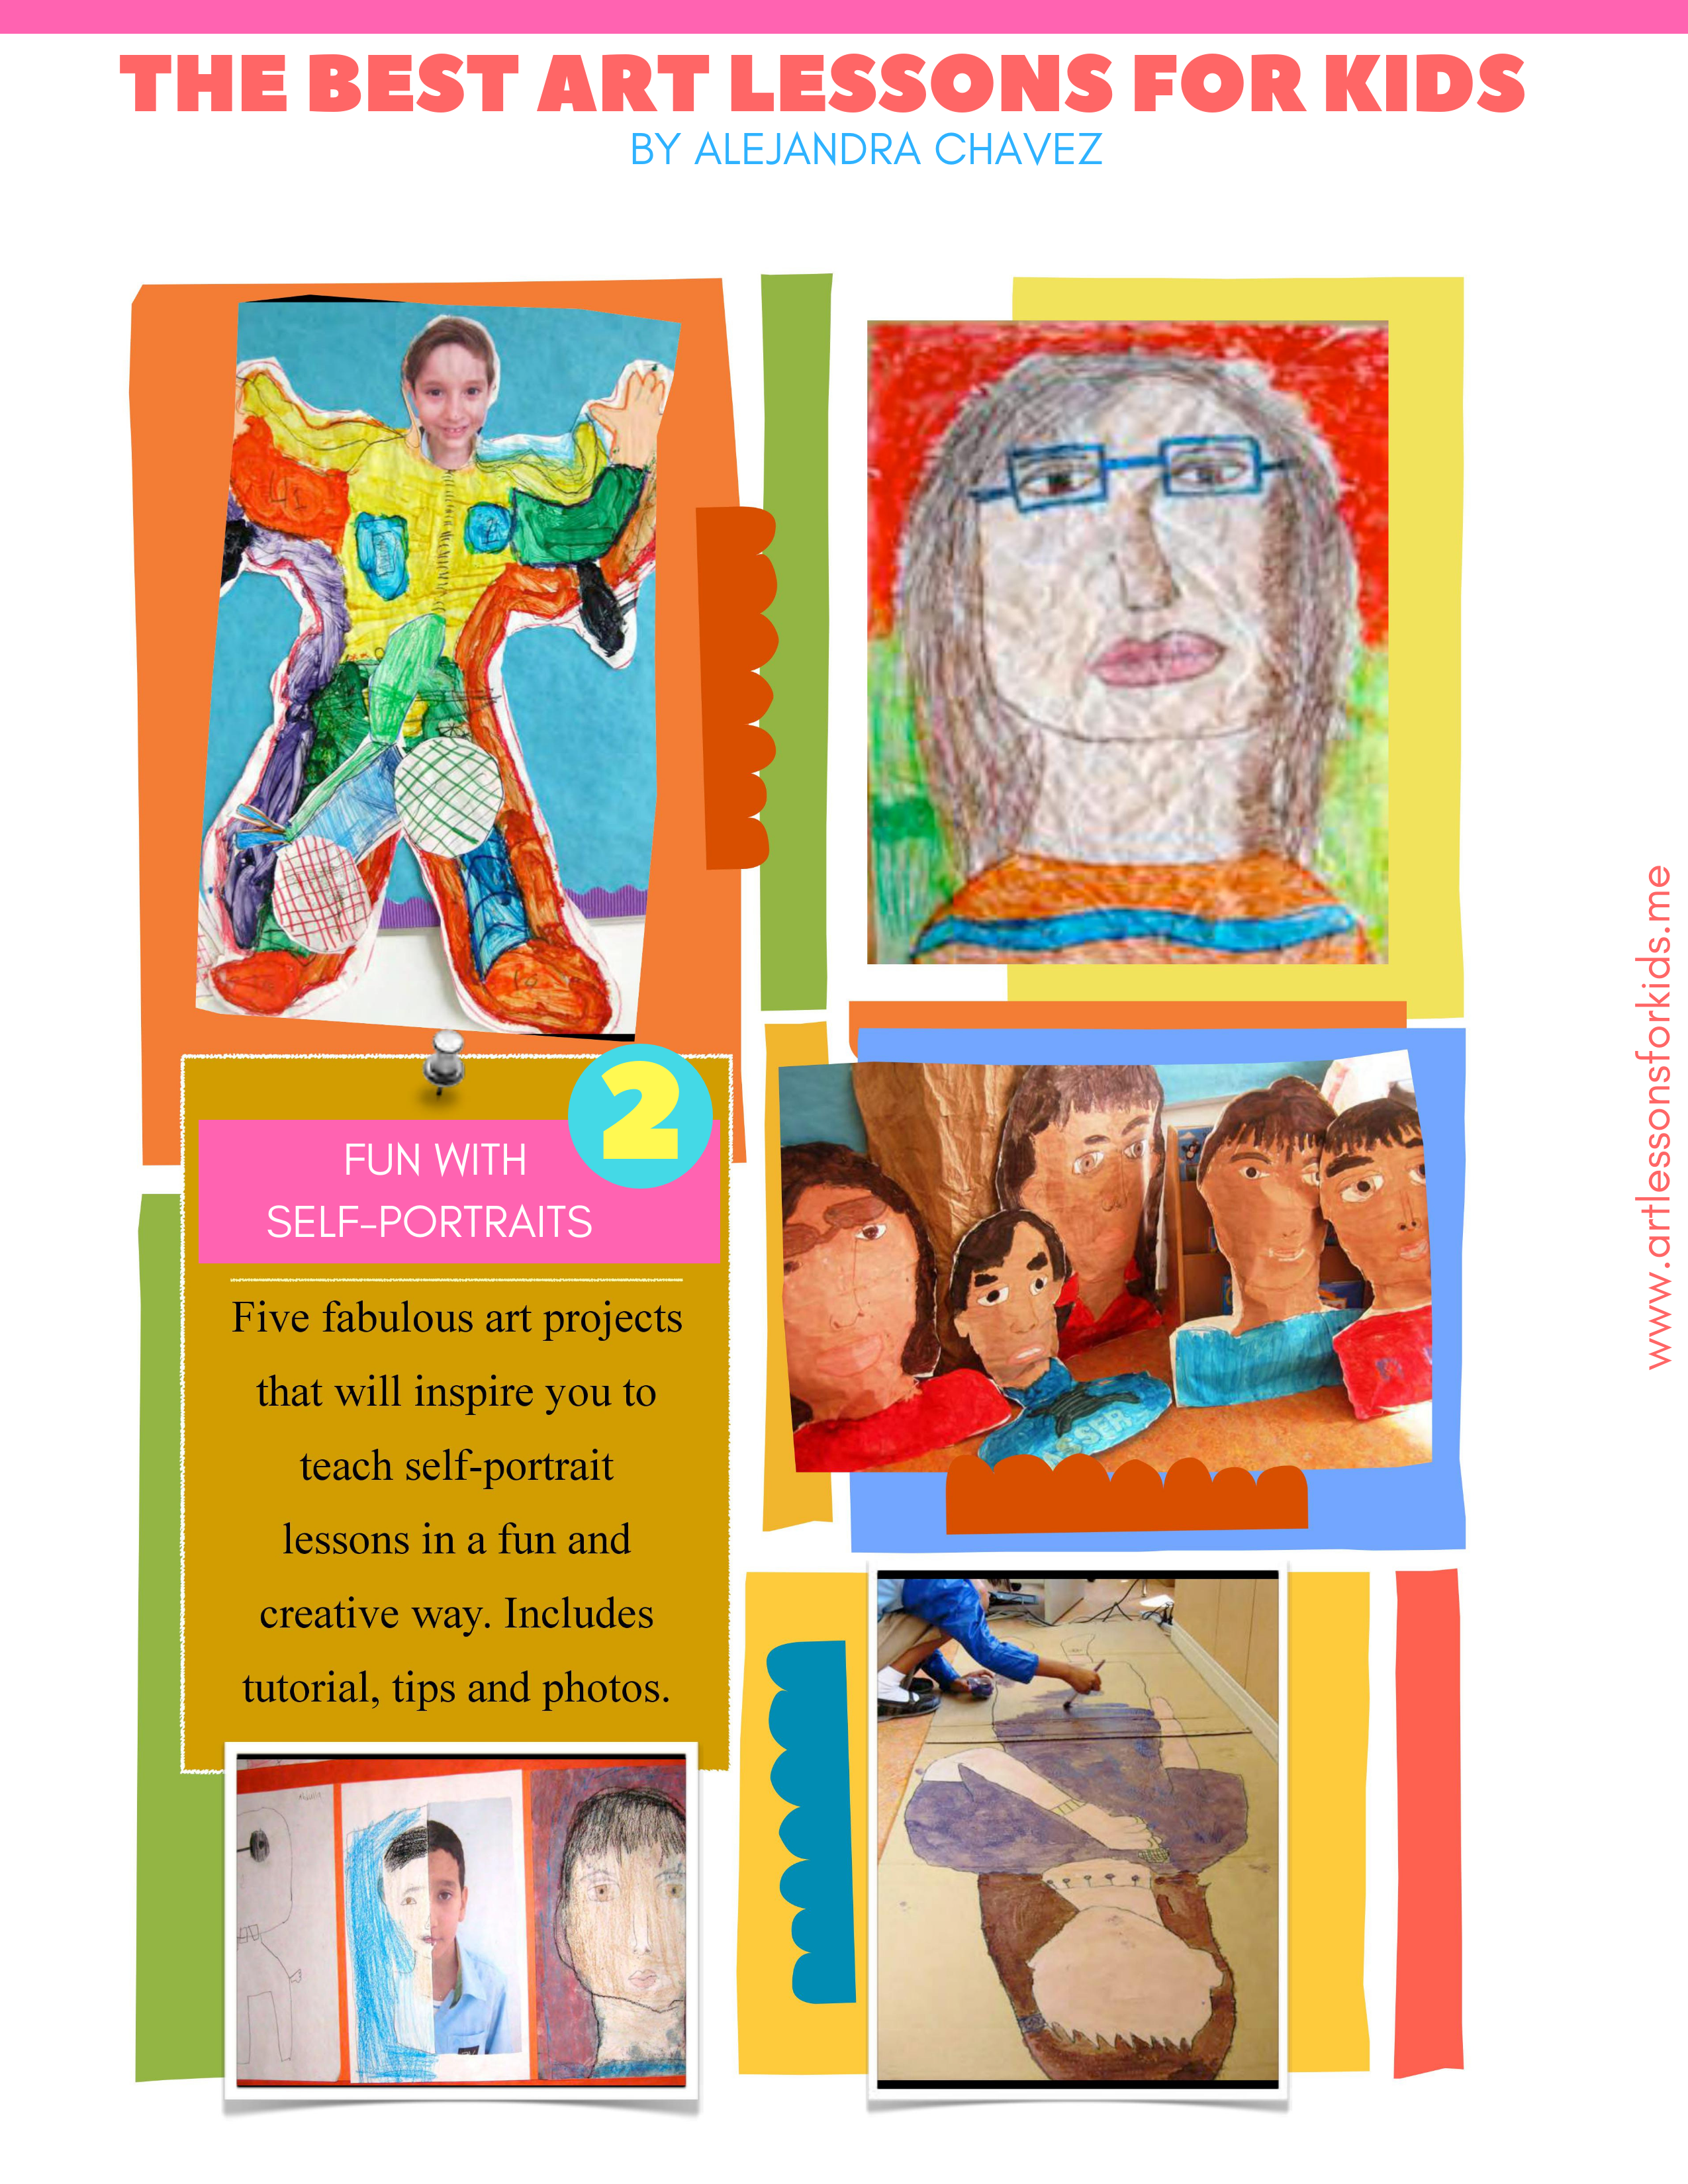
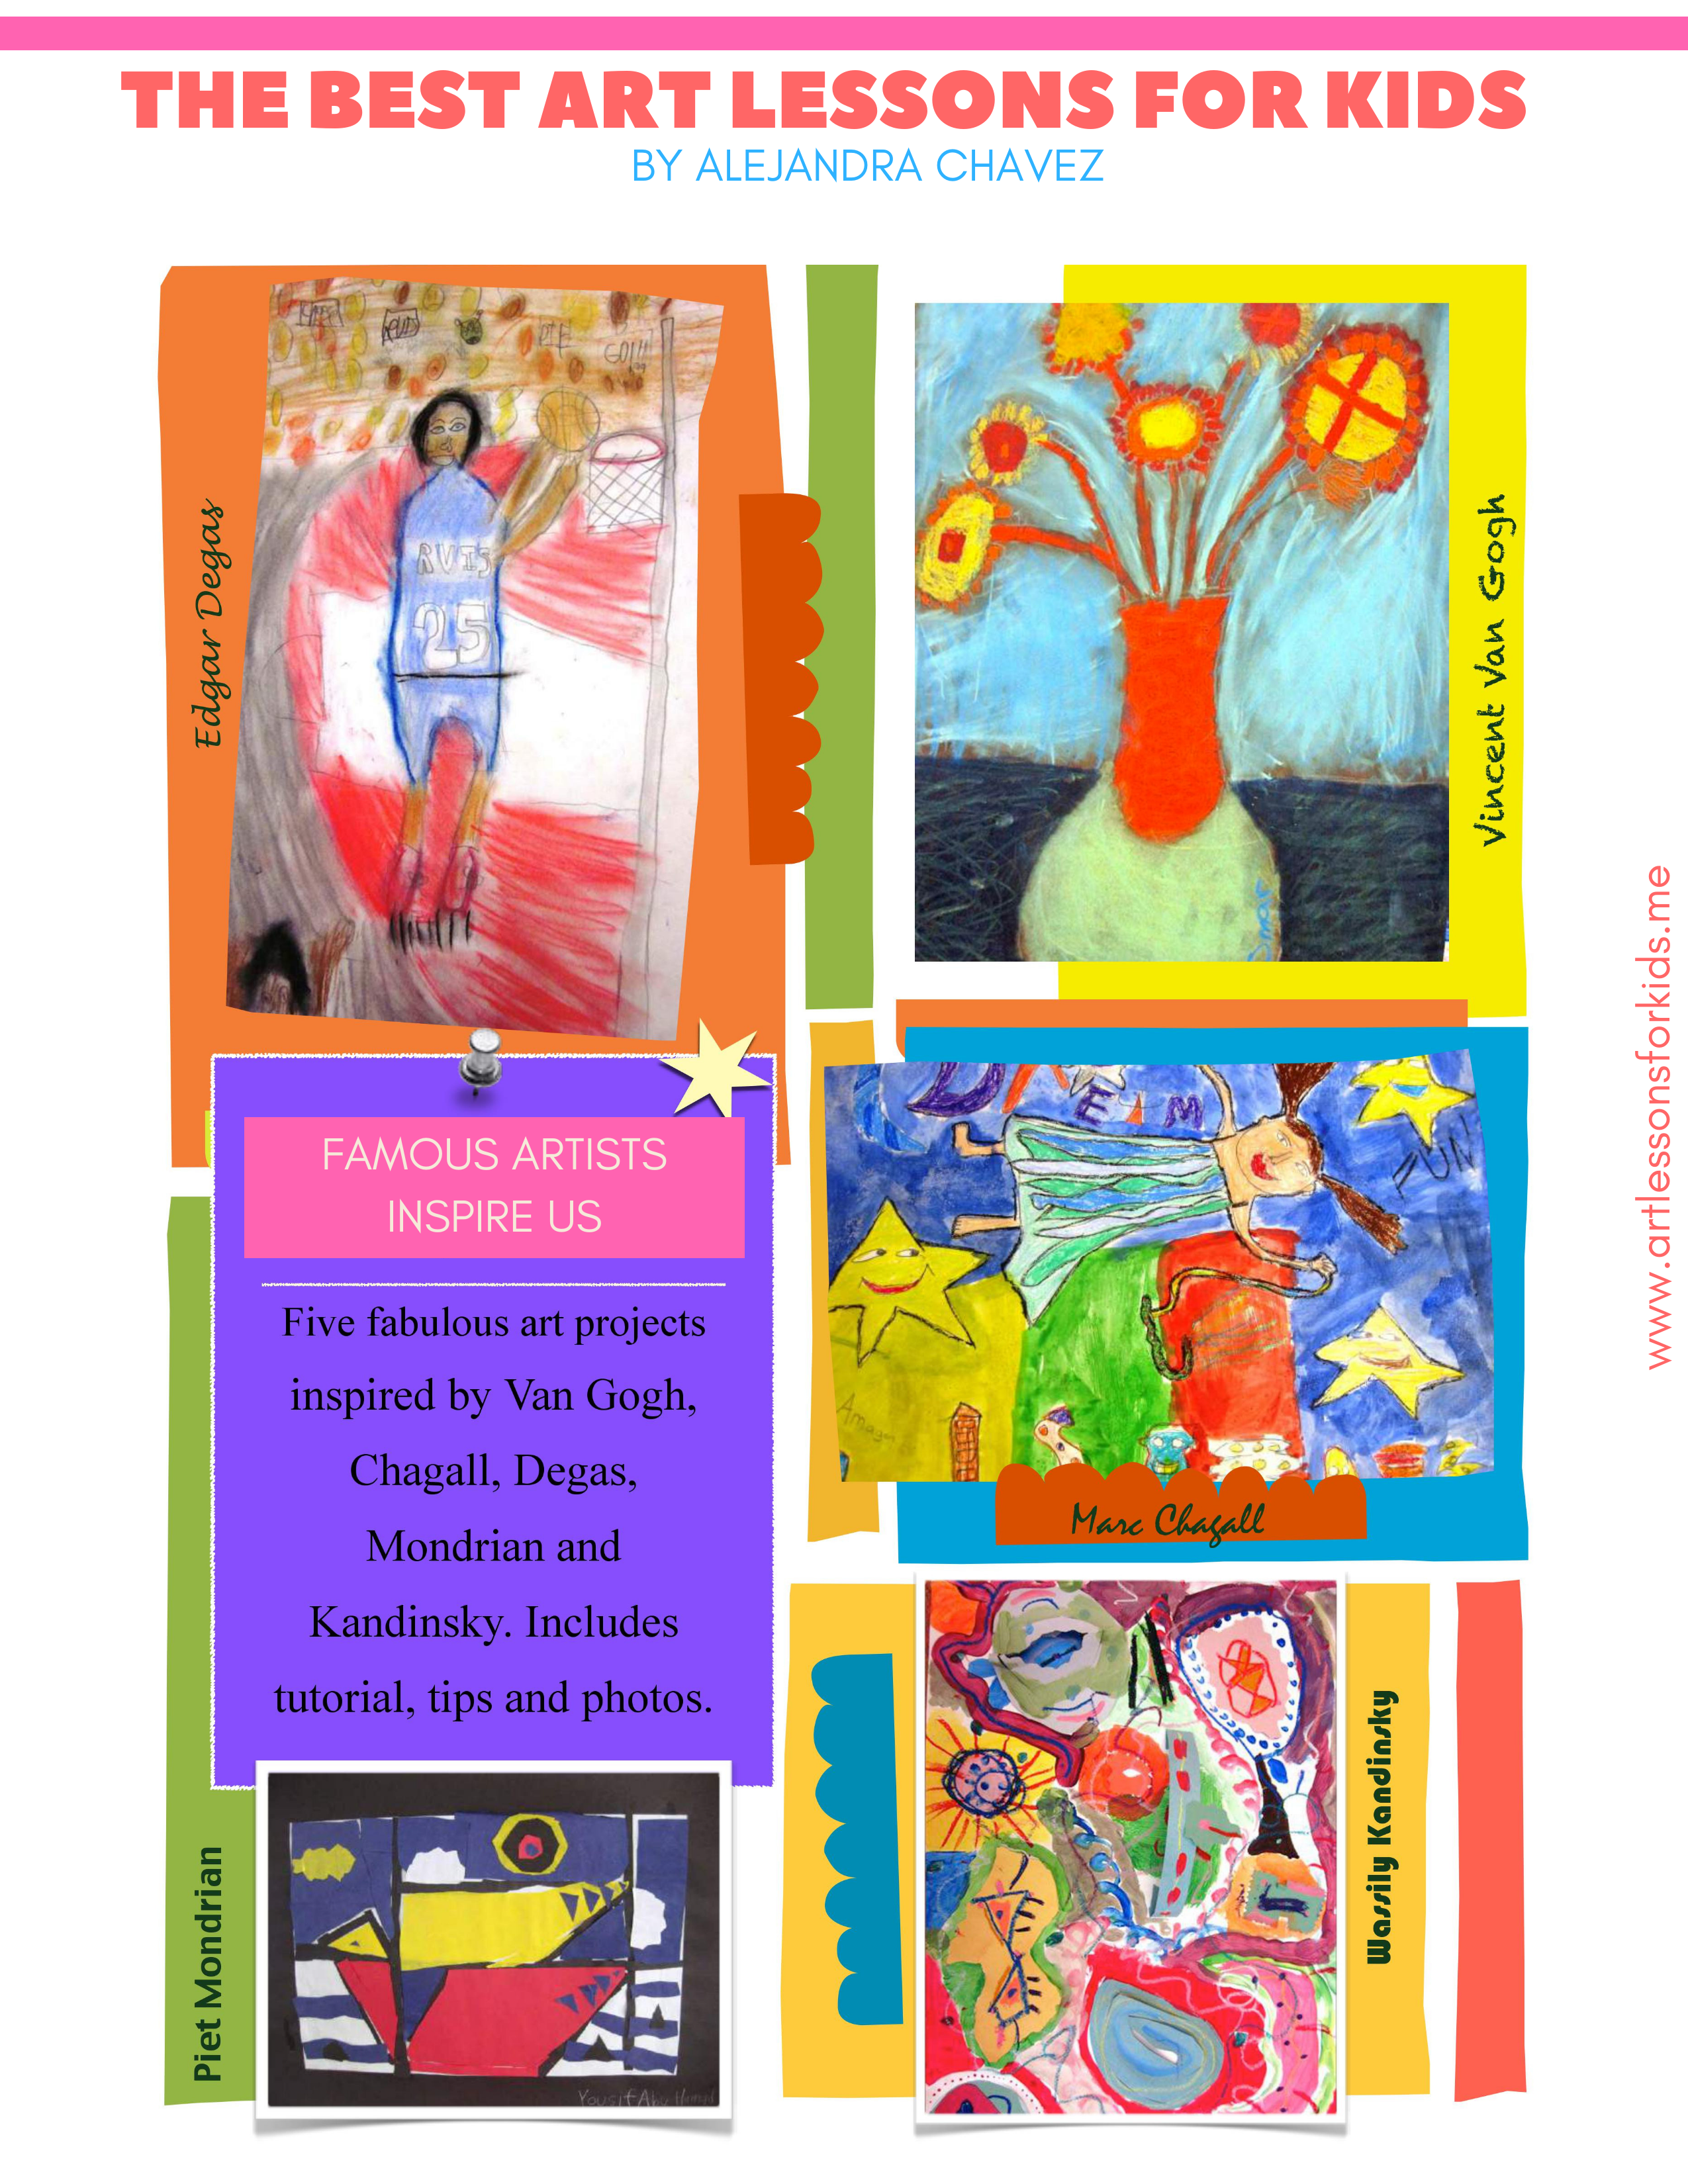
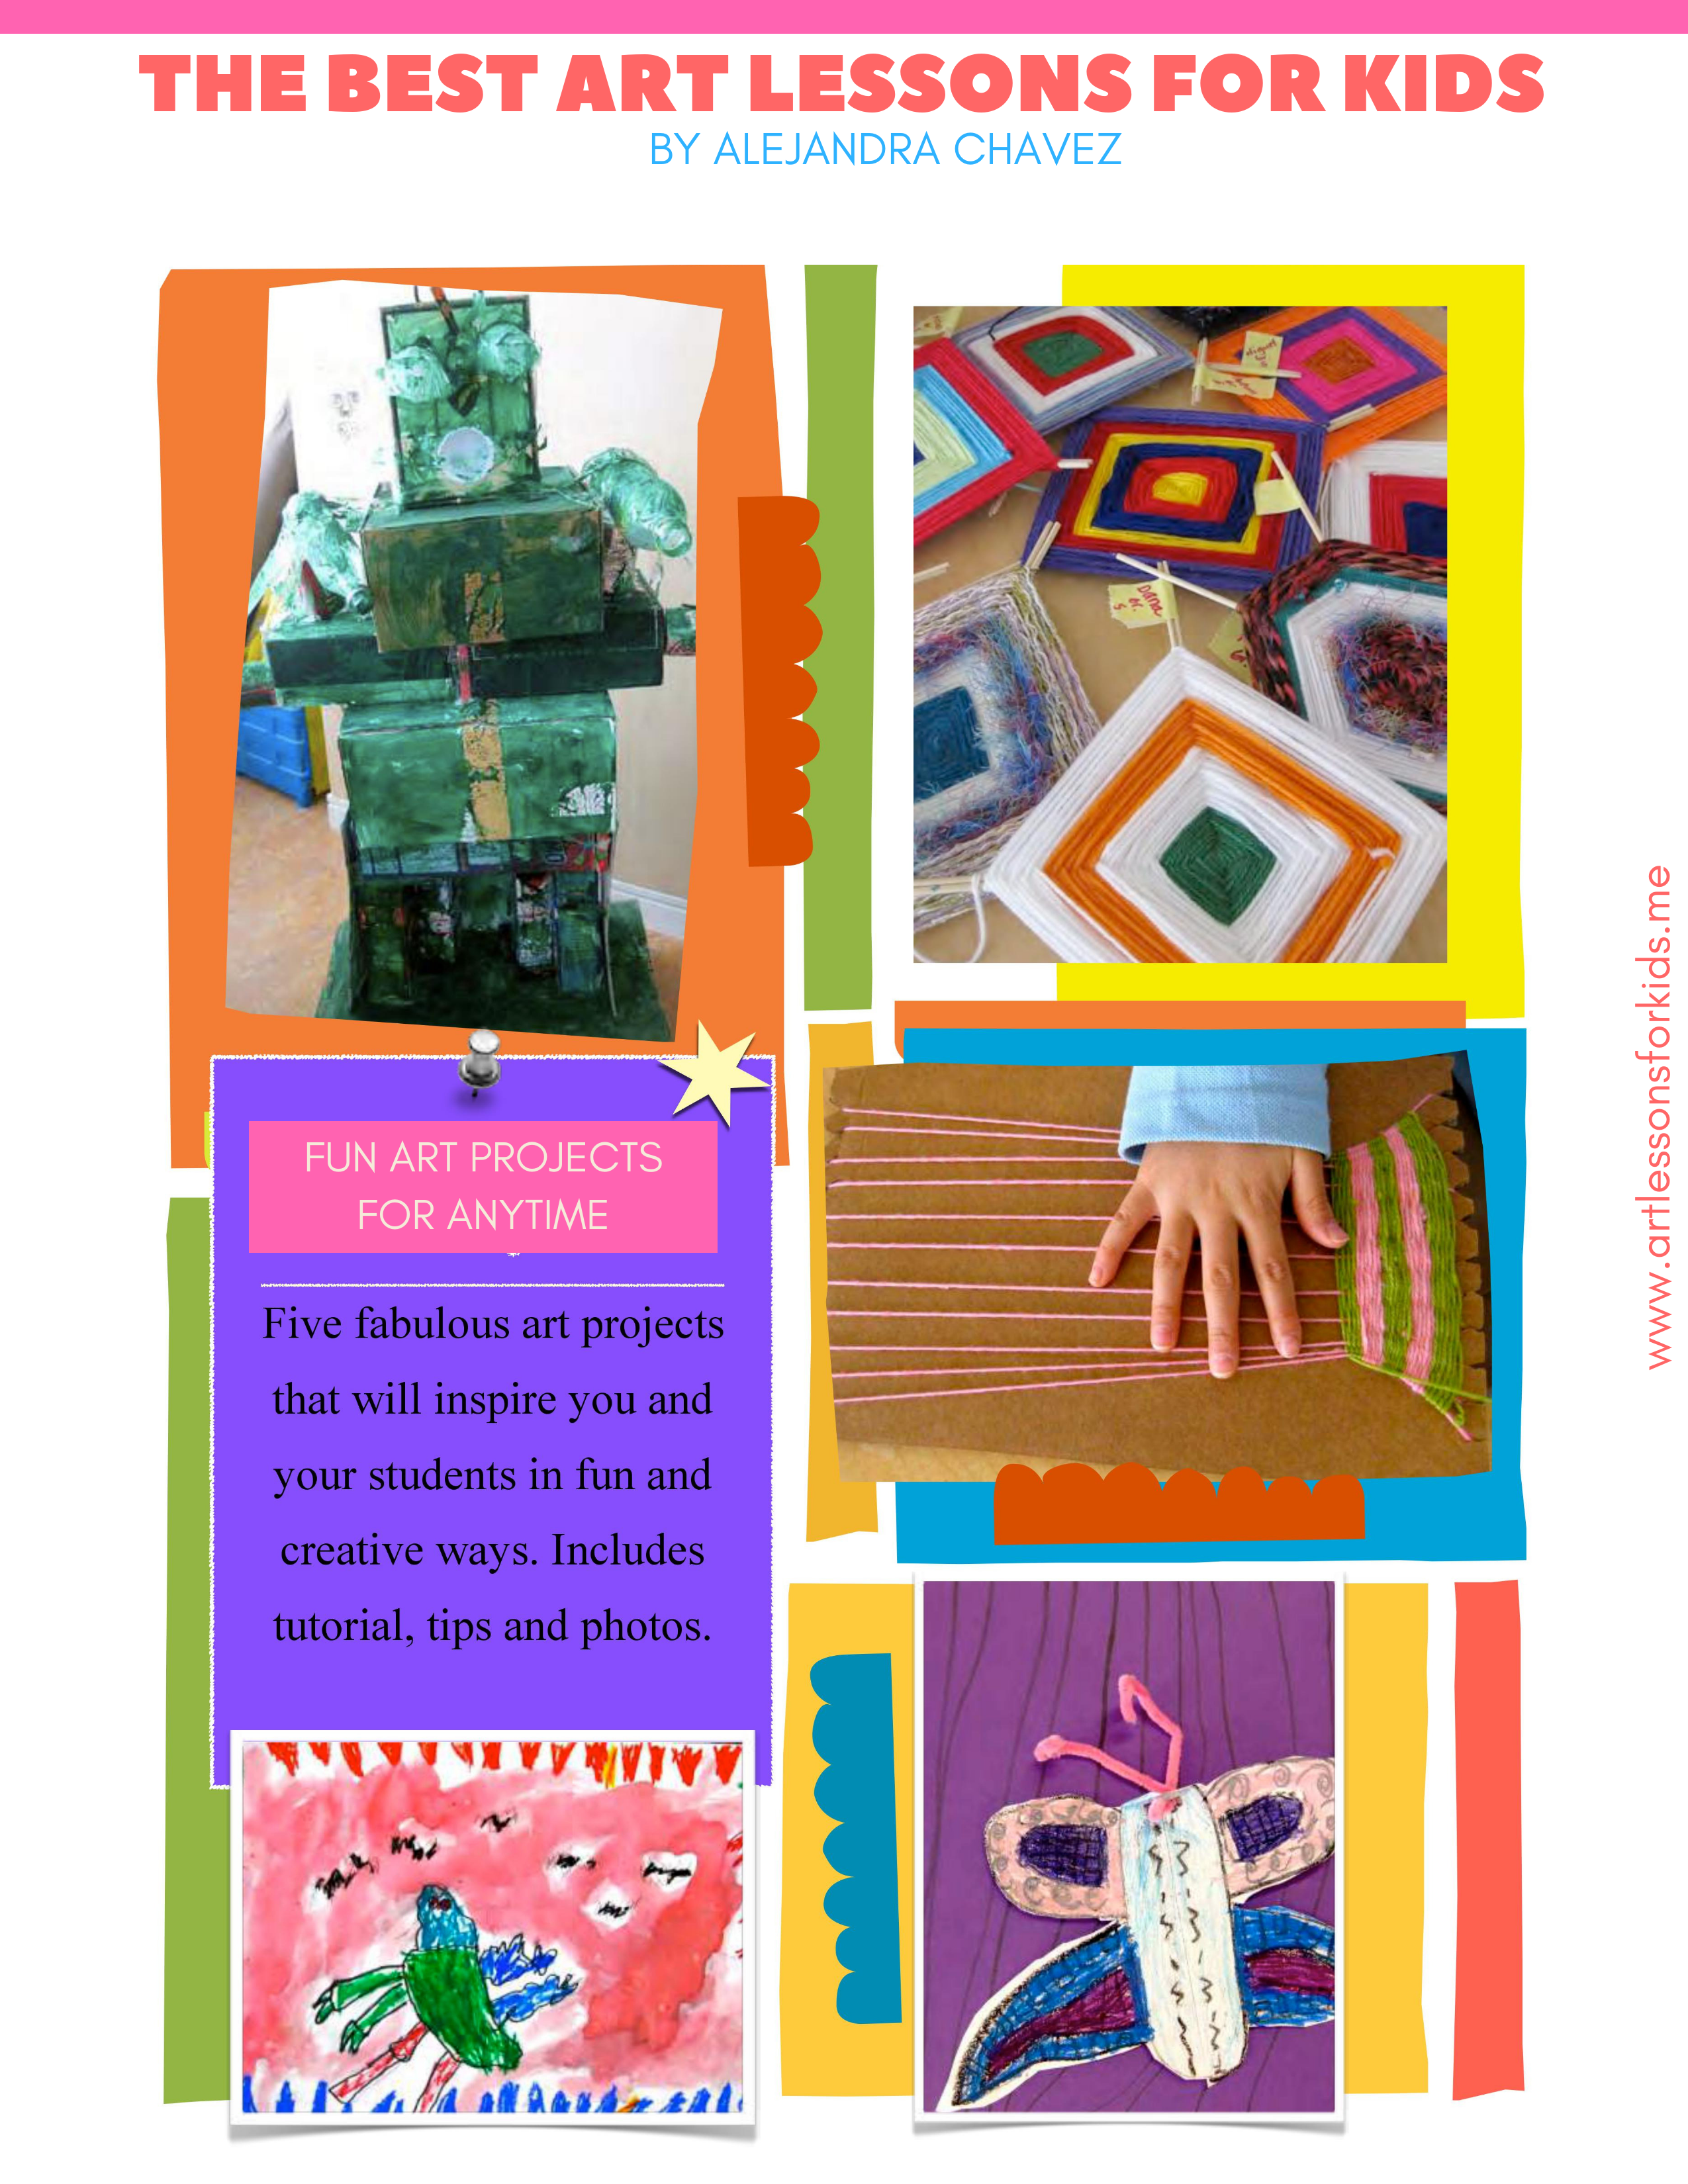
This digital book is a collection of 28 fun art lessons with step-by-step instructions and plenty of photos, so you won’t have to plan a thing! Collect your materials and you are set to go.
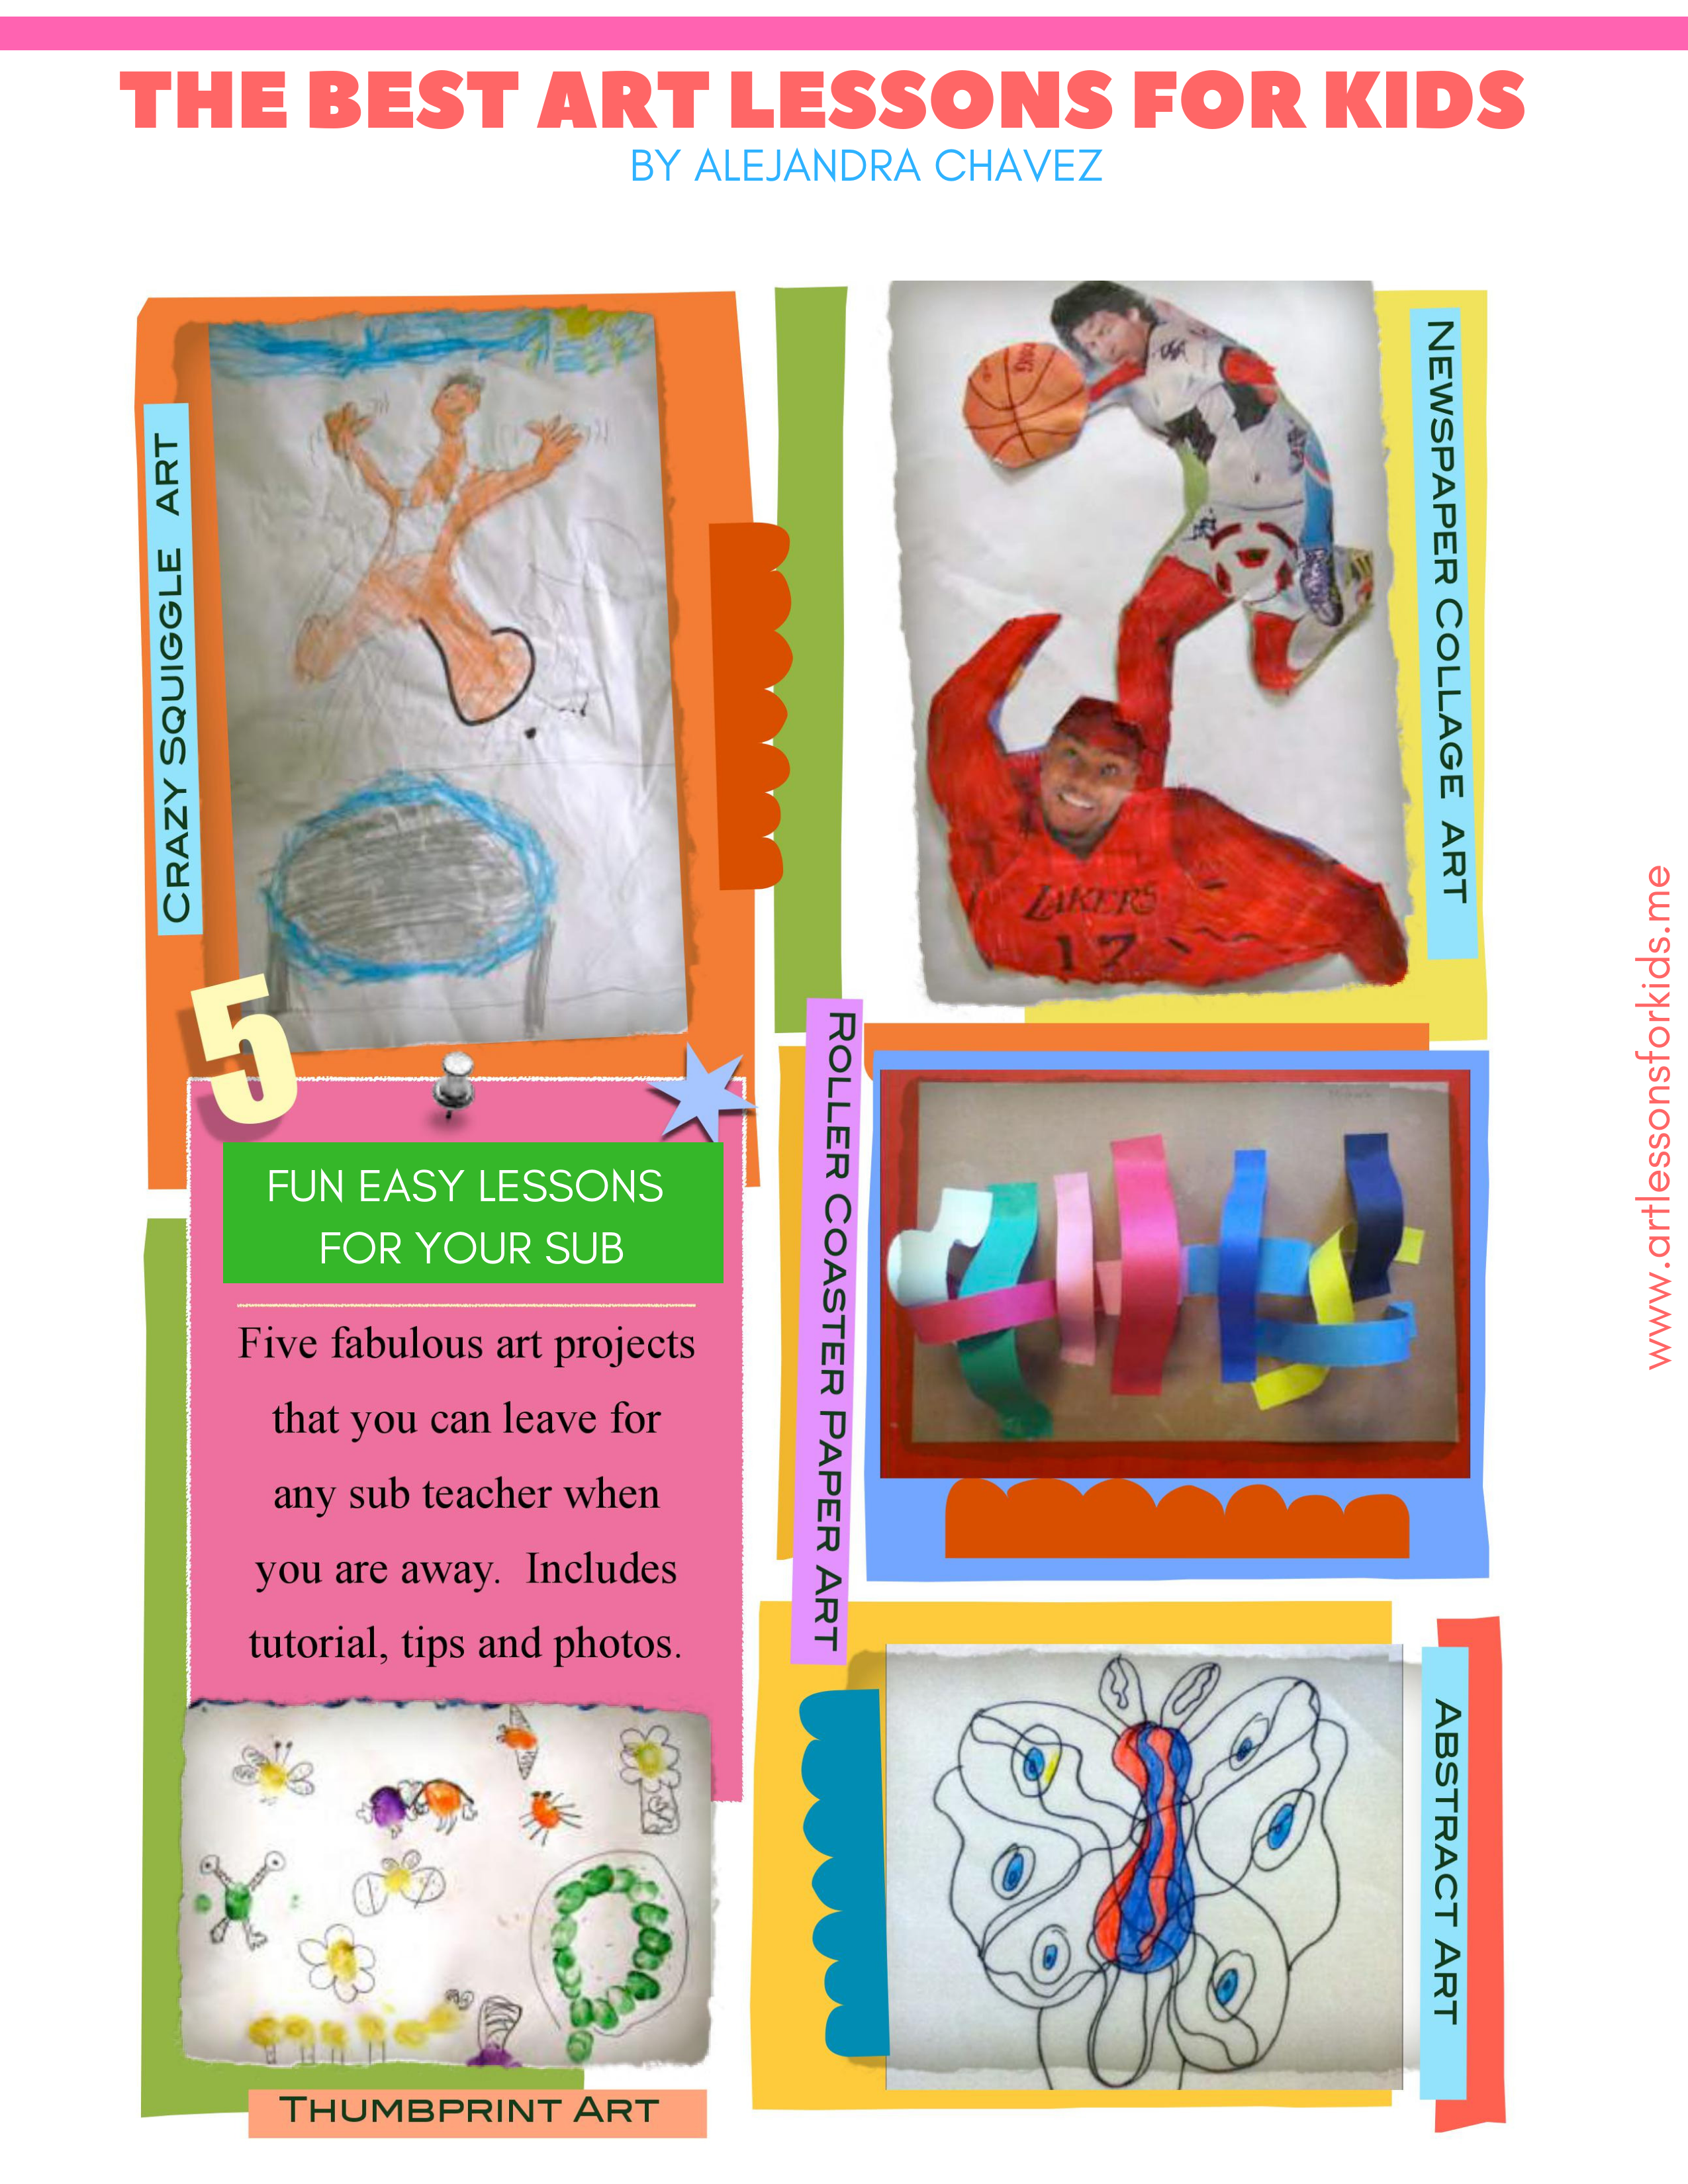

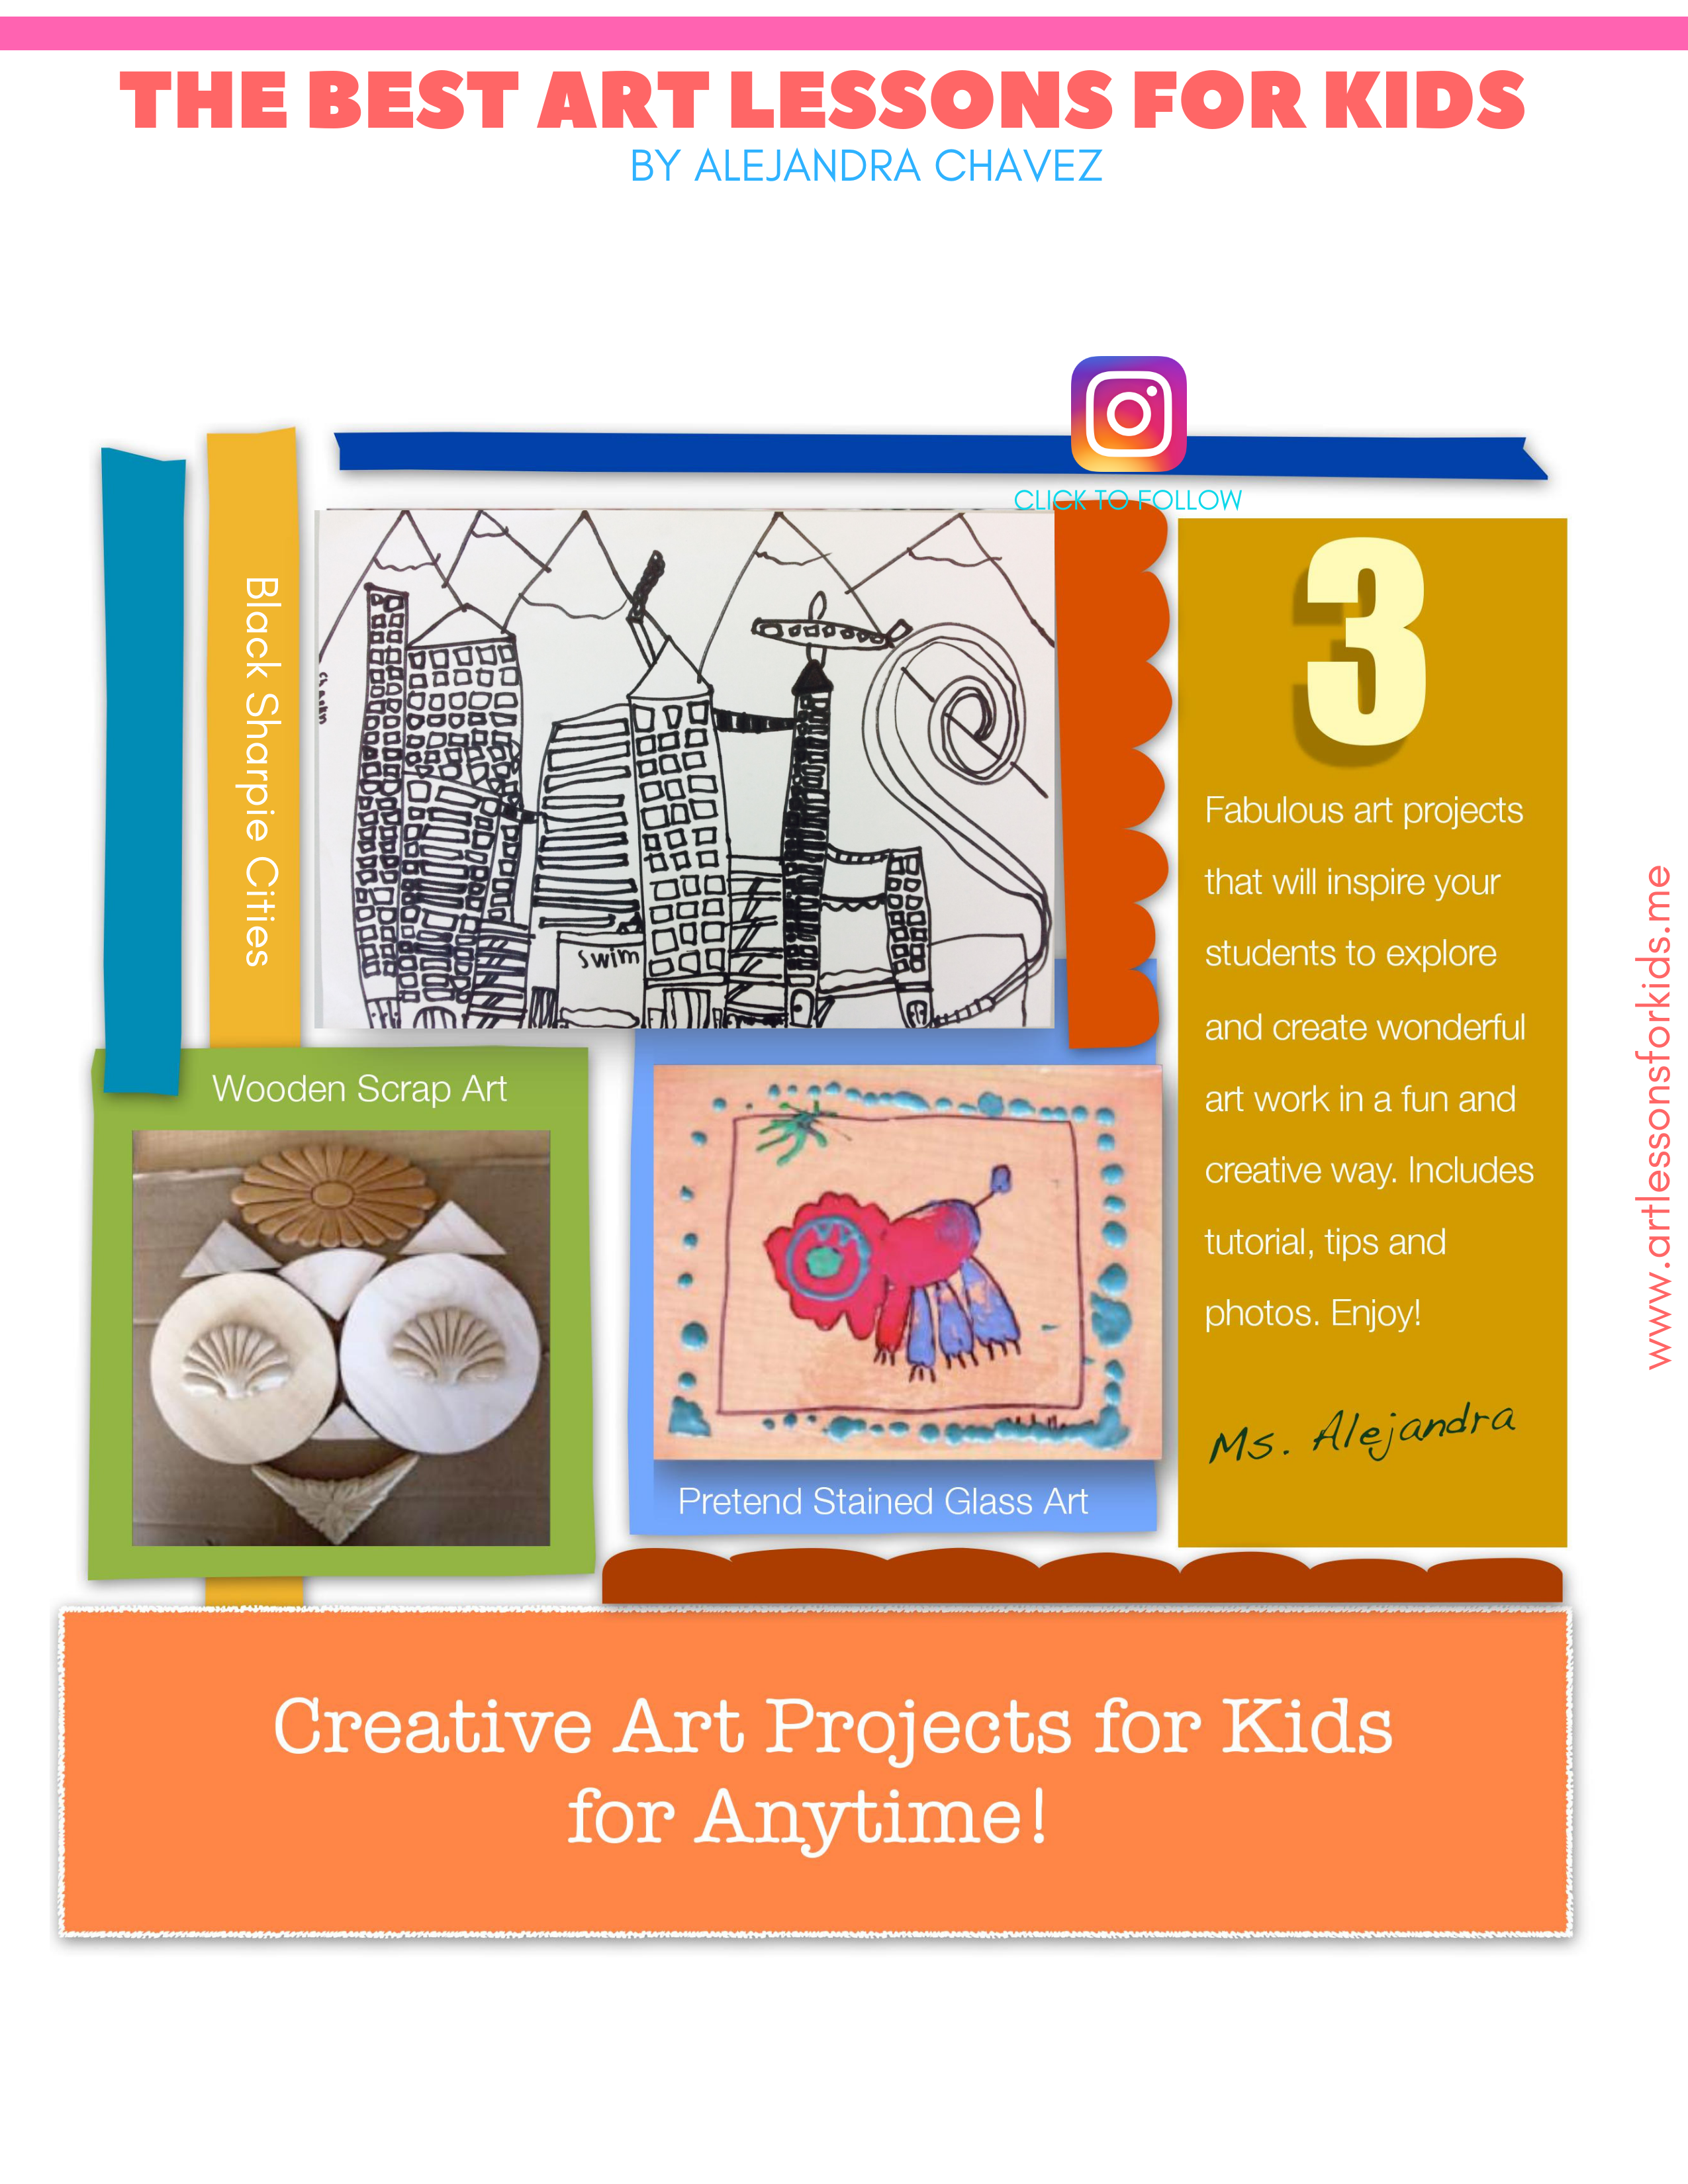
These lessons can be adapted to any age level in the elementary grades and your students will LOVE them. Use these ideas anytime for your home if you home-school, after school program, art camp or for your classroom. This book is a digital PDF eBook so you can read it on your computer, iPhone/iPod touch/iPad, Kindle or any other e-reading device that supports PDF files.
** Note: This is a digital product and not a hardcover book. Let’s help save some trees don’t you think? 
If you know of anyone who would love this eBook, please share this page by using any of the share buttons below. Thank you so much!
P.S: Want this eBook for FREE? Click here to find out how.

Pingback: Art lessons E-Book « Art Lessons For Kids
Pingback: Modigliani Self-Portraits in Grade Three « Art Lessons For Kids
Thank you so much for sharing your TALENT and expertise! I have taught for 20 years (1st, 2nd, Reading Specialist), but this has been my first year to take on the job as our new “Fine Arts” director. I also have been the GT teacher, so I’ve had a few chances to explore the world of art and music with some of my students. Even in the regular ed classroom, I have always found ways to work in as much as I could! I am enjoying seeing the wonderful things that you’ve done with elementary students. I am having a blast doing what I’m doing… but definitely “learning more and more as I go”!
Pingback: Back to School Art Lesson Ideas « Art Lessons For Kids
Pingback: E-Book Giveaway « Art Lessons For Kids
Pingback: E Book Giveaway! « Art Lessons For Kids
where do you get the art lessons ???? im new at this and dont know where it is please help!!!!help on the comment button to say where to get the lessons at!!!!!!!!!! THANK YOU!!!
Hi there–you can click on each image or use the ‘more info’ and ‘by now’ buttons I just added to make it easier. Thanks for stopping by! 🙂
I might have missed it, but did not see what age level these new ebooks are geared toward? 🙂 thank you ~
The e-books have projects that are adaptable for any grade level in elementary. Thanks for stopping by! 🙂
Do you have lessons for Middle and High School students?
Check out my grade 6 and 7 lessons which I am sure you can adapt and make more challenging for your older students.
check out the art of student from Queens Voc:
http://www.queensvoc.org/site_res_view_photoalbum.aspx?resourceId=70777630-63b4-4246-aca1-0bddbd282beb